Elopement Announcements
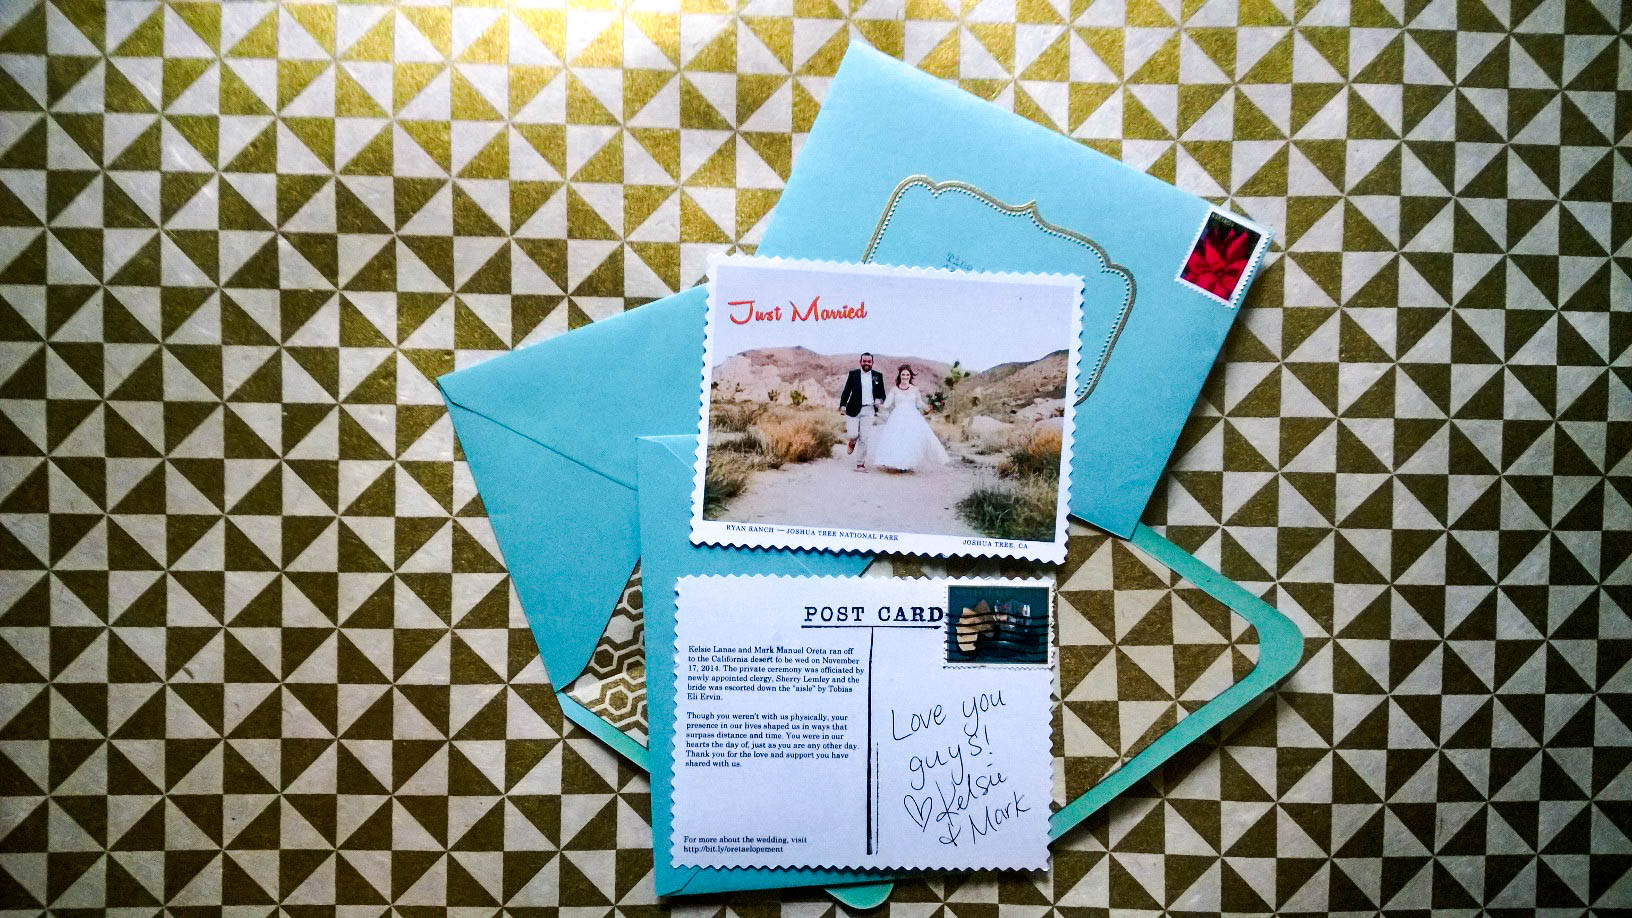
As I mentioned in my post about new year’s resolutions, I really enjoyed making our elopement announcements! Whenever we travel somewhere new, I always buy two postcards. Two, because it’s hard to pick just one and they’re the cheapest souvenirs around so I can justify it. I figure there’ll be more than one way I’ll want to commemorate all these good times.
When we decided that we were going to elope to the palm desert in California, I thought it’d be super cool to keep it a secret then make an announcement after-the-fact by sending out “postcards” to our family. I cringed at the thought of my nearest and dearest learning about the elopement via Facebook. (If you hadn’t been on my received texts on the phone I’ve had for the last year, I didn’t ask for your address, and Facebook’s how you found out, Sorry! Let’s keep in better touch!)
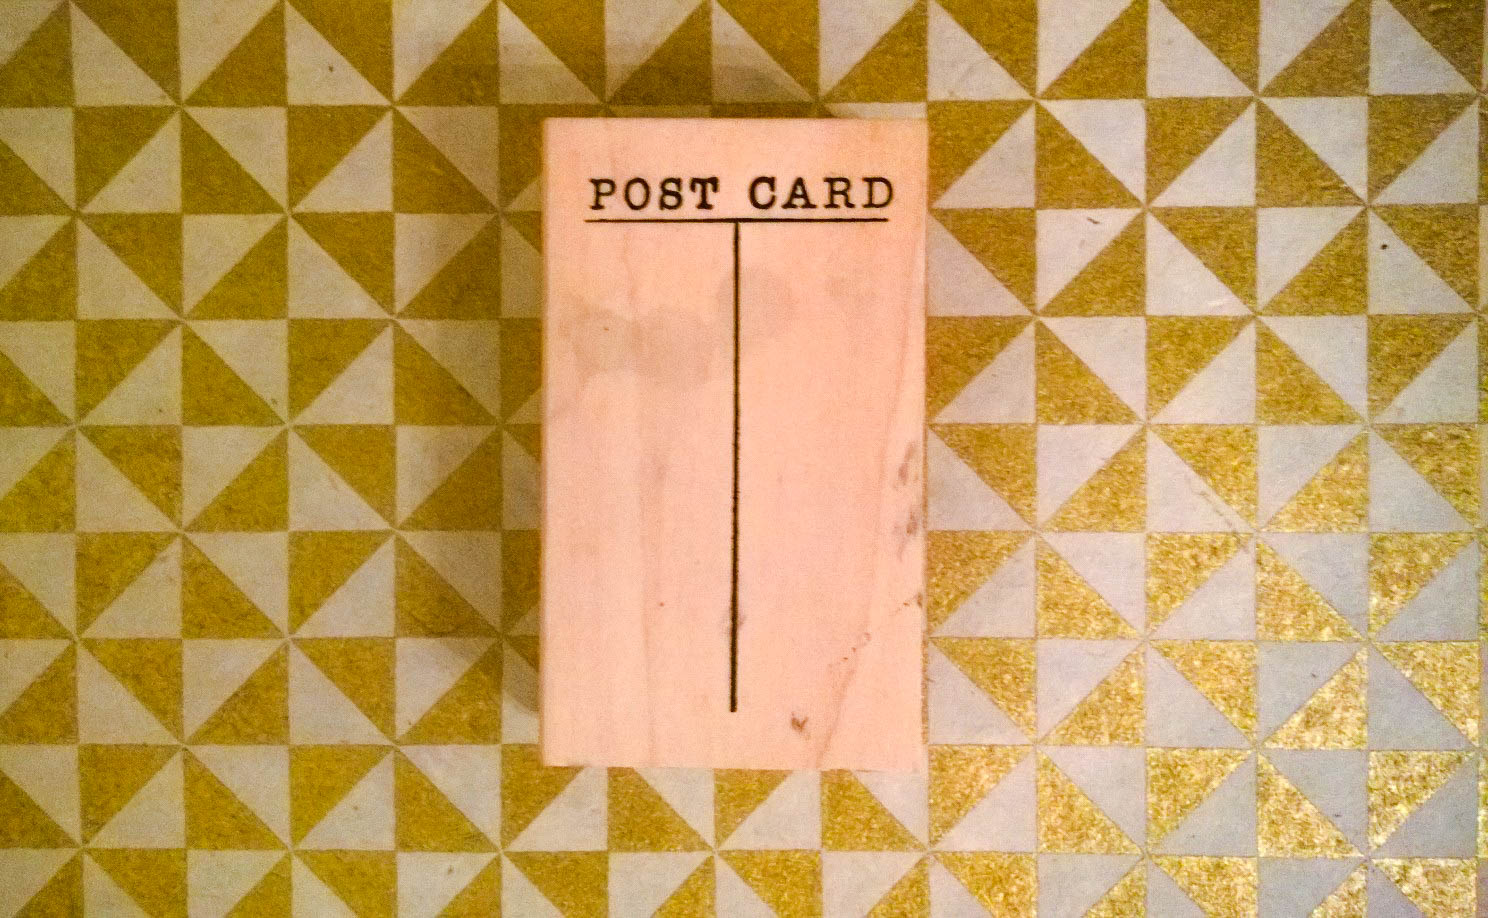
After searching Etsy high and low for what I had dreamed up, I wasn’t finding any luck. But what I did find was this snazzy little POST CARD stamp at The Paper Source. HELLO, INSPIRATION.
I snatched it up and a few other things to make rough drafts prior to the wedding…then I got the first picture from our photographer, of us running into the desert to elope, and I may have gone a little overboard. This wasn’t fully realized until I was making what seemed like a zillion of them, of course.
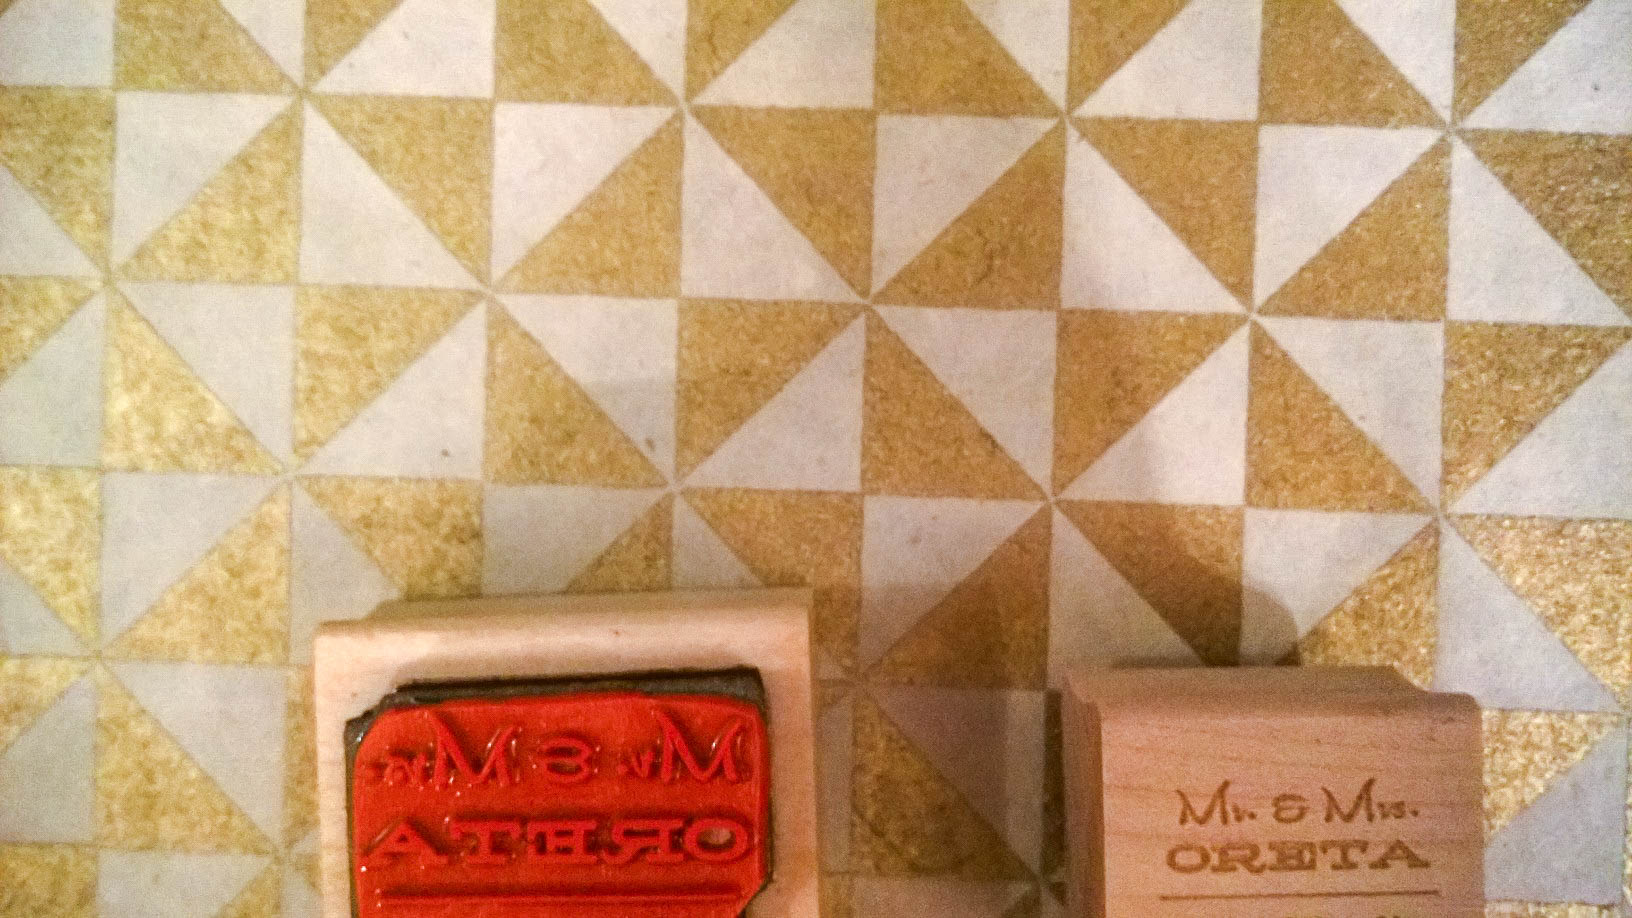
I decided it needed real vintage stamps. And a personalized address label stamp. Envelope inserts. Typed fresh from my typewriter addresses. Embossing, lots of embossing. And squiggle scissors, of course. Because real vintage postcards were squiggly.
I know, I know. I might’ve gone a little Veruca Salt.
Apparently, I’m pretty detail oriented. Do you see why I chose to elope? A wedding was more than I could handle!
The fastest turnaround time I found for a custom stamp was on rubberstamps.net. I used Photoshop to make a design out of some cool fonts and downloaded it as an art stamp. It was SO cheap that it was NBD getting expedited shipping. Except I got the wrong size, so I did that process twice 😉
I used InDesign along with some vintage postcard research to add a few Postcard-like elements to it, typed a loving explanation, and worked hard again and again until they were all done!
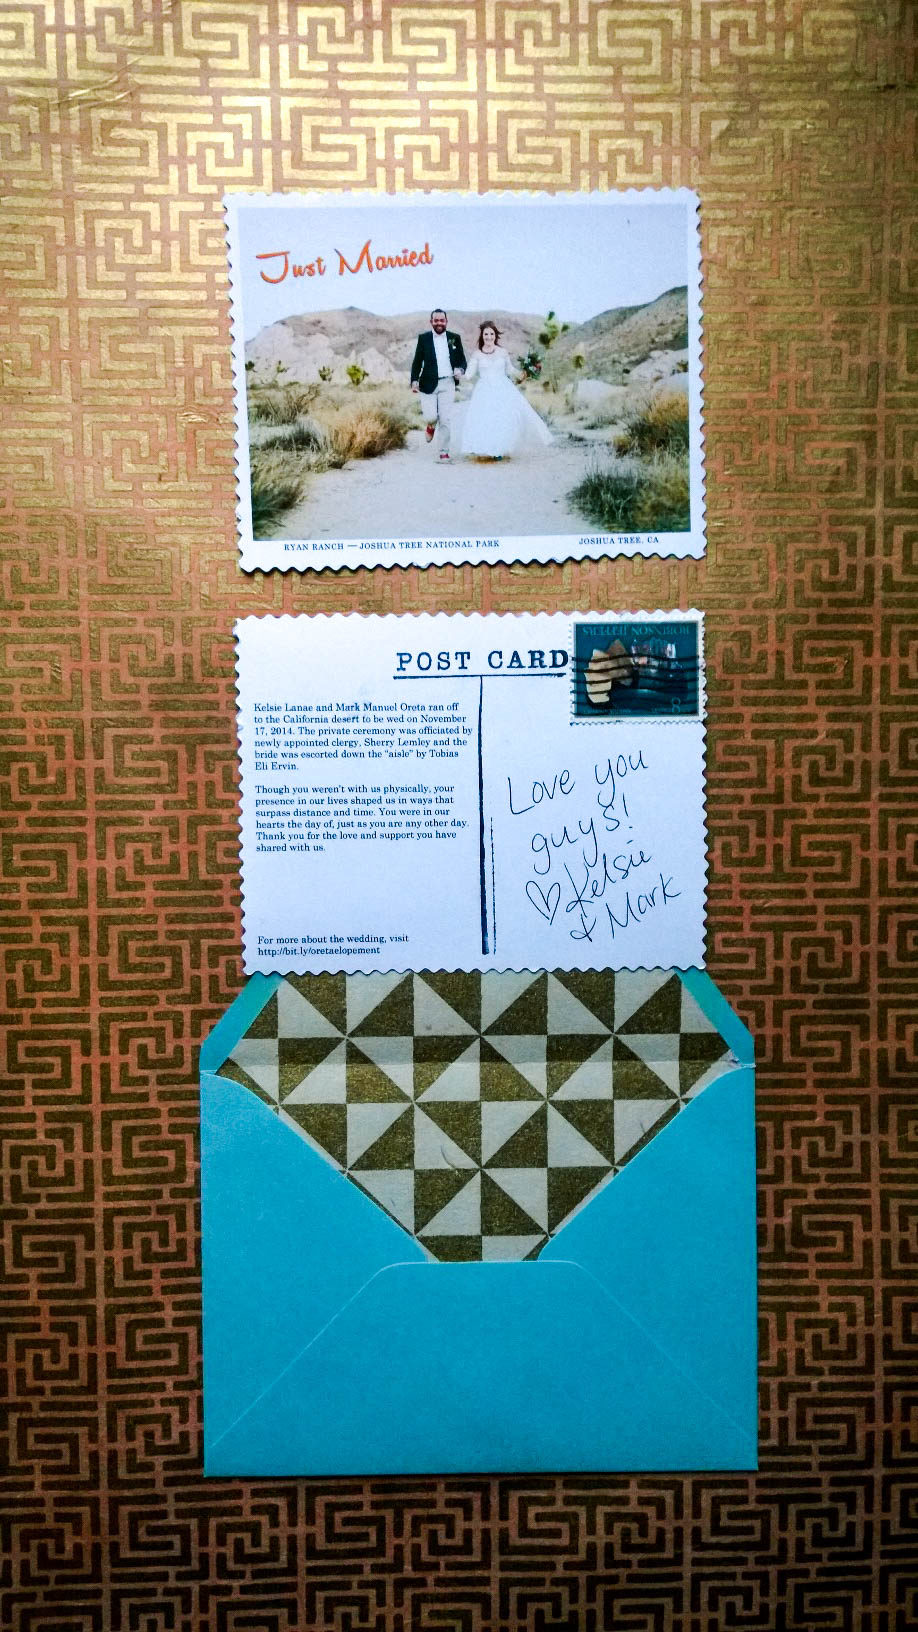
 I’m so proud of the results, and once I had a friend along the process was so much fun. I can’t wait to send more letters in 2015!

that’s really awesome! how brave of you to elope! i wanted to but i also wanted the party
Thank you! It was really the best choice for us. If, before our honeymoon in April, we feel like we’re missing out on a party we’ll do something casual at our house or a bar. The wedding thing was too much pressure for me!
This is so cute!
Thank you! Yesterday and today people who are live in my city have received them and sent me texts complimenting them. Totally obsessed with sending mail now!
[…] I have SO many fun DIYs to share. I’ve really missed blogging, and I’ve noticed that my Elopement Announcements post has been pinned over 150 times on Pinterest in under a year! That might not seem like too […]
Would you be willing to make these for me?
How many do you need? I’m not sure if I’d have the time to do the cutting, stamping, and addressing for a high number of elopement announcements on my own. I can certainly use photo of your choice and create a front/back printable with your information. The printable would yield four announcements per sheet of printer paper.
Hi!
So I totally know this is an old post but it’s absolutely adorable. So much I’m thinking about doing something similar. May I ask what dimensions you used?
Thank you!
Hi! I set up the InDesign file to print four even-sized post cards on an A4 sized sheet of photo paper.
I must admit, the quality of photo paper that has the ability to run through a home printer is quite flimsy, and I wasn’t 100 percent pleased with the quality. If I were to do it again, I would have stretched my budget a bit to have the printing done by a local print shop, then cut it on my pwn with the zigzag scissors.
Sorry for the late response, if you do the project I would absolutely LOVE to see your version. Thanks so much for visiting this old blog 😉