Make your own Glitter Party Banner DIY (with Free Printables!)
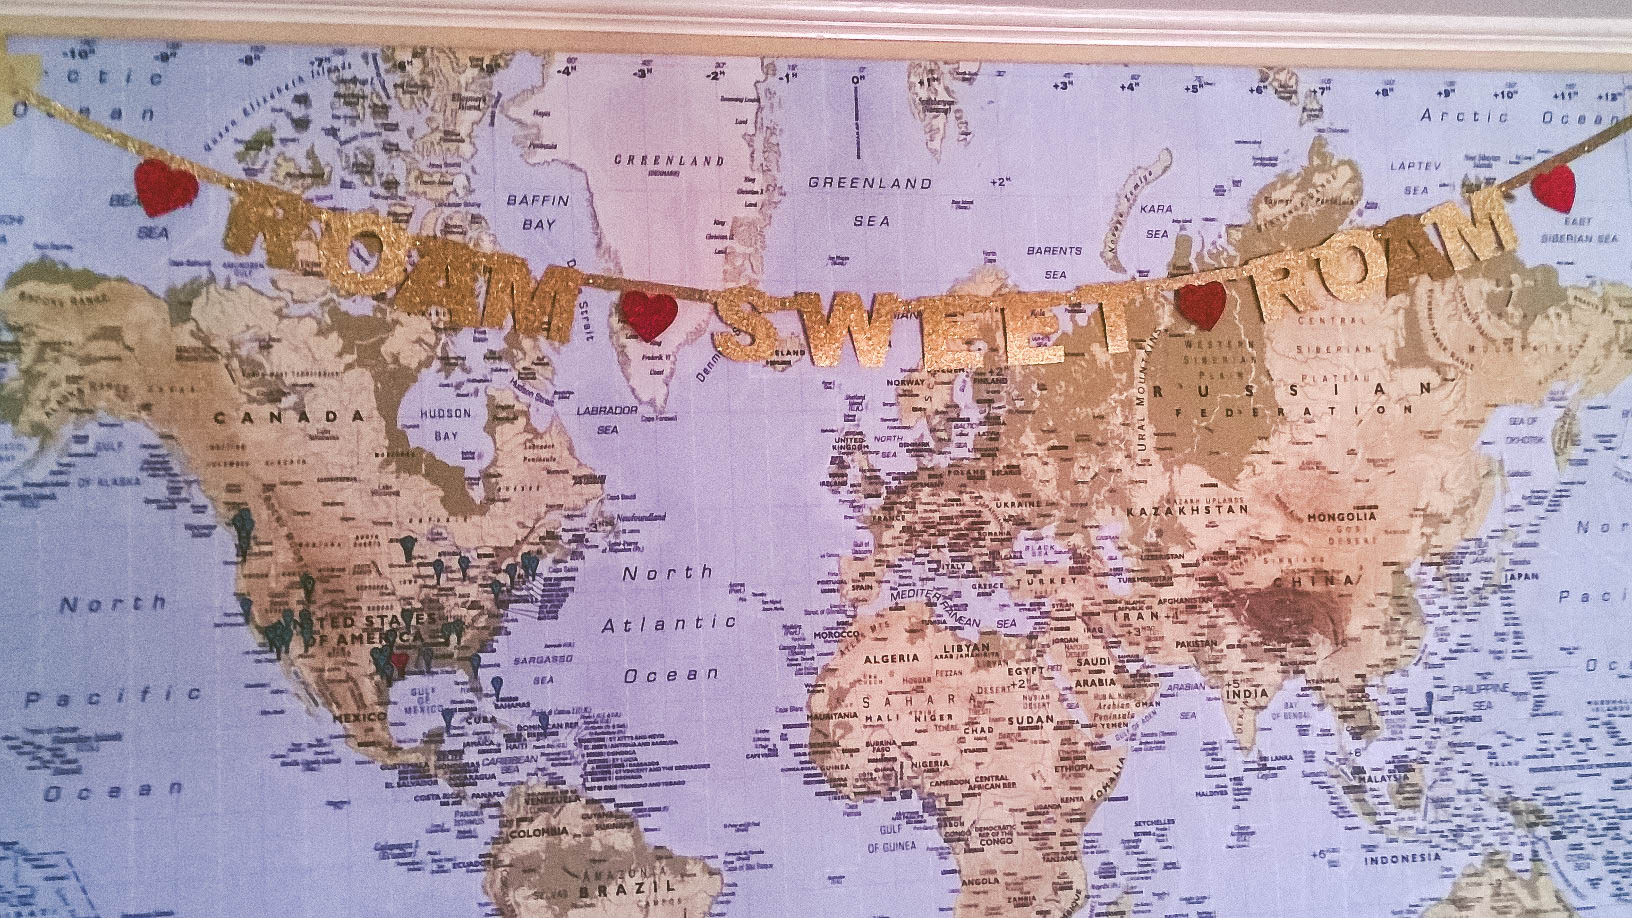
I’ve been doing tons of tiny projects for my mini kitchen makeover. No new cabinets or anything too fancy-mostly just a fresh coat of paint on many of the items in there. More about that later!
I took a break from that to do this Glitter Banner DIY.
I’ve been seeing a lot of these old-school style foil banners around the web & I think they’re just the cutest! They remind me of my birthdays growing up, but with clever little sayings.
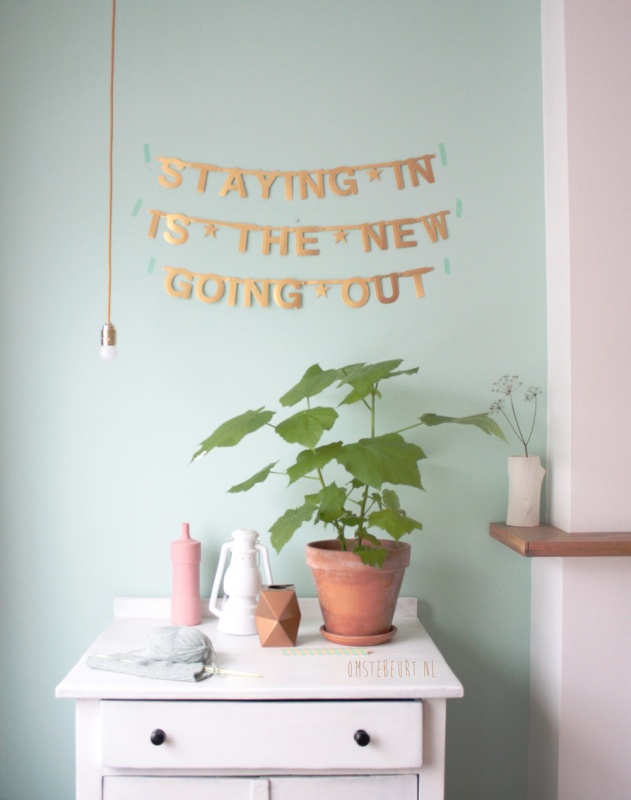
http://www.homeyohmy.com/
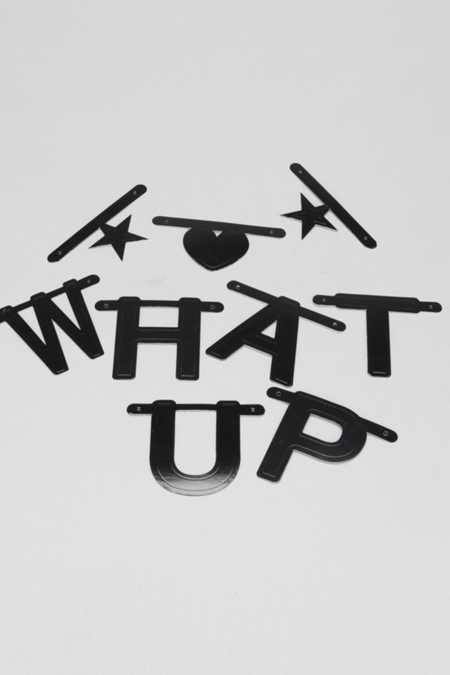
Urban Outfitters is even selling a little kit to put one together yourself.
But it only comes in black!

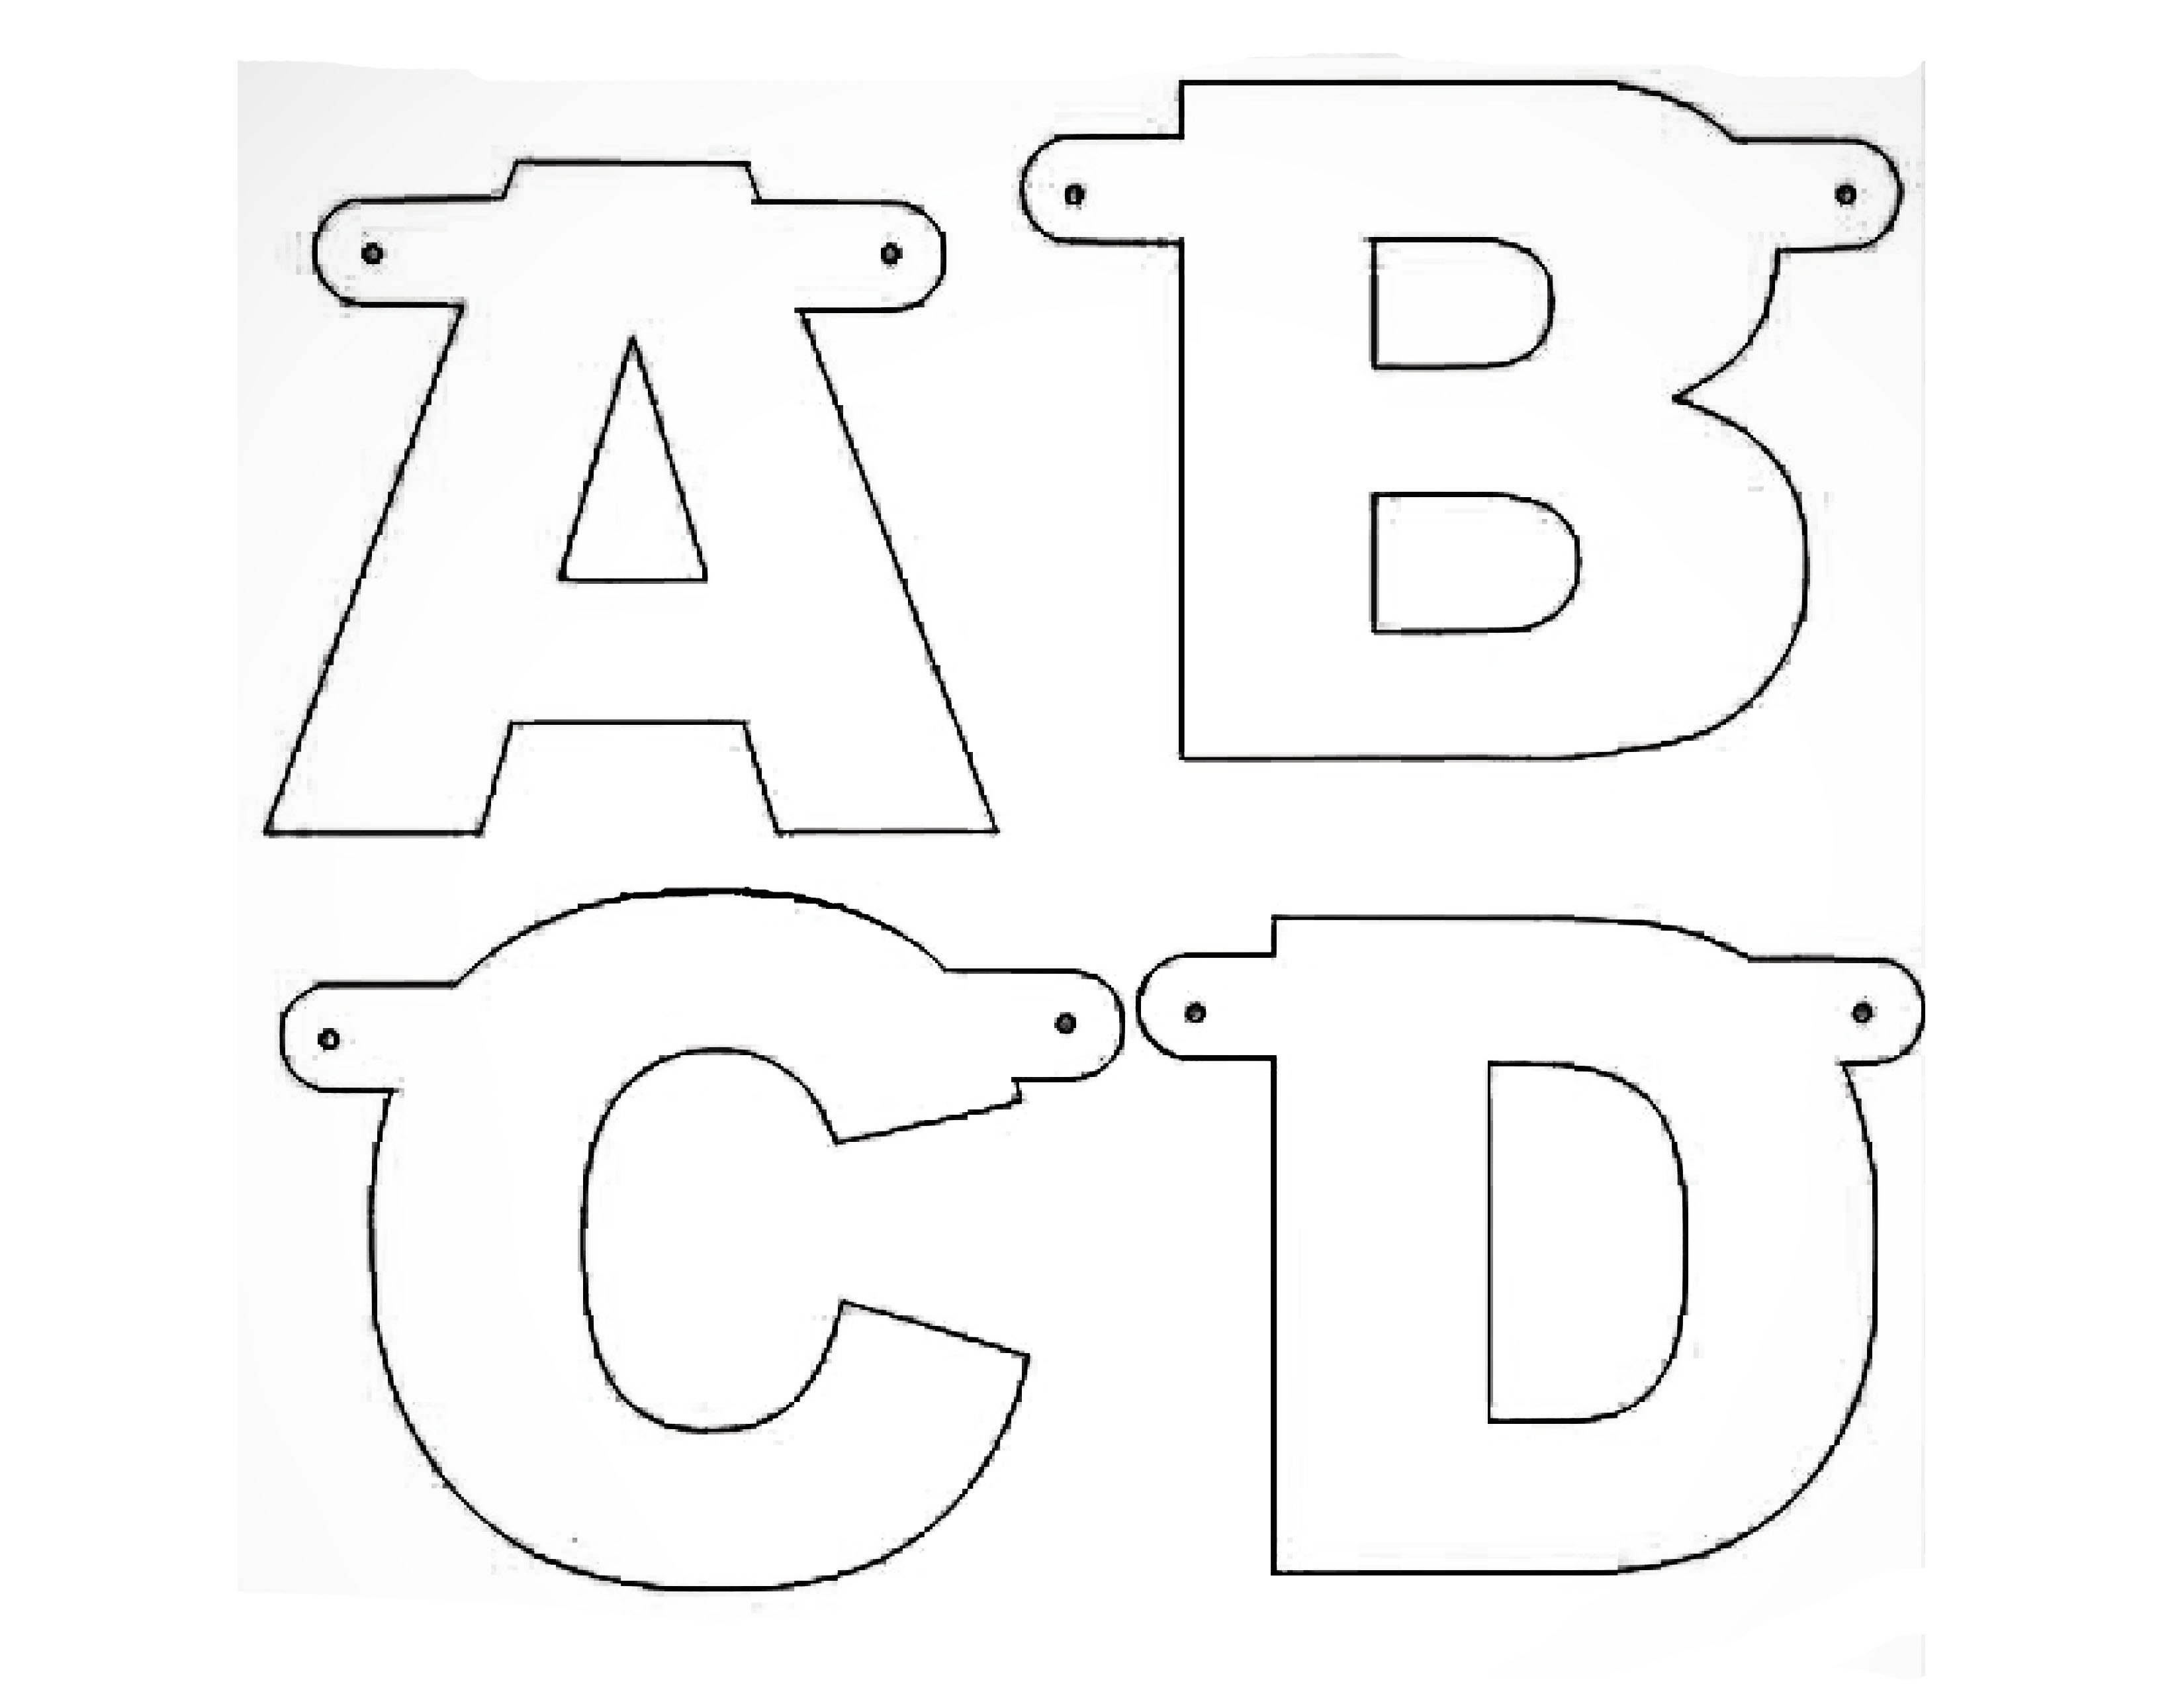
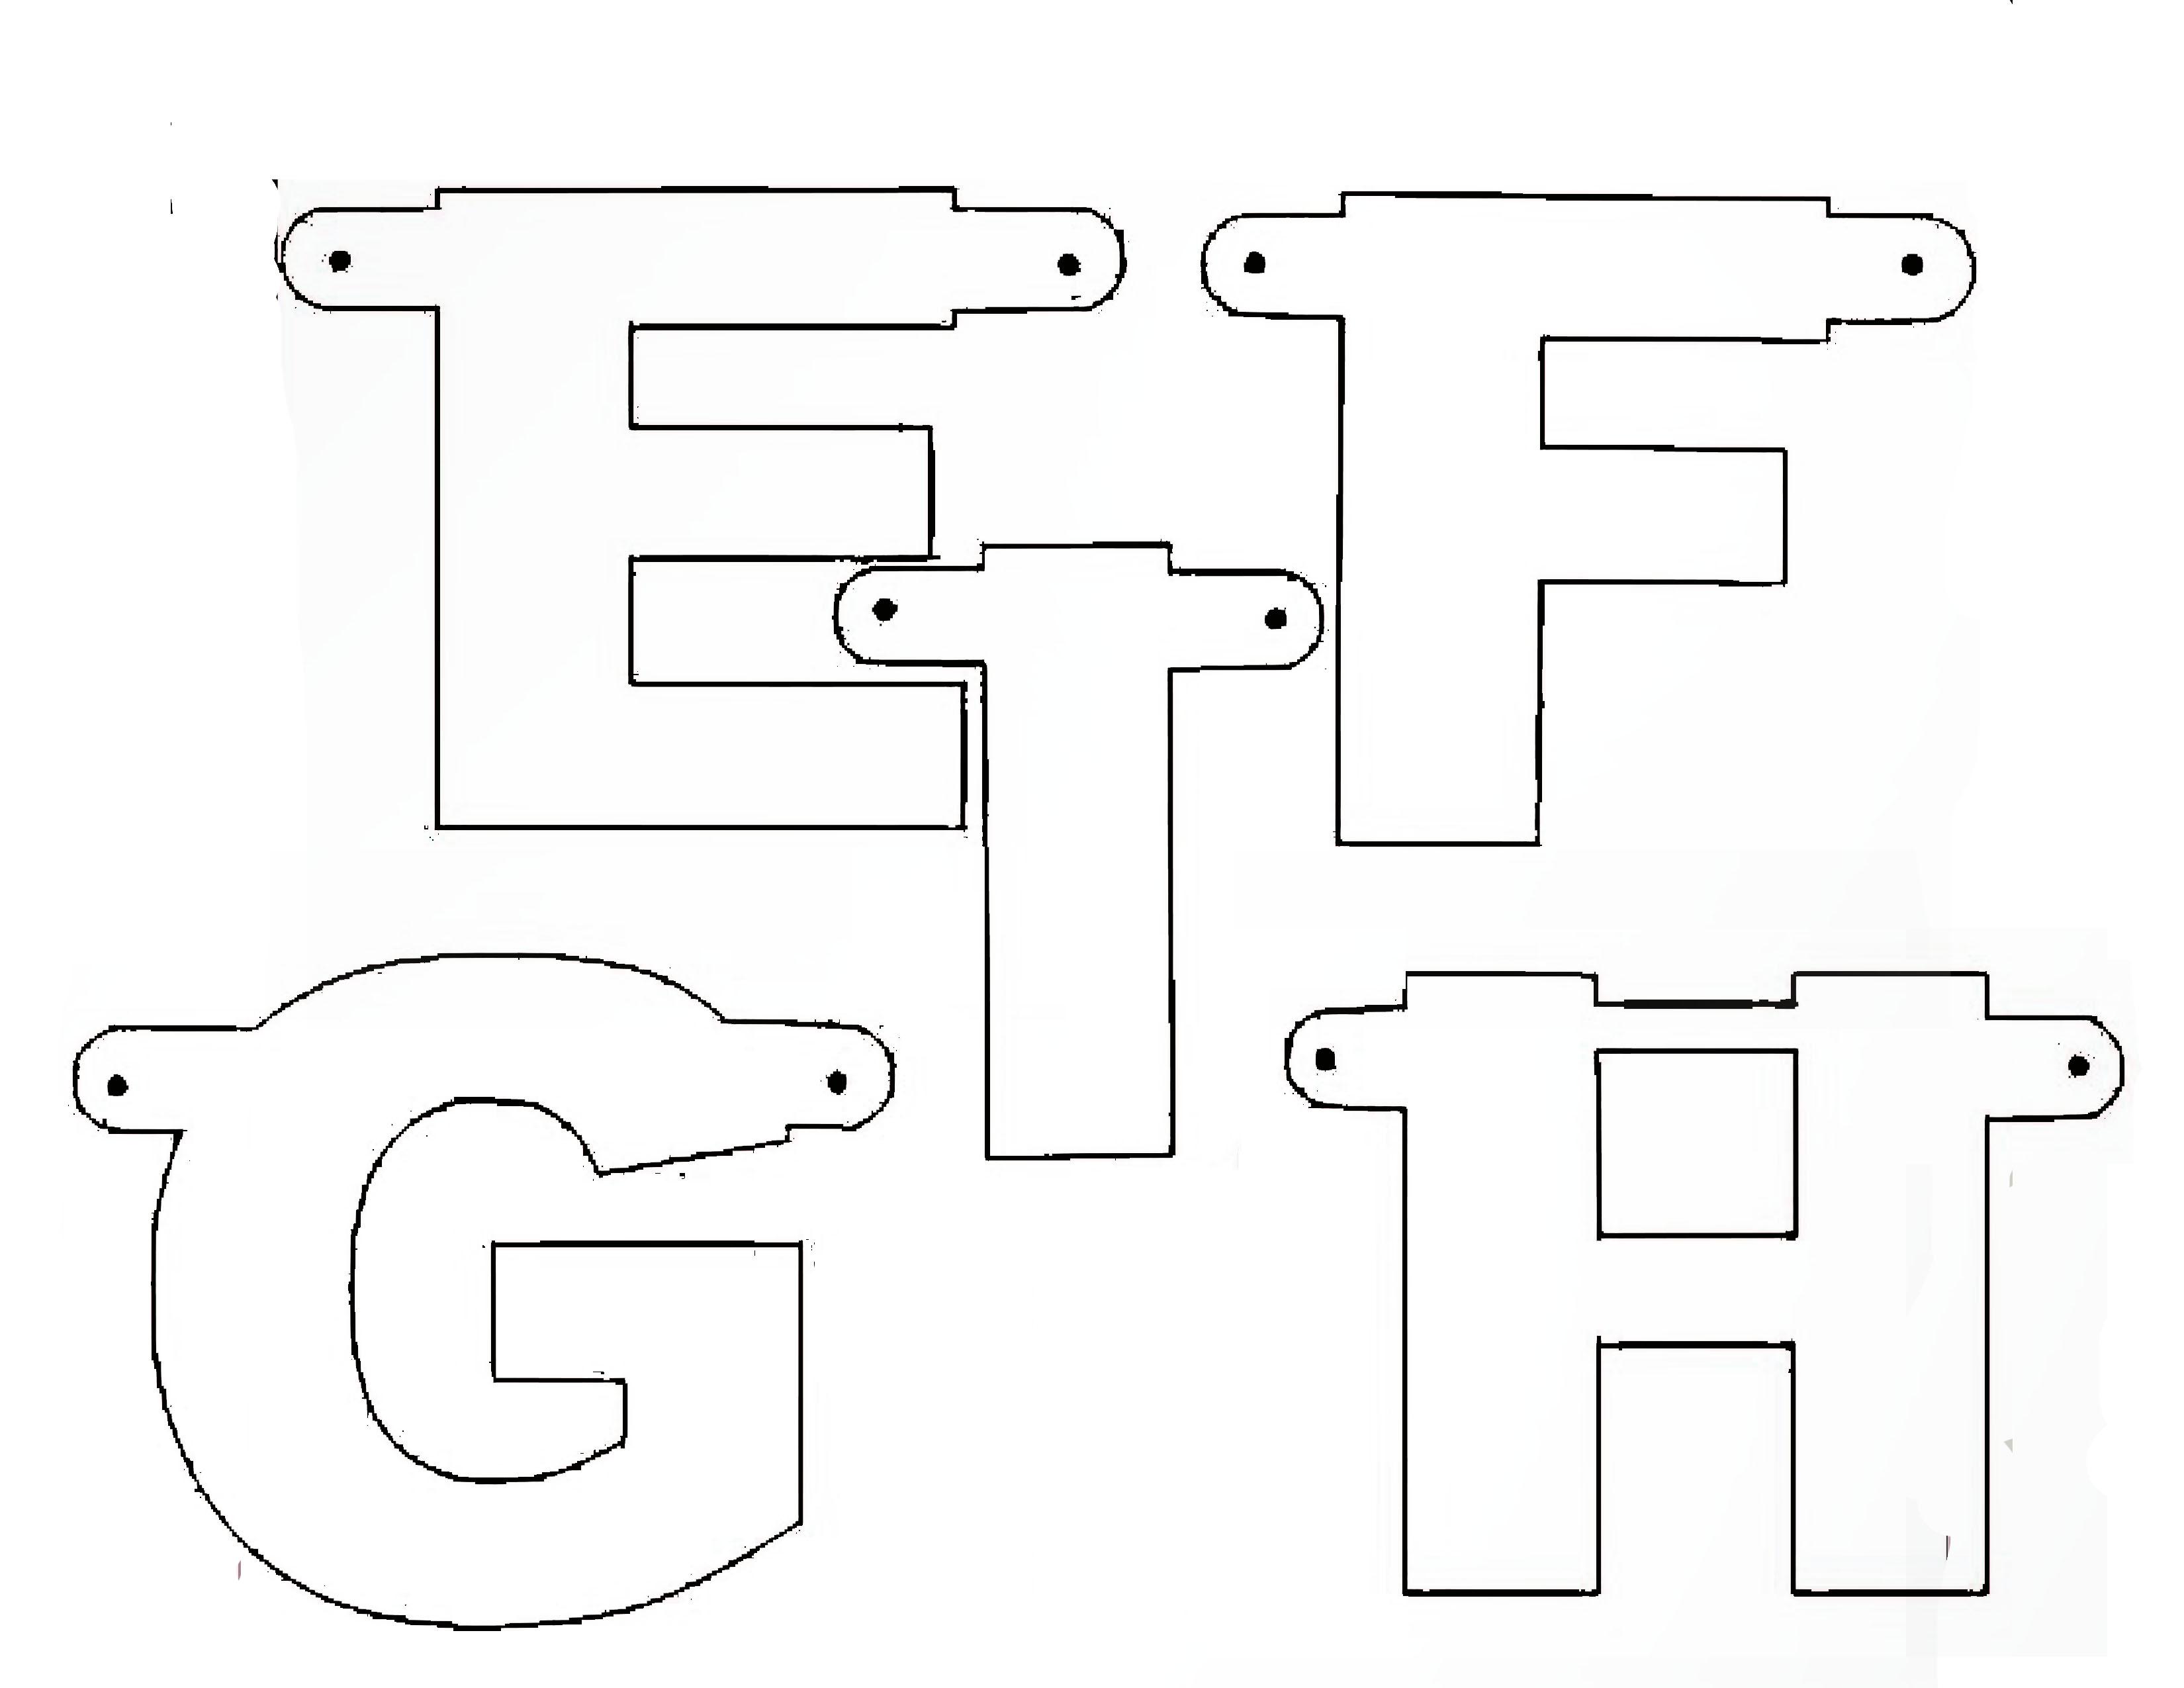
After scouring Pinterest and going through a plethora of those same ol’ boring flag banners, I only came up with one on how to post for traditional foil banners, by Parrish Platz. She did most of the hard work for me (thank you!!) by posting what looks like a scanned photo of the tabbed letters (it was so hard finding a font that was similar, even without the tabs) but the image wasn’t ready for printing-it looks as if it was scanned on square paper, it was a jpeg with tons of slight color variations that would do some major damage to my photo printer ink, and the letters were past the printable area of the page.
I did some quick switch-a-roos on Photoshop, made some PDF printables, cut ’em out, put ’em together, and I really like the results!
Glitter Party Banner DIY
You’ll need:
- Party Banner Printables (see below for downloads)
- scrapbook paper
- scissors
- X-acto blade
- X-acto punch
- self healing cutting mat
- mini brads
Optional:
- A hair tie, if you have long hair! I kept X-acto-ing my mermaid hair!
Steps:
- Cut out the printables.
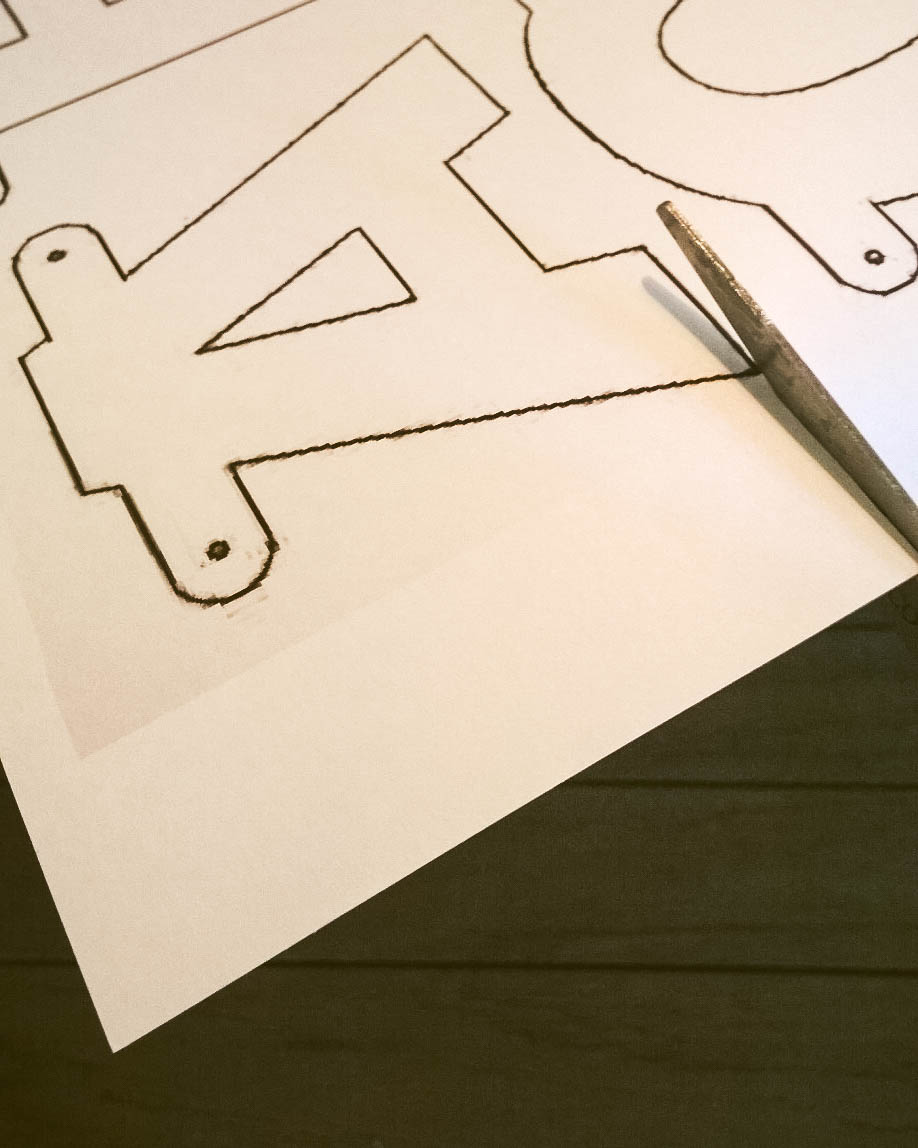
- Trace the letters upside-down on the back of the glitter paper. I try to set up the letters in a way that’ll use up the most of the glitter paper.
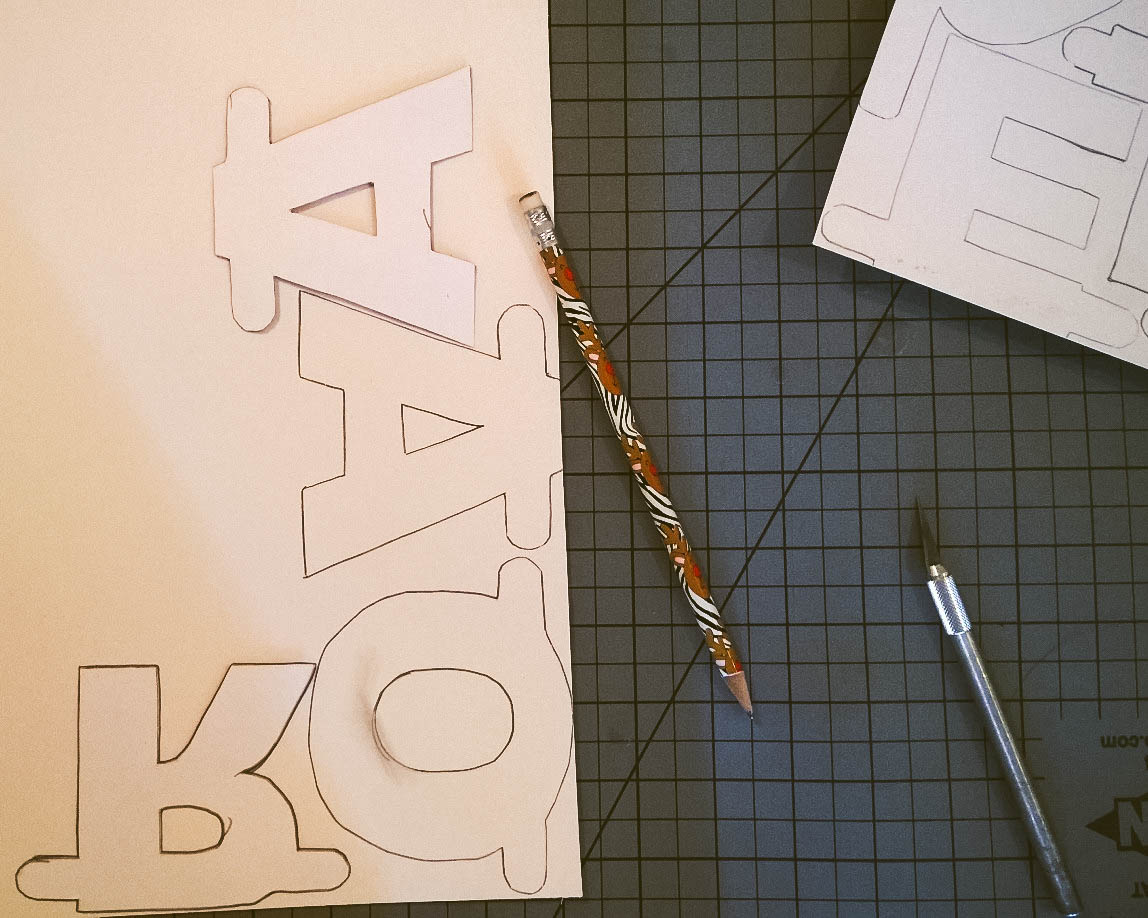
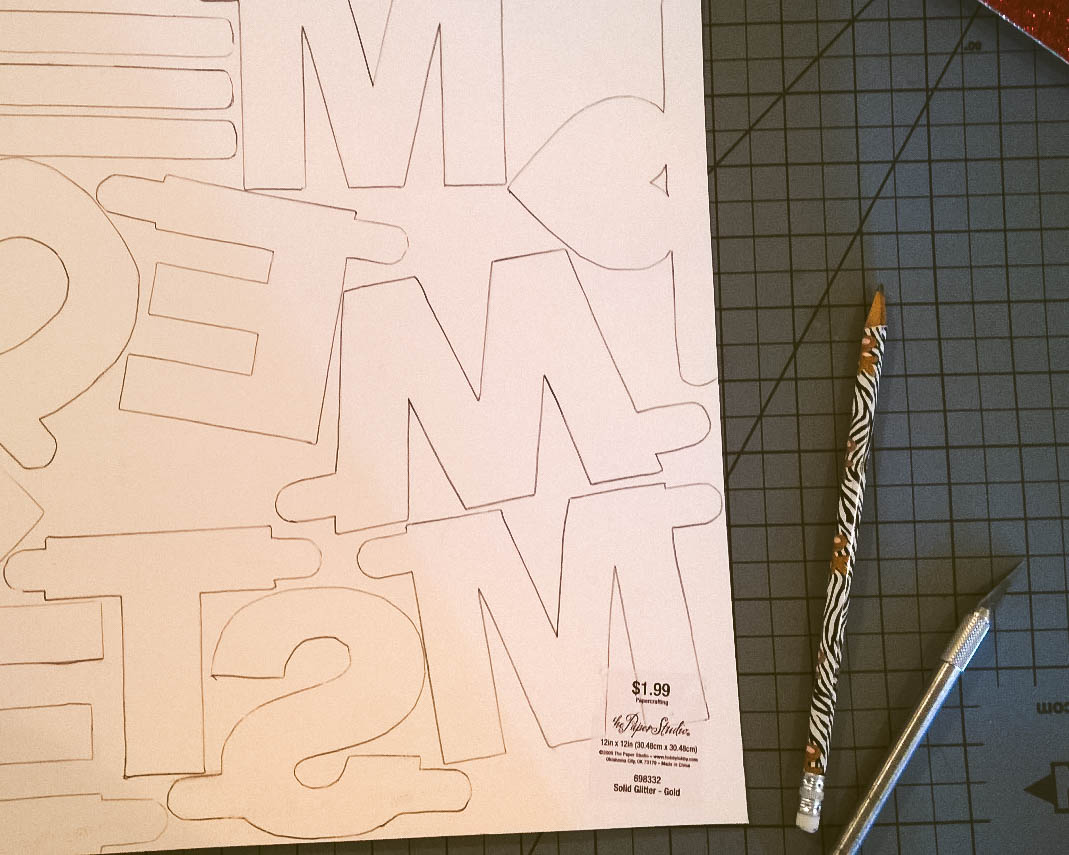
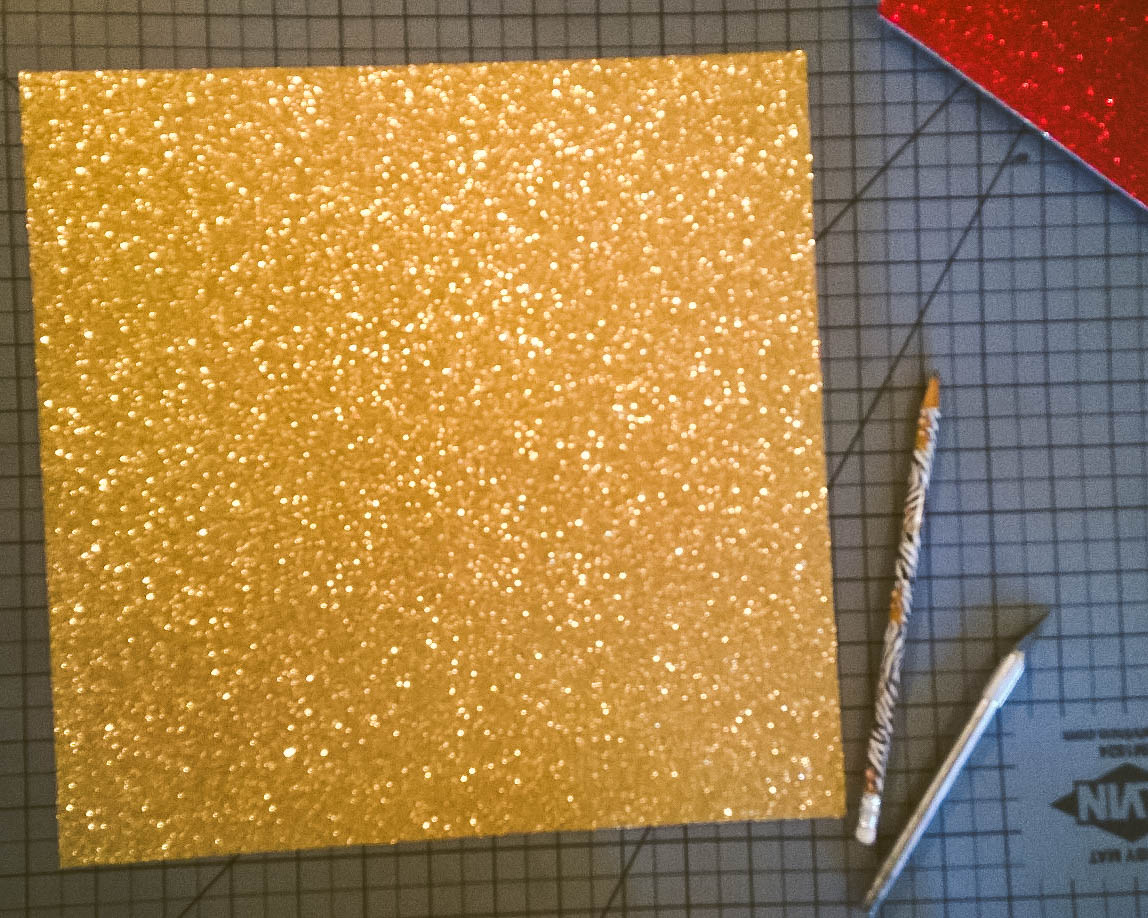
- It’s much easier, and you’ll like the results better, if you use an X-acto blade and a self healing cutting mat to get the nooks and crannies right. The glitter paper is a thick card stock, so it gets bent easily and stays like that if you’re just using regular scissors all the way around.
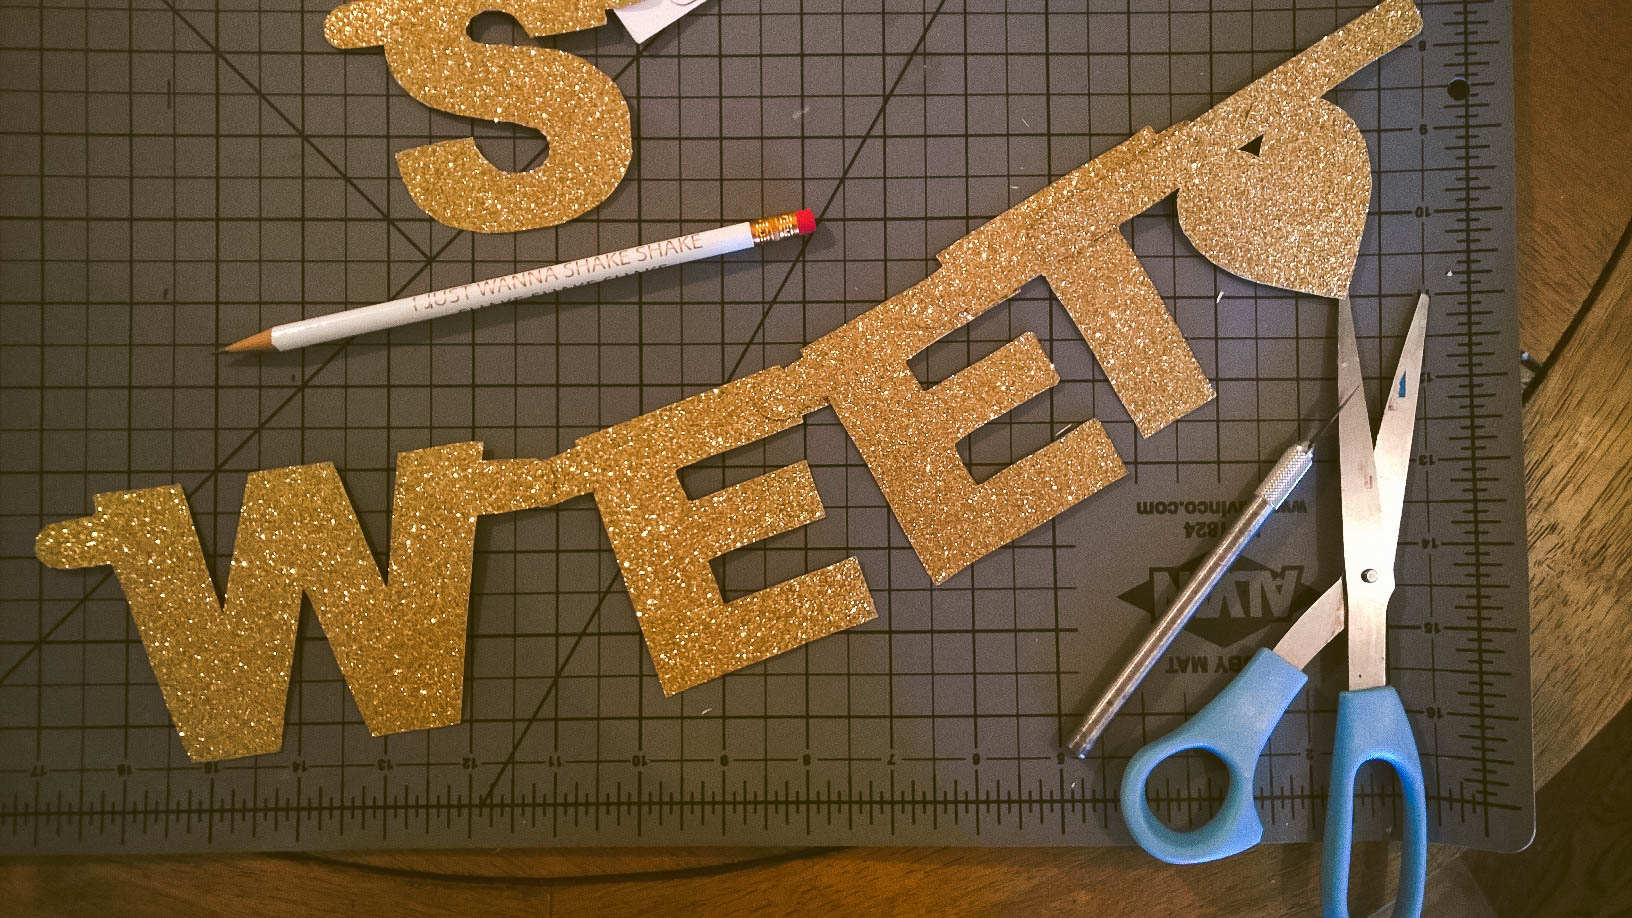
- Use the Xacto to make a tiny hole in the tab, and place a brad between each letter to attach.
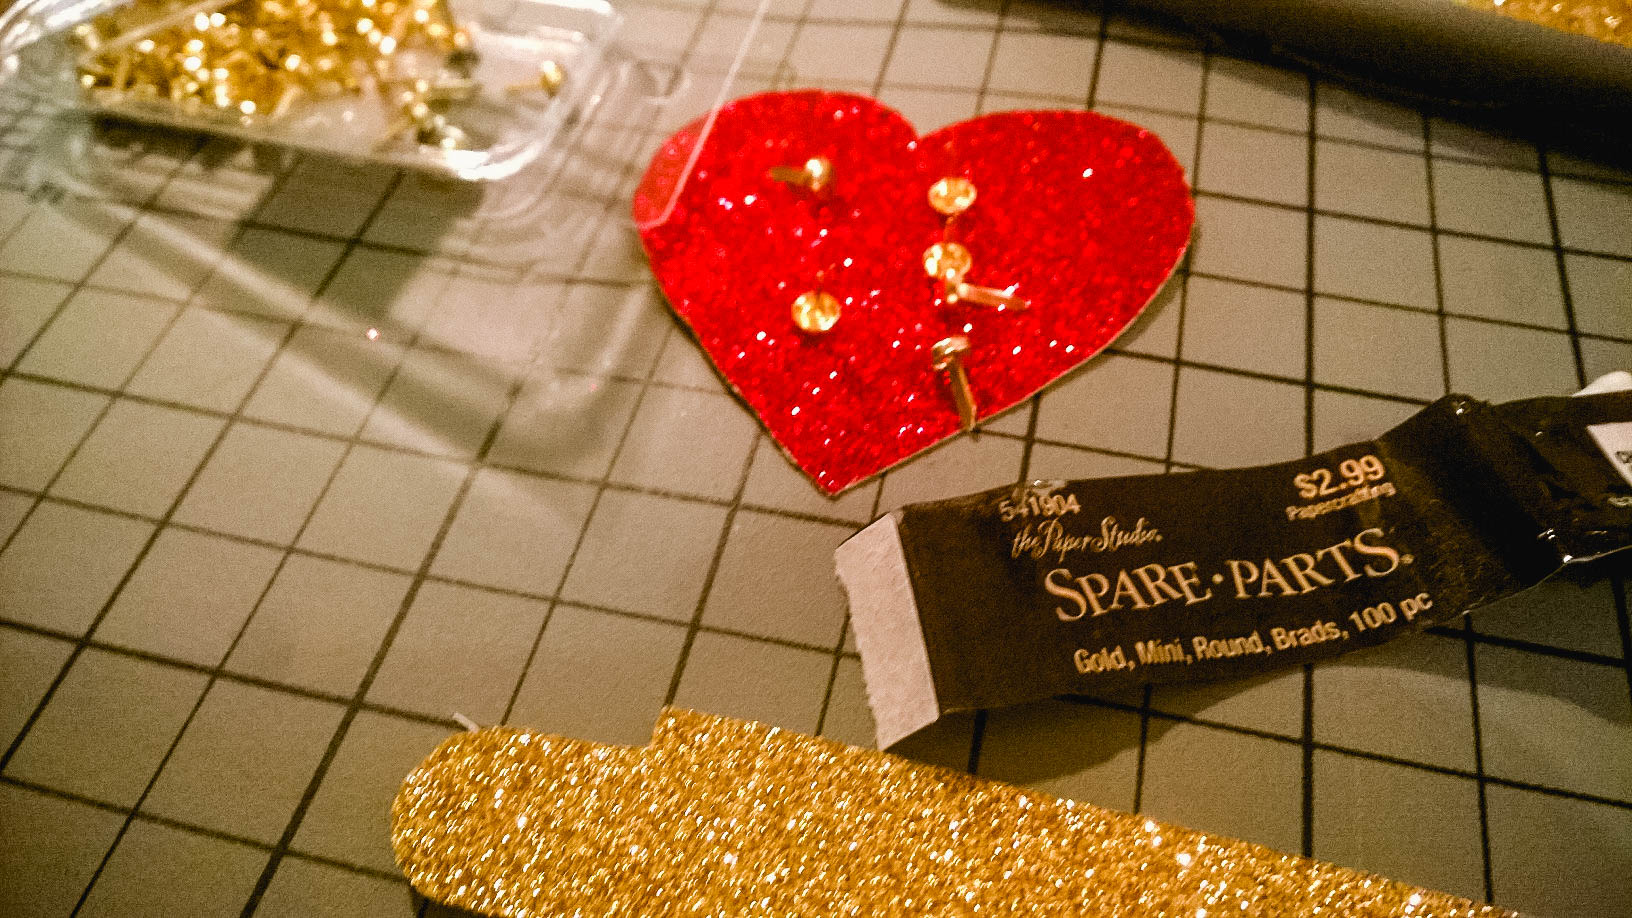
- You’re ready to hang!
Road humps:
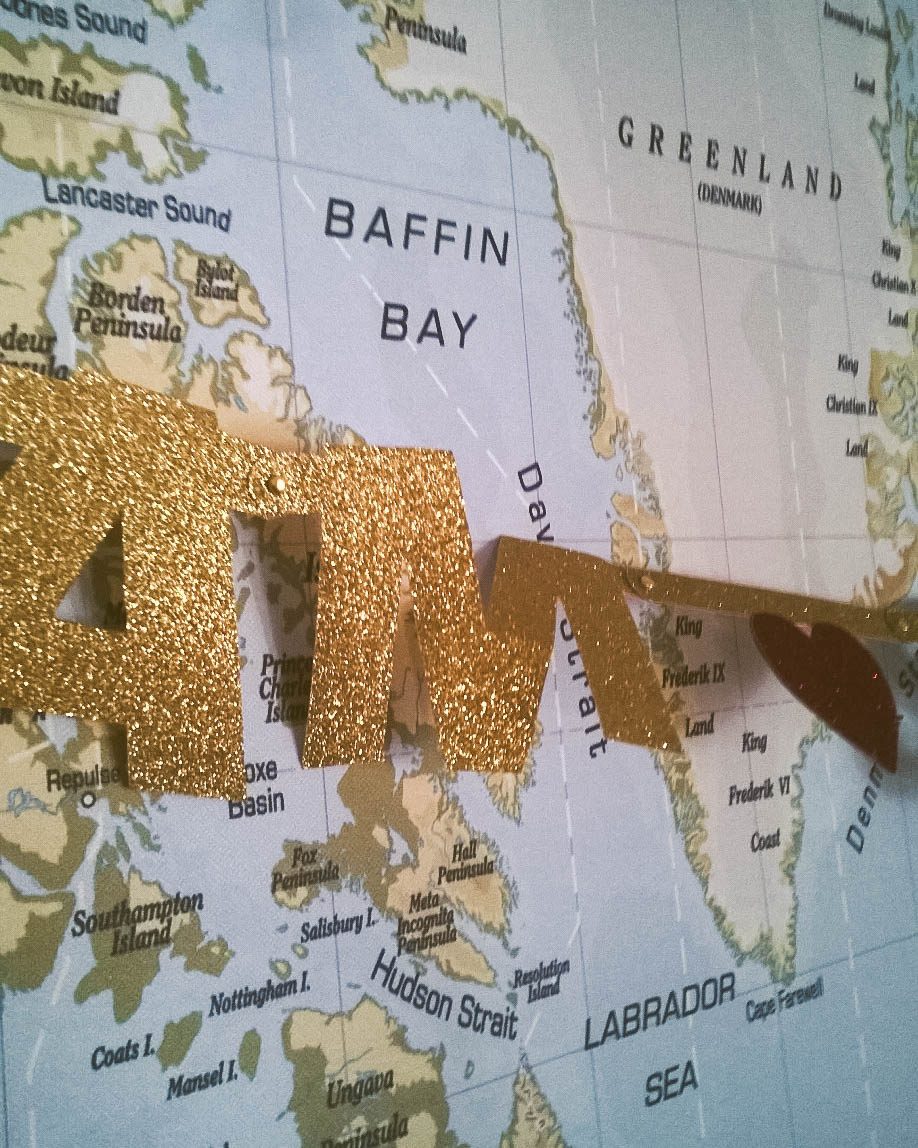
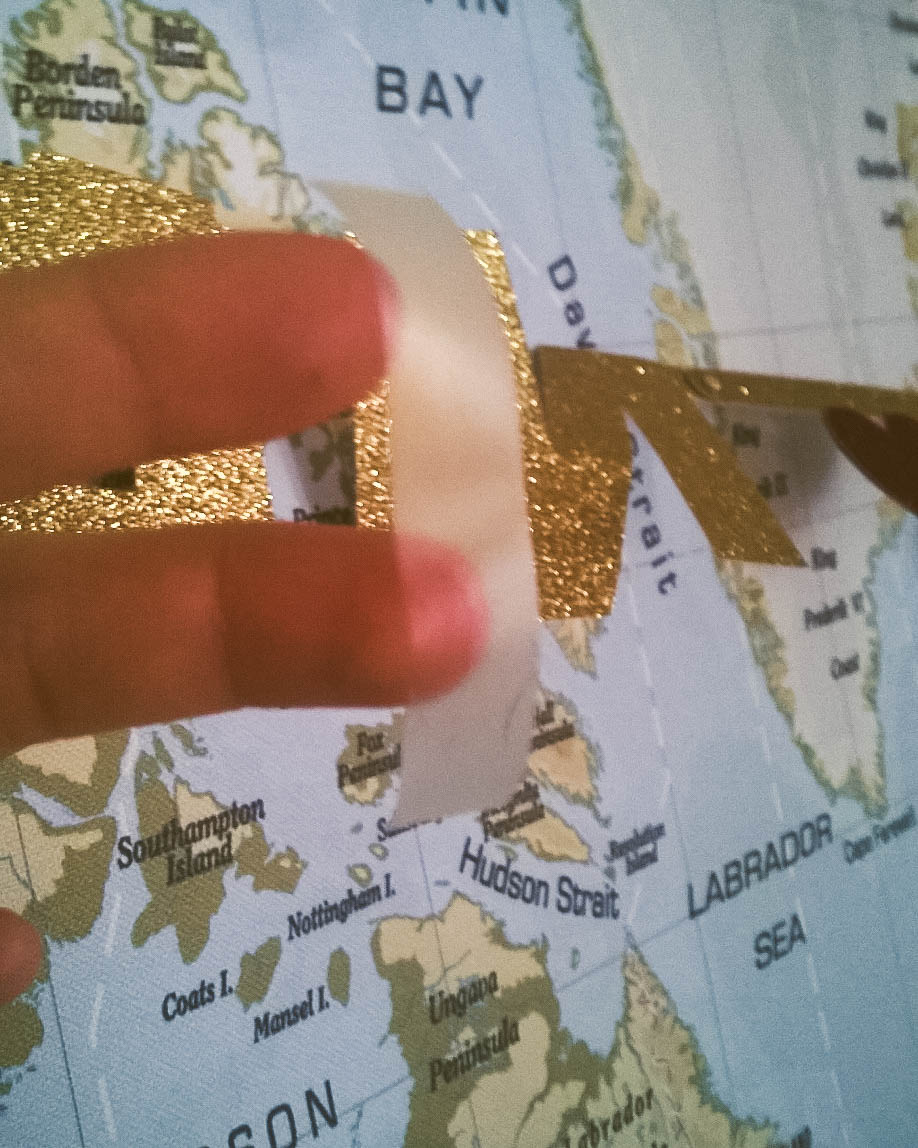
I made the mistake of cutting the thinner lines off that kept the top of the Ms together. They started looking a little flimsy when I went to hang the banner.
Nothing a little clear tape couldn’t fix!
Click below for the printables, And let me know if you decide to make your own banner, I’d love to see what you come up with!
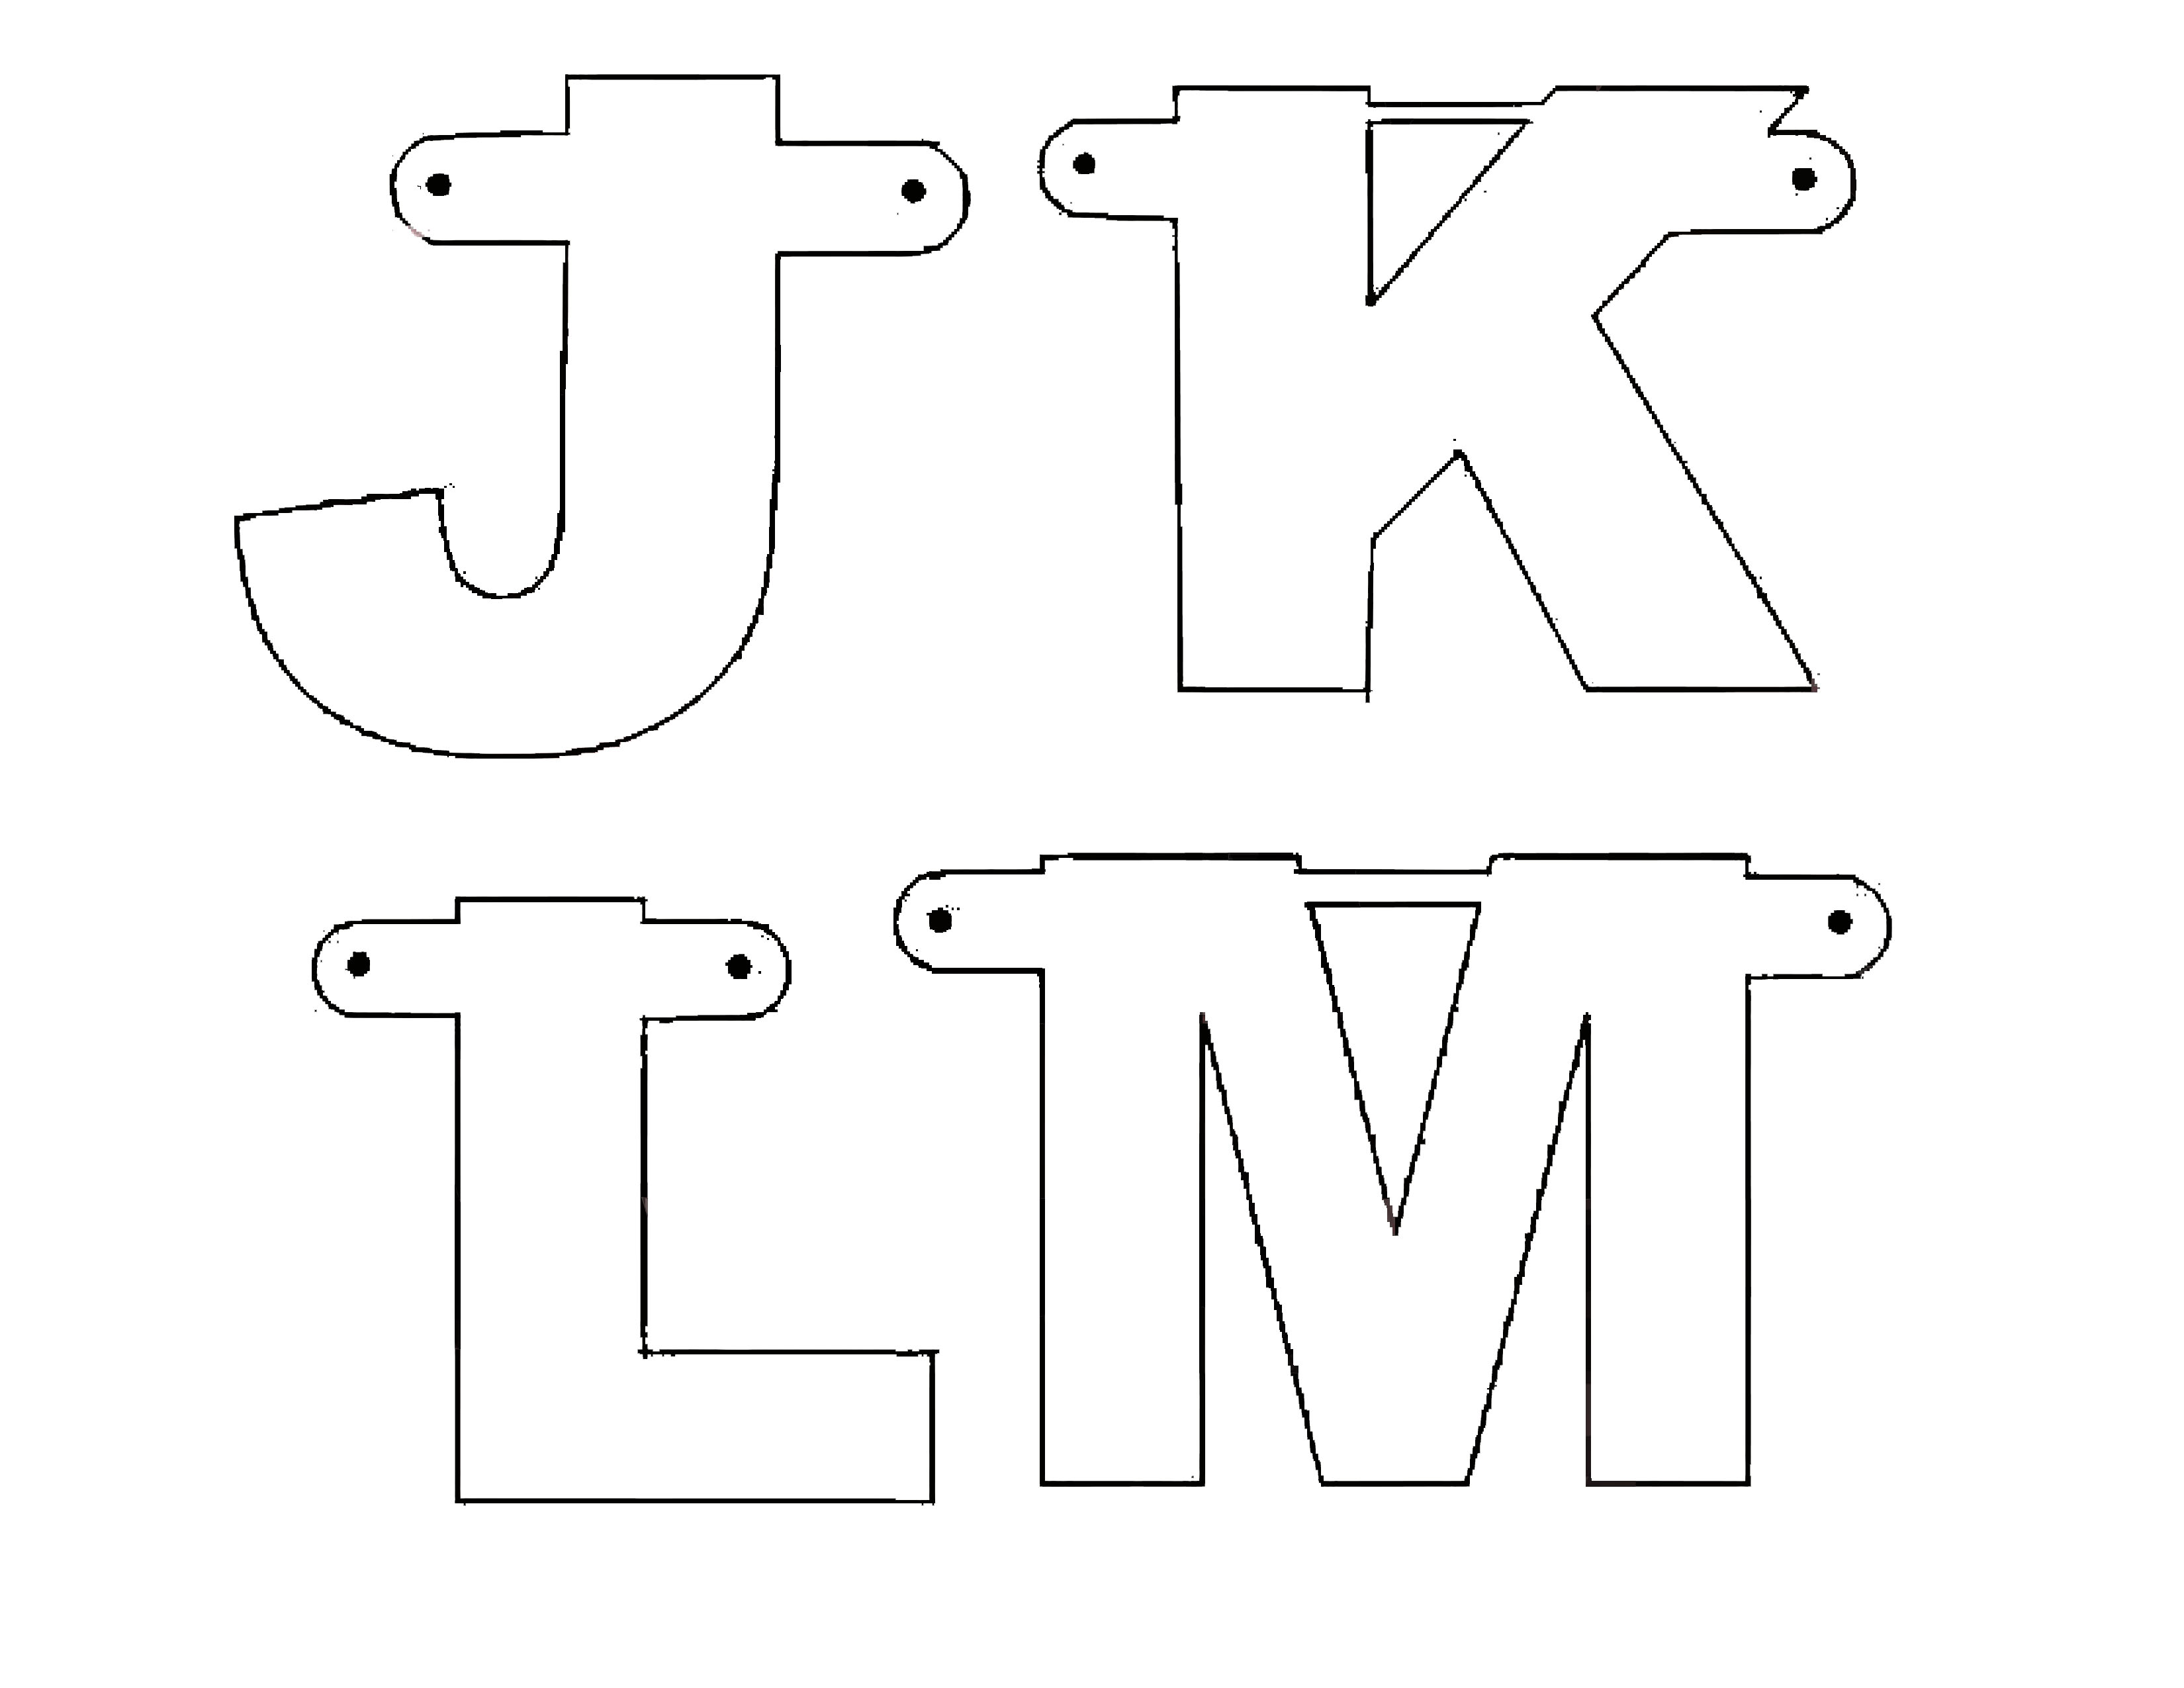 make your own banner J-M
 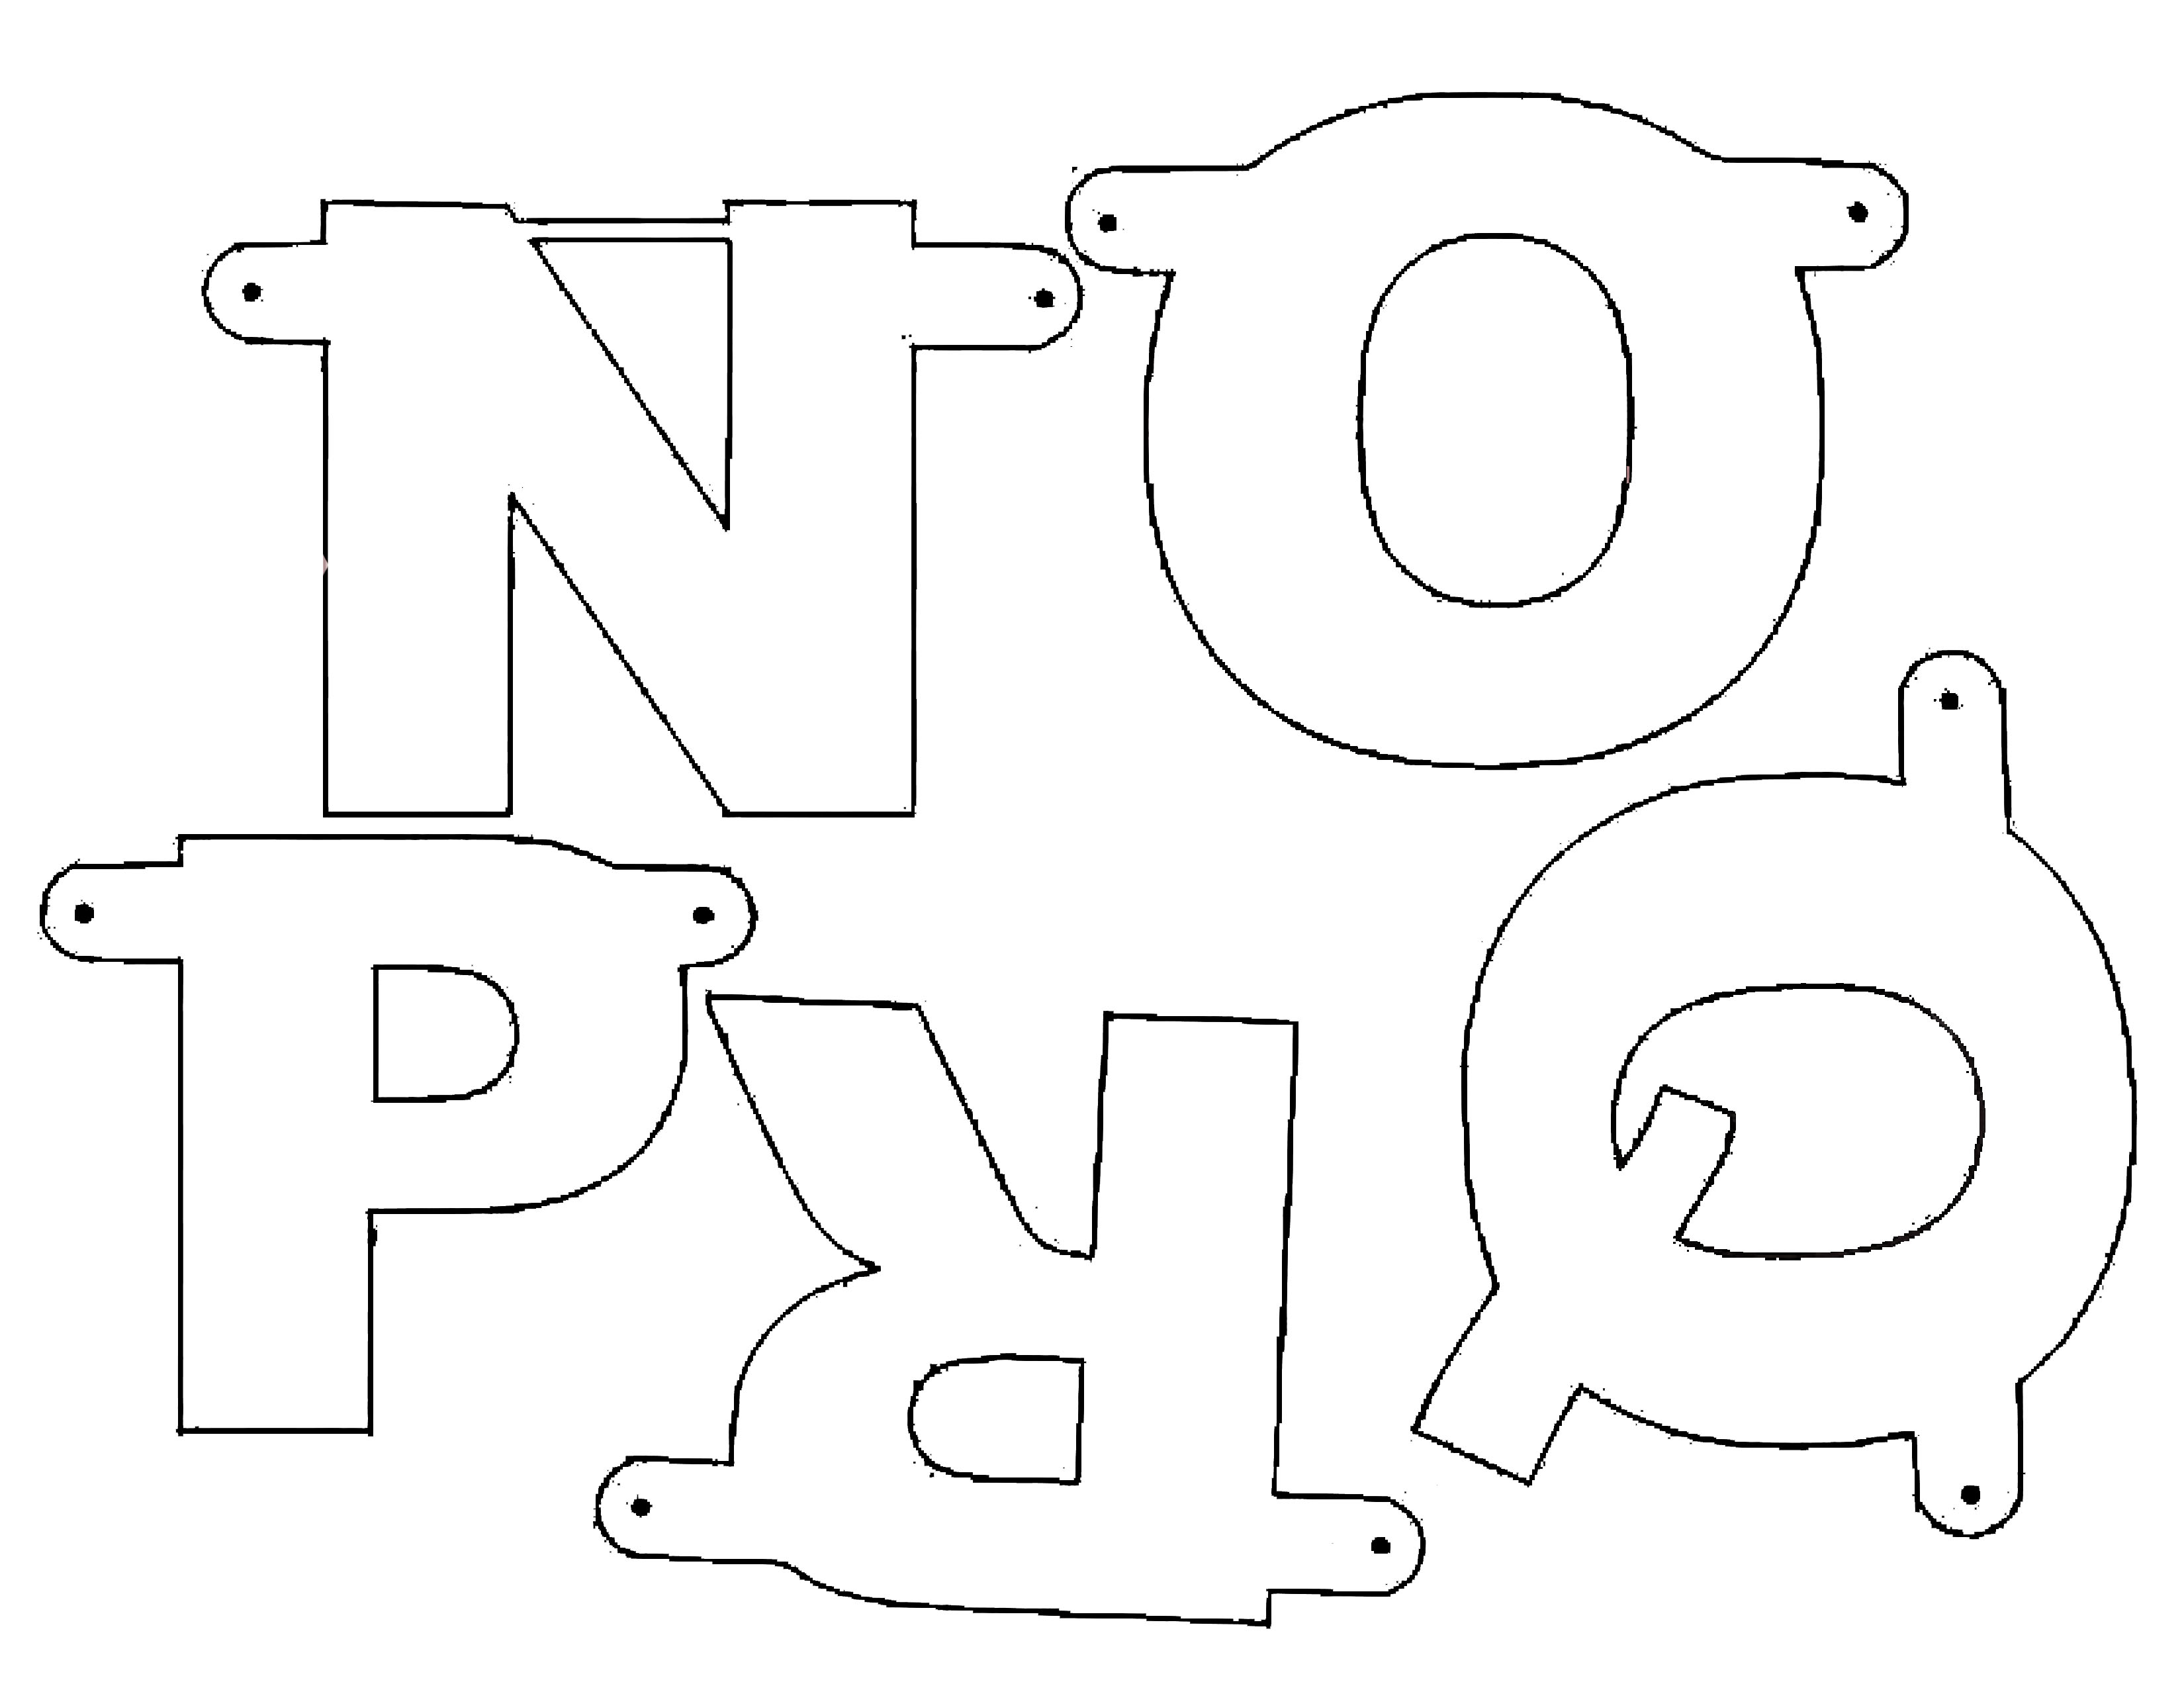 make your own banner N-R
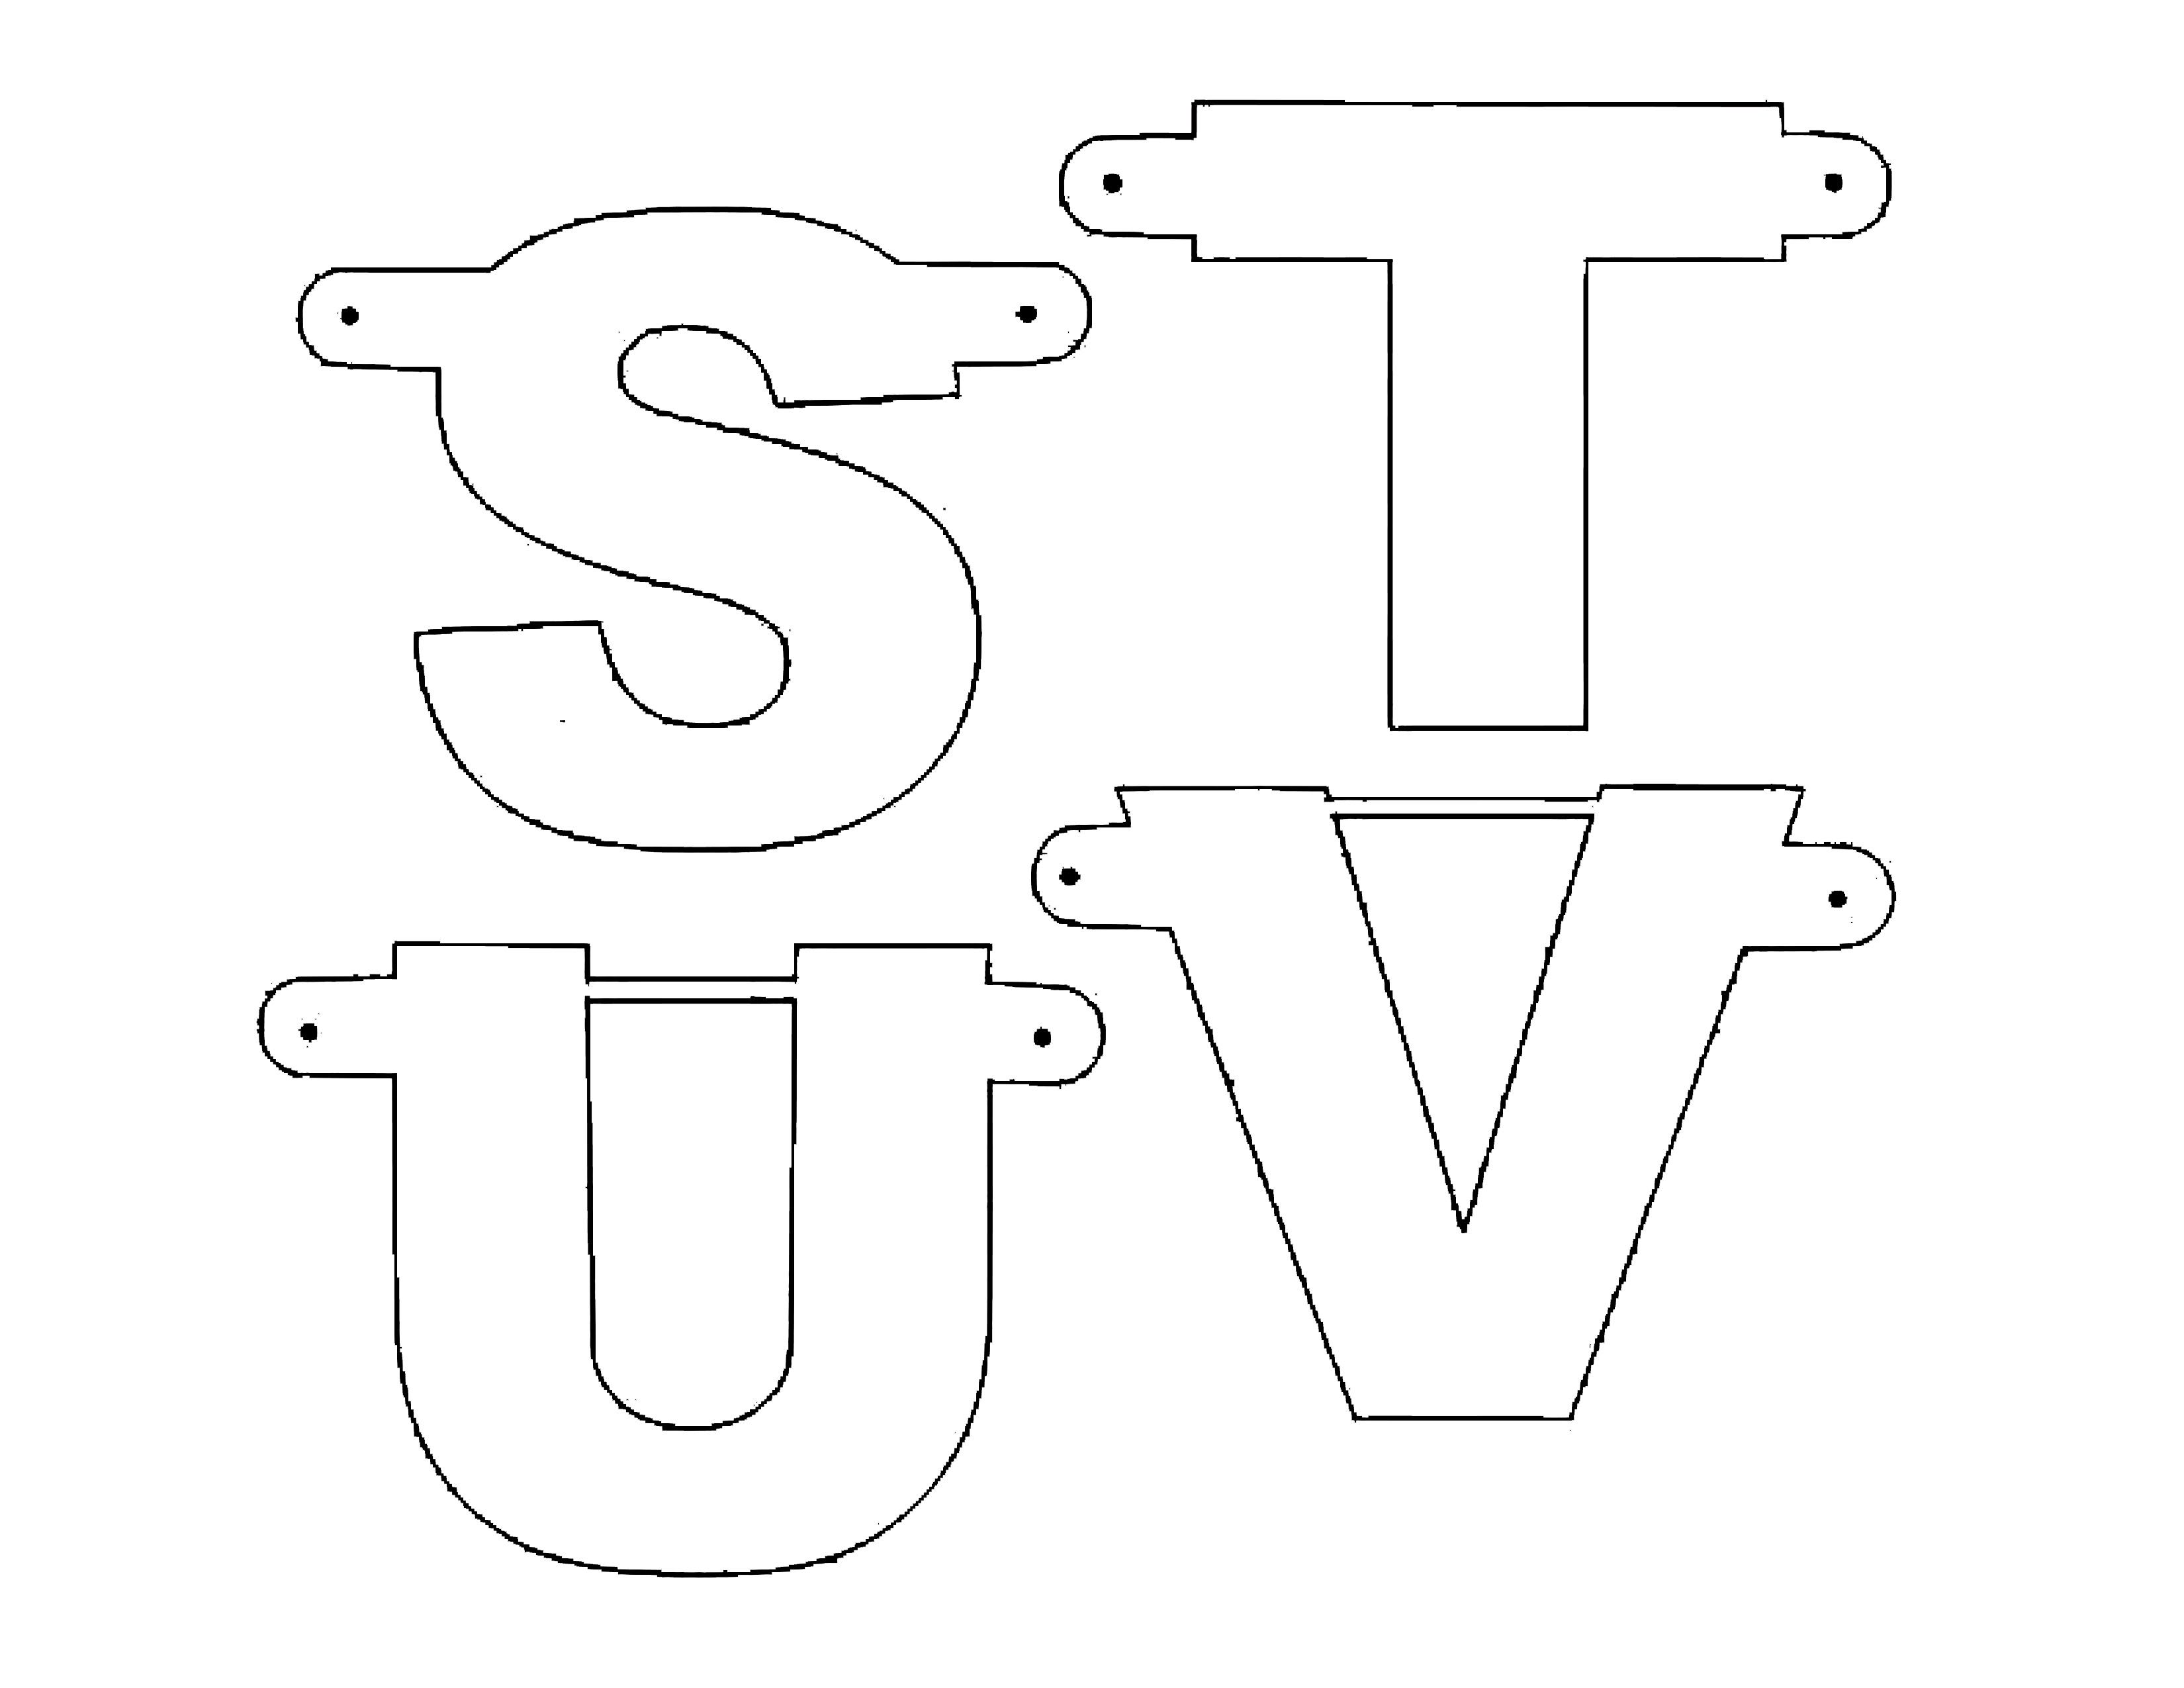 make your own banner S-V
 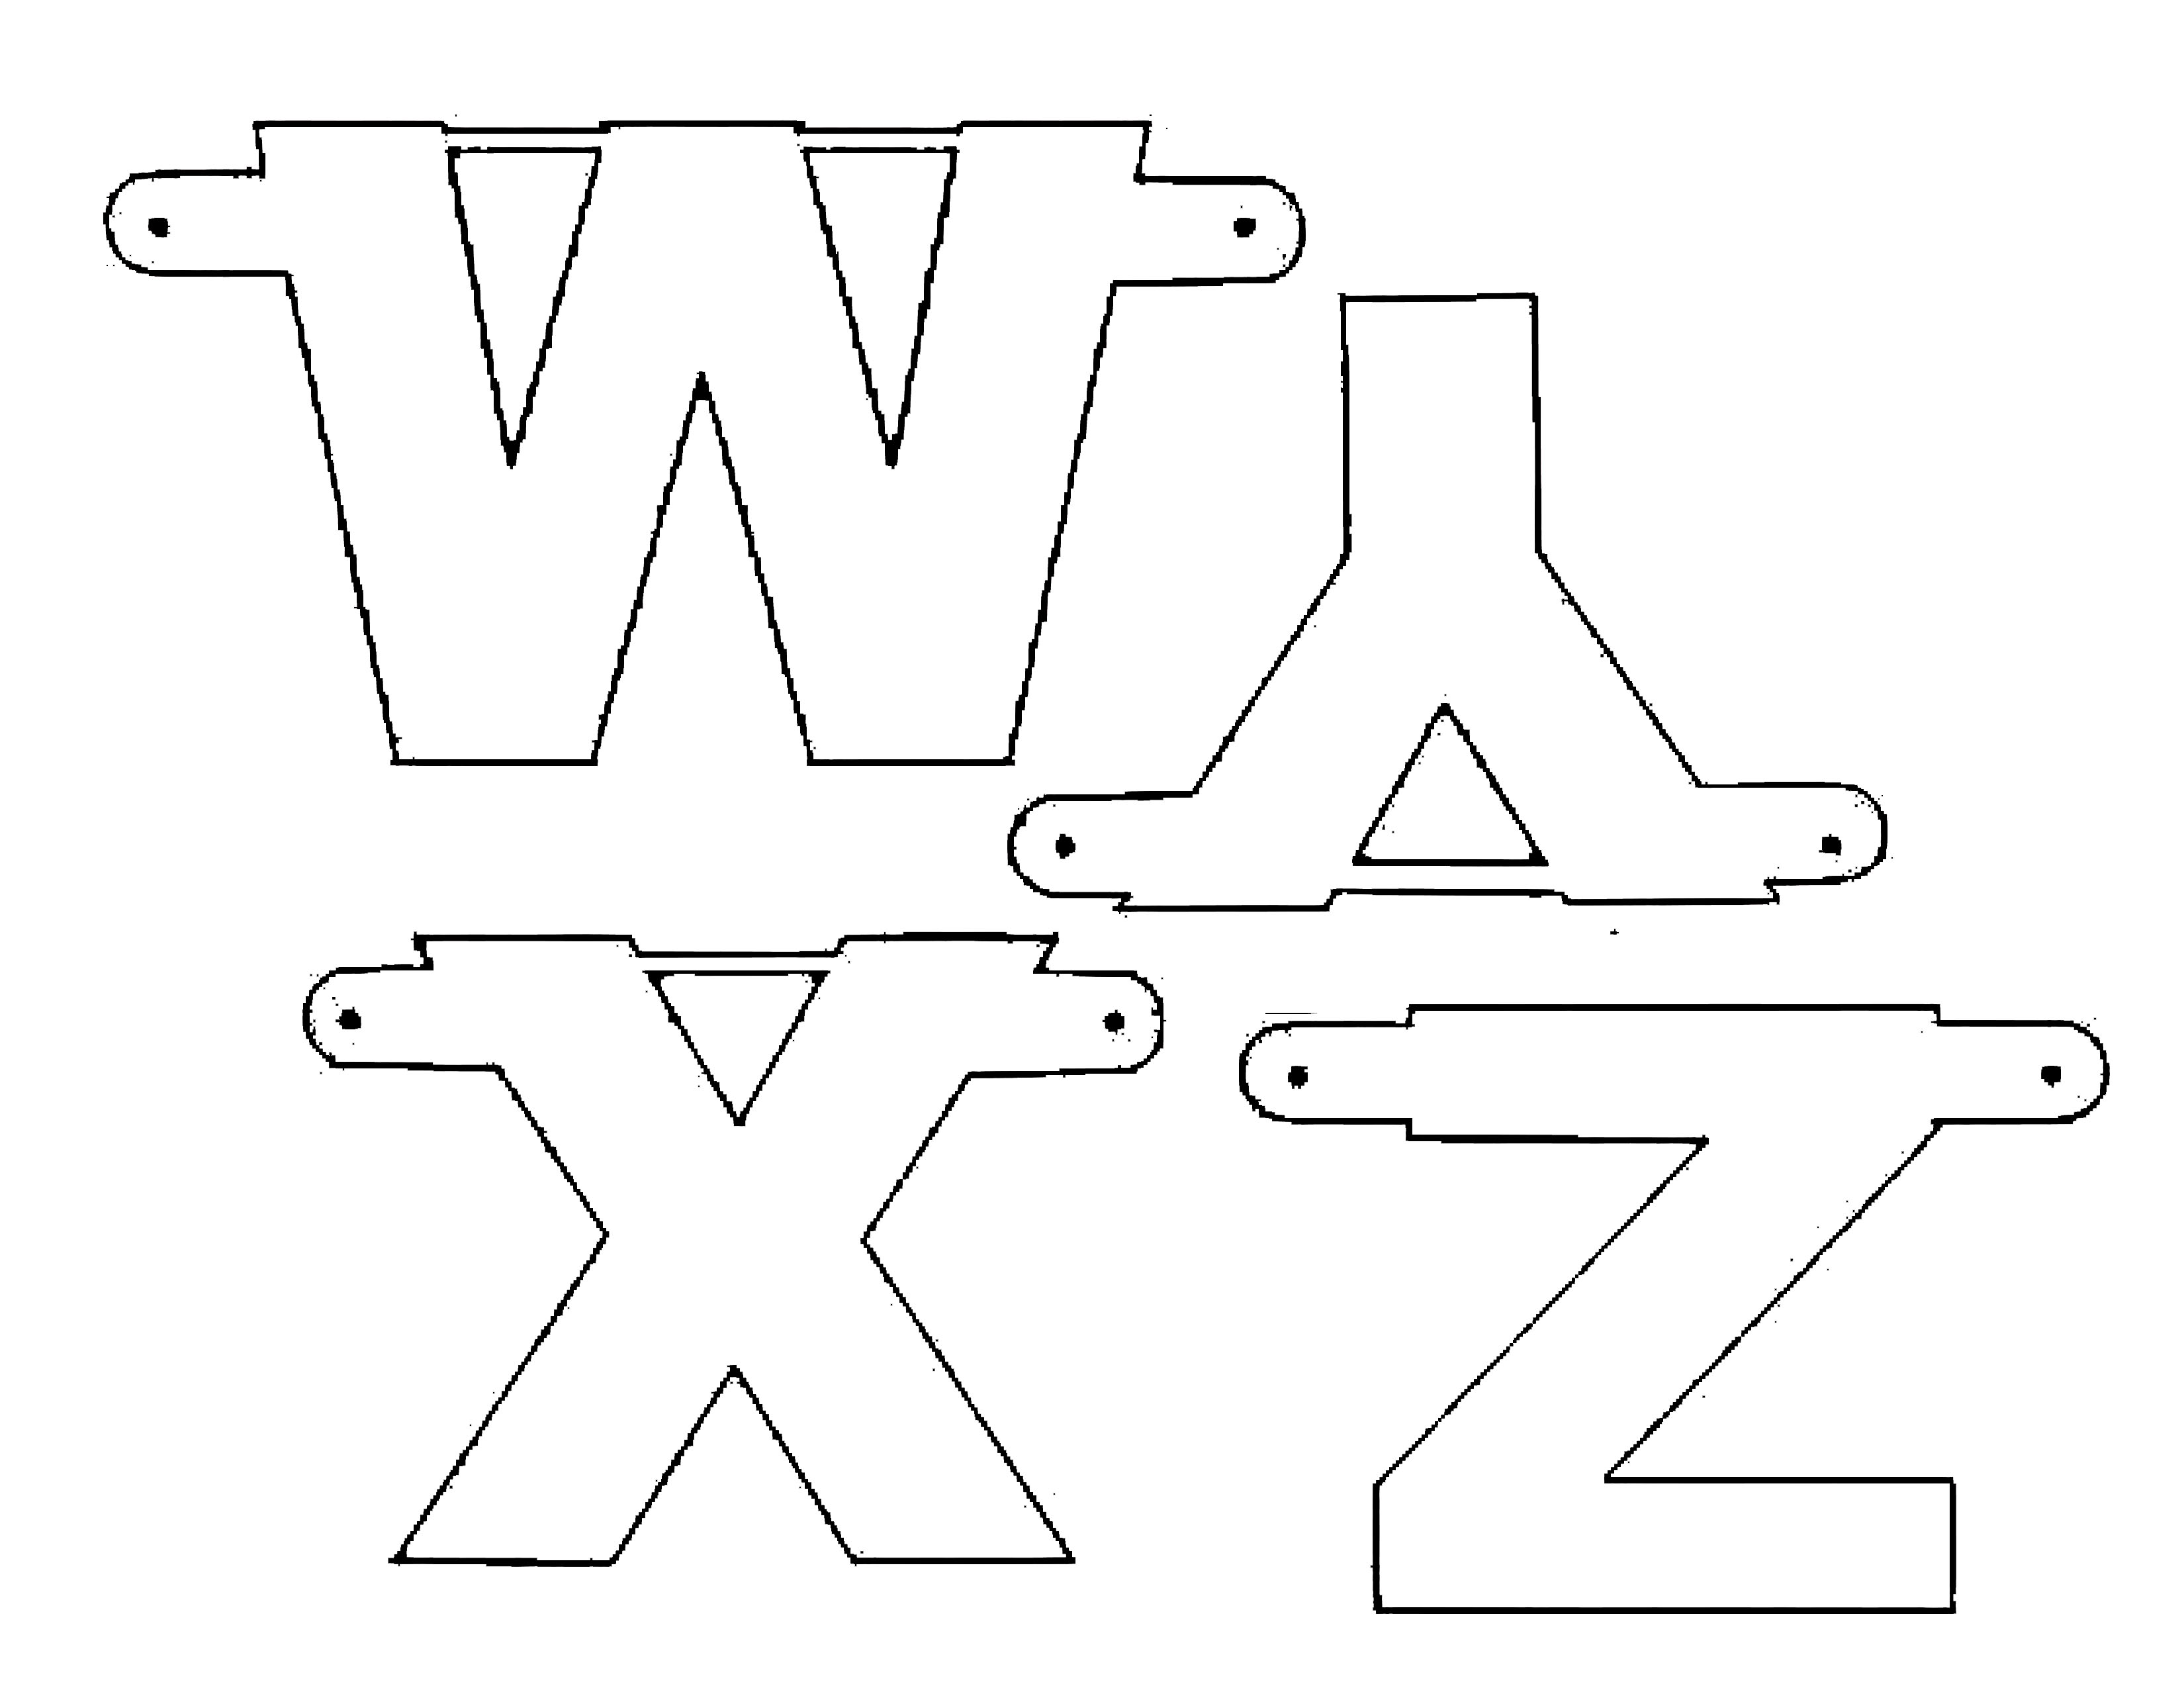 make your own banner W-Z
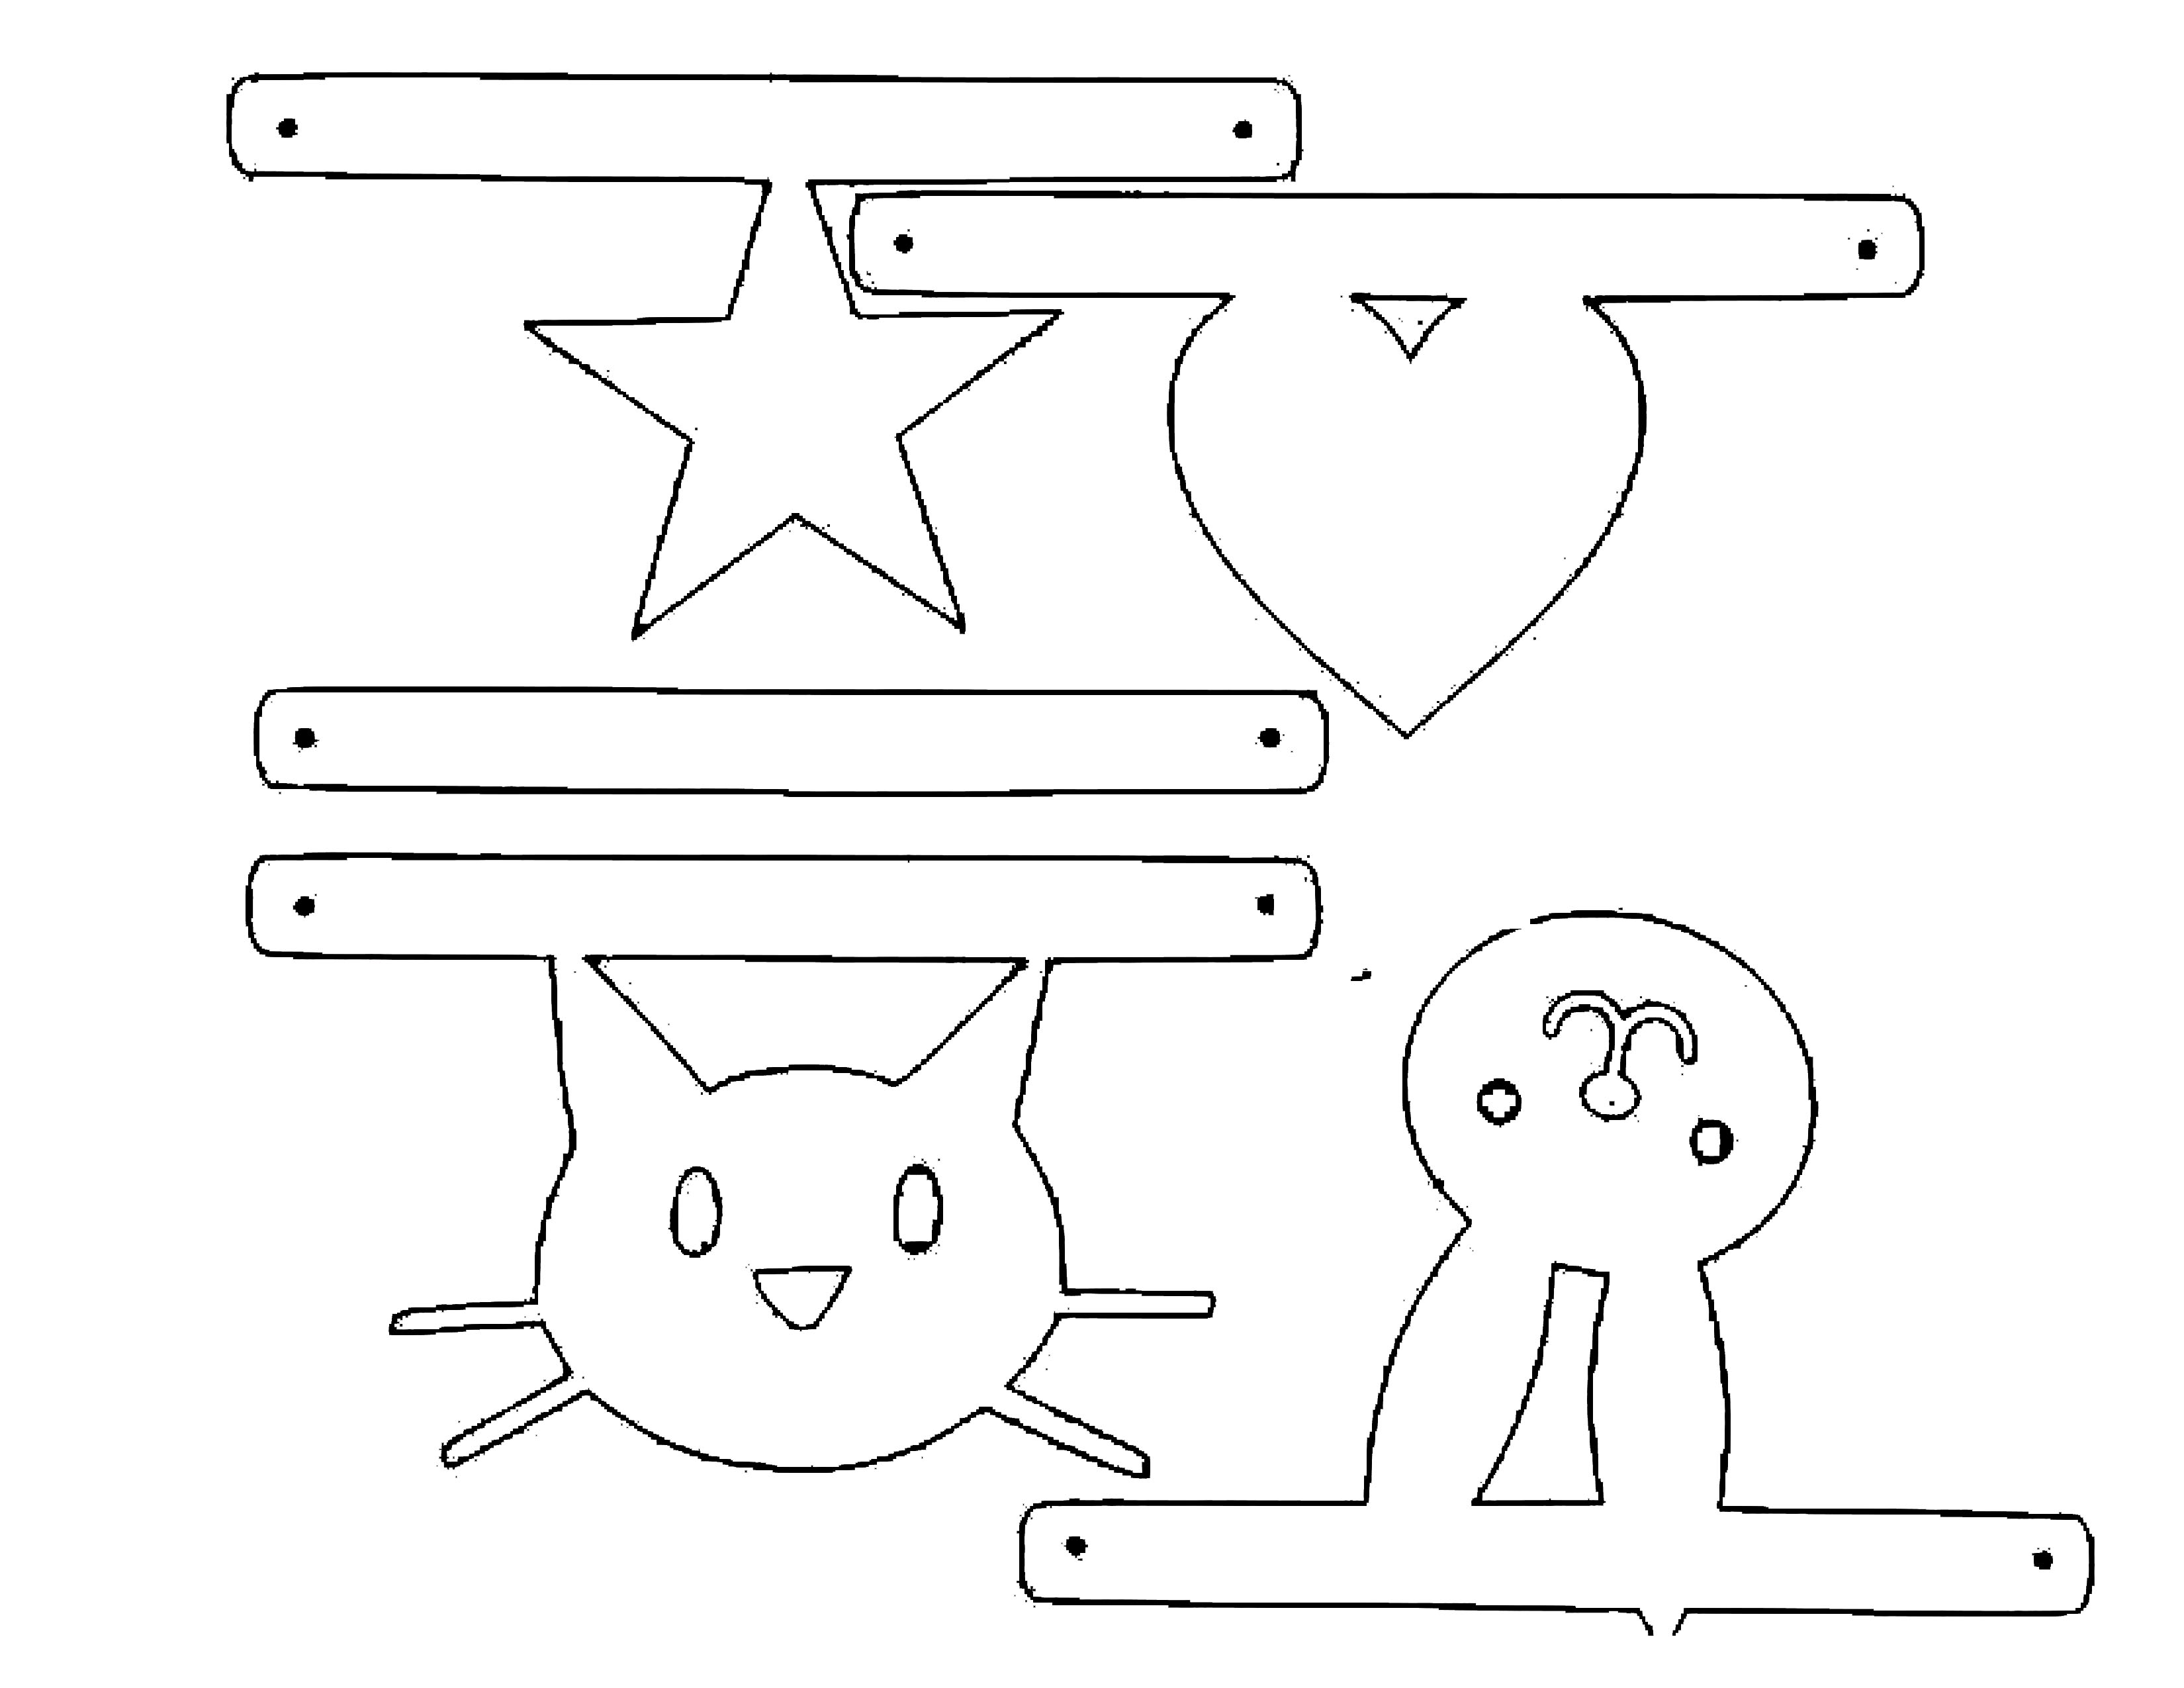 make your own banner SYMBOLS
Love this! 🙂
Thank you!
This is so good! Thank you for sharing, especially the template, I’m going to make a Treat Yo Self one soon!!!
Have a dandy weekend
MUCH LOVE KAREN
(STYLESMORGASBORD) [BLOGLOVIN])
That’s a great idea for one!
This looks so great, Kelsie!
Thanks!
Adorable!! You’re so good at this stuff!
[…] year-round banners like my Roam Sweet Roam banner adds a little celebration to the every day. Make your own banner with the tutorial and printables in my […]
[…] made this map and printable glitter party banner over a decade […]