DIY Family Costume: Life Cycle of a Butterfly
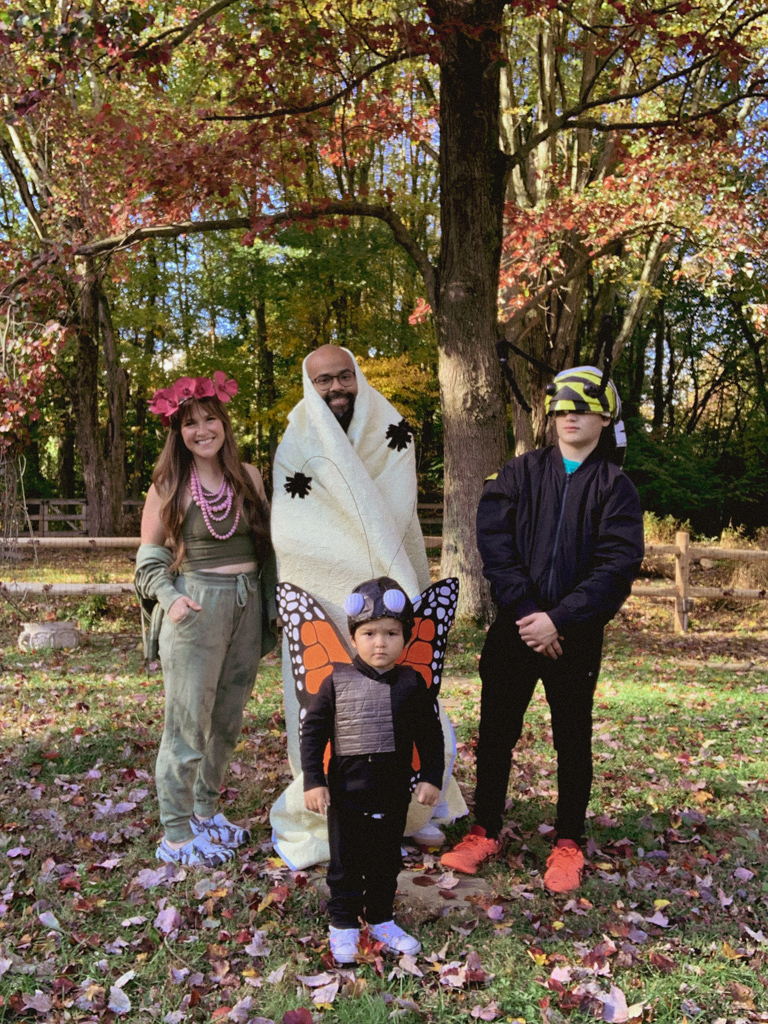
We’re a day out from Thanksgiving, so it’s about time I share a post about our 2021 Halloween costumes!
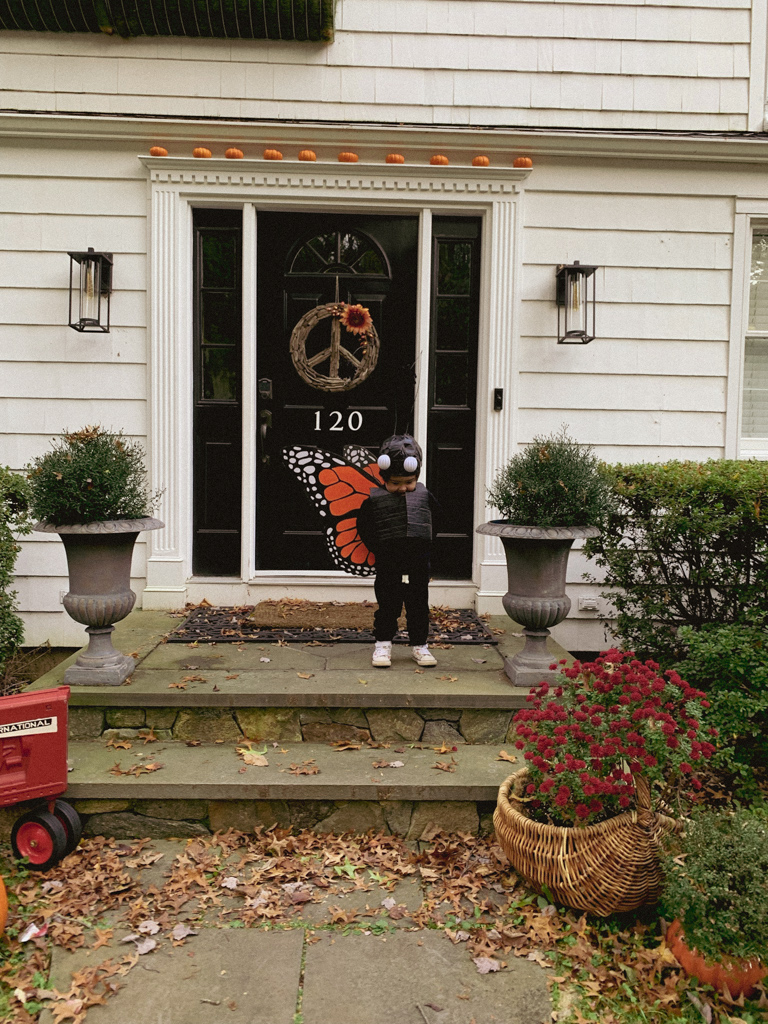
This year was the first that my youngest son was old enough to choose what he wanted to be for Halloween. I threw a few suggestions at him through September—he loves robots and sea creatures so I was sure he’d pick something along those lines. Nope! I suggested a bee, because he’s often admiring bees when I’m shopping for native plants…nope! Then it struck him: he wanted to be an orange butterfly.
To complement him, I considered us being other bugs or woodland creatures before deciding we could be the life stages of a butterfly.

I showed him some orange butterfly wings at our local Halloween shop when I was looking for an item for New York Comic-Con 2021, and he was so disinterested that I thought he changed his mind about the costume. Turns out, he’s just like me: DIY all the way.
I really wanted the butterfly wings to flap, unlike the cloth, cape-like item on the shelves at the Halloween store, and also unlike the typical wire-and-mesh fairy wings one would typically see. I’m also aware that a butterfly is traditionally a costume one would expect to see on a little girl, so I wanted something that didn’t make my long-haired little guy mistaken for something he is not. All those glittery wings, dainty fabrics and gemstones were out of the question. Butterflies aren’t for girls OR boys, they’re bugs!
When I was Pinterestin’ around looking for inspiration, I came across Amber Dohrenwend’s website of cardboard costumes.
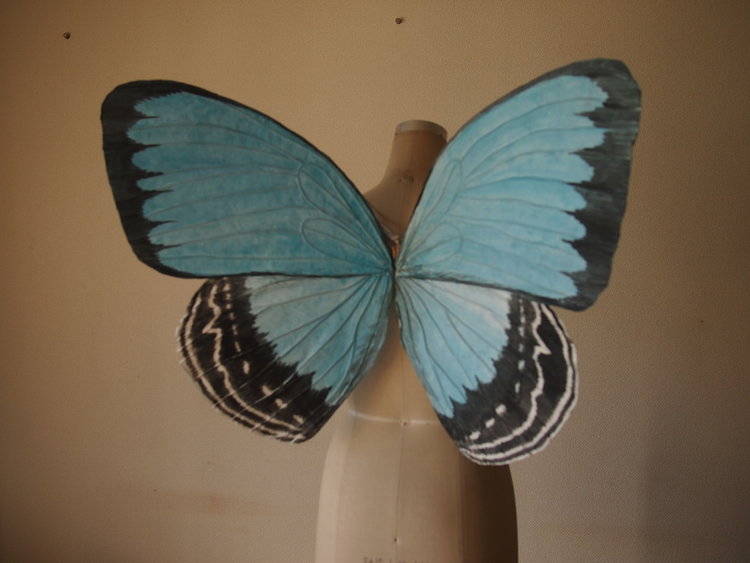
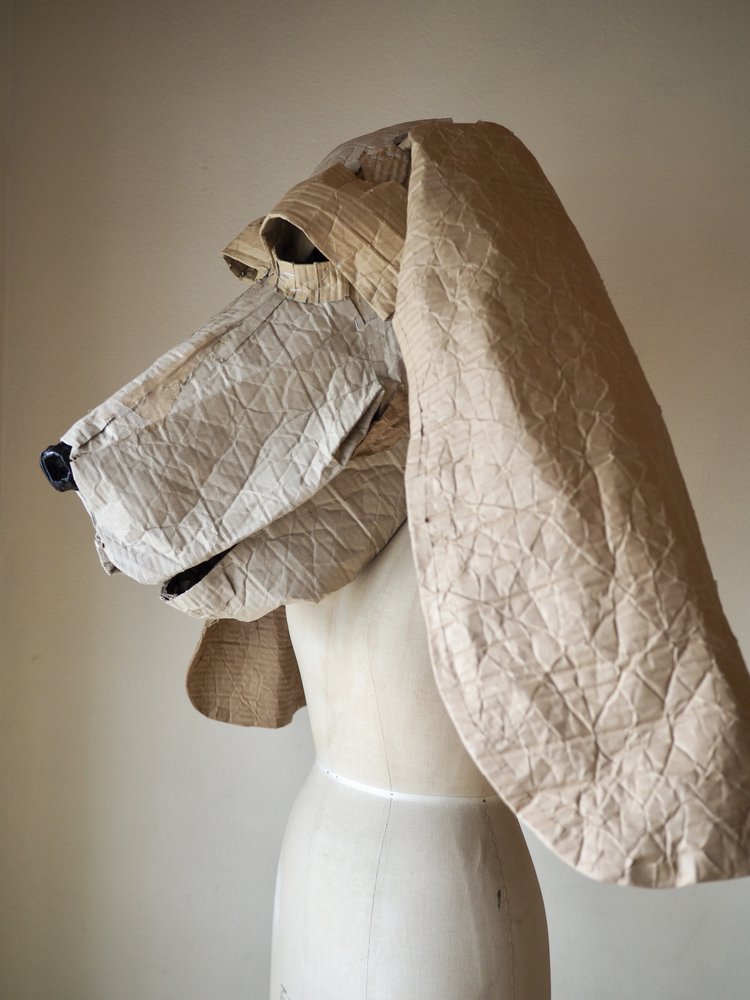
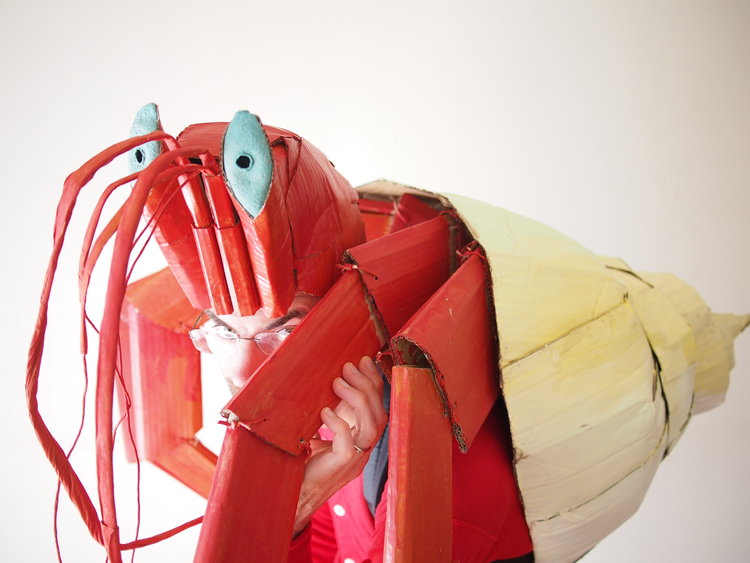
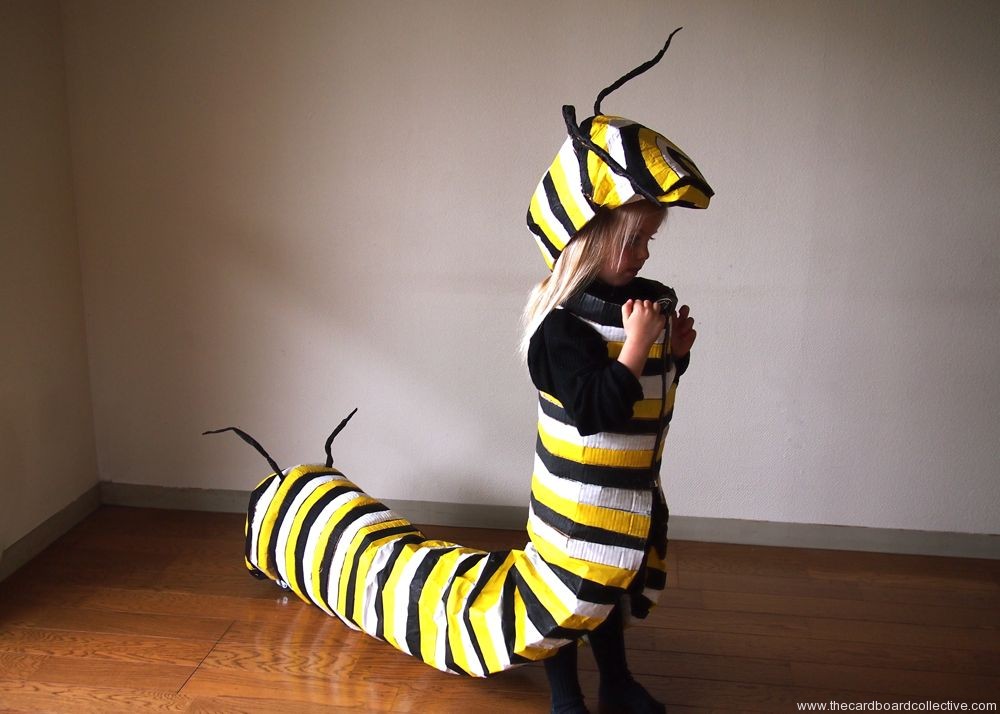
I love the idea as cardboard for the media of Halloween costumes and art alike. It’s durable, sustainable, and readily available. Dohrenwenden’s artist statement beautifully encapsulates this:
There aren’t many materials that everyone has that kind of access to anymore. People used to be able to just go out and gather the things they needed to make their clothes, shelter, furniture, or even to make art. Cardboard is one of the few things we all can go out and collect.
Amber Dohrenwenden
Luckily, I already had a perfect, small ikea box from buying a lampshade the week prior. It was very thin, and though I don’t have a picture of it, if you look closely in the picture above, you can see that there are creases on either side where the wings meet the center. These creases are what allowed for the wings to flap with movement. If you have a single large sheet of cardboard, I’m sure you could create these creases, too.
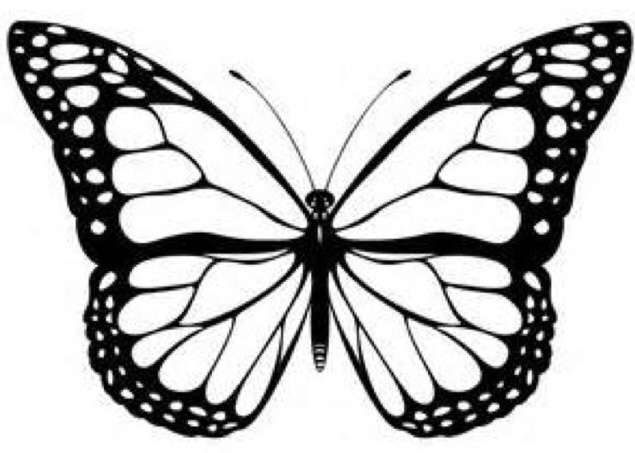
I did NOT freehand the design of the wings. Lucky for me, someone had a monarch design on this etsyDallas blog post. This was made for Cricut owners, but I have a little secondhand projector I can hook up to my computer that comes in handy, and I traced it.
How to Make a DIY Cardboard Monarch Butterfly Costume
Materials
- Cardboard (obviously)
- one paper grocery bag
- Tape (I used electrical and artist tape, it was what I had on hand)
- wire or a wire hanger
- thick yarn
- black, white and orange paint
- monarch template
DIY Cardboard Costume Monarch Butterfly Wings
Use template to trace, cut, then paint butterfly design onto both sides of the cardboard
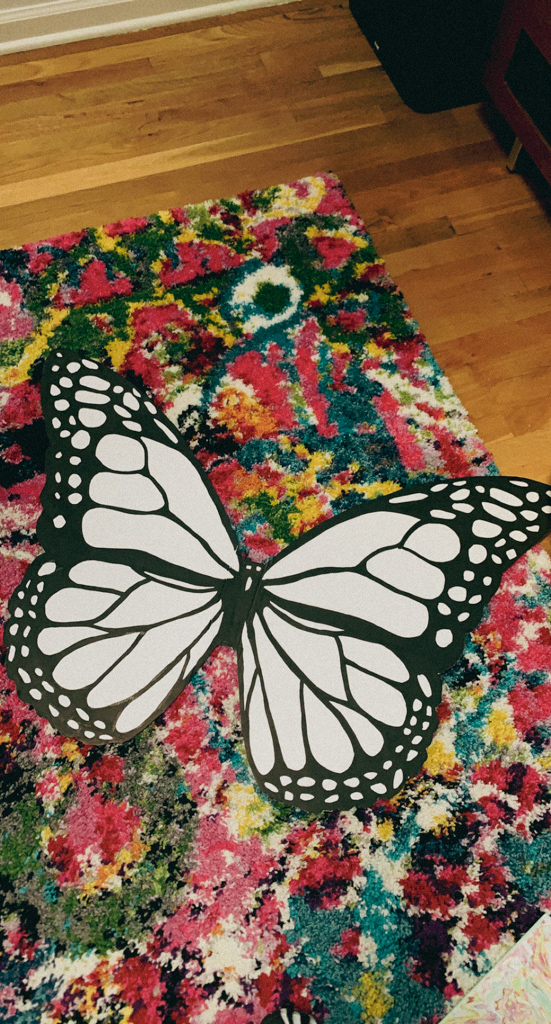
A week before Halloween, there was a local event where the kids went in costume to trick or treated at tables sponsored by local businesses. Only the wings were done at this point, so I threw together a headband with giant pipe cleaners and tried to strap on the wings with thick yarn and some wire to stabilize.

DON’T DO THIS. The above picture is from one of the few moments where the wings were upright, otherwise they were closed, flat and sideways. AND the headband was a smidge too big, it kept falling oer his eyes. He didn’t wear the costume for long, as it was uncomfortable and non-working. The event was cute, though.
Butterfly Costume Vest
The trick to keeping the butterfly wings up is to make a vest to balance out the weight. I got this idea after seeing this paper butterfly costume with a chest piece:

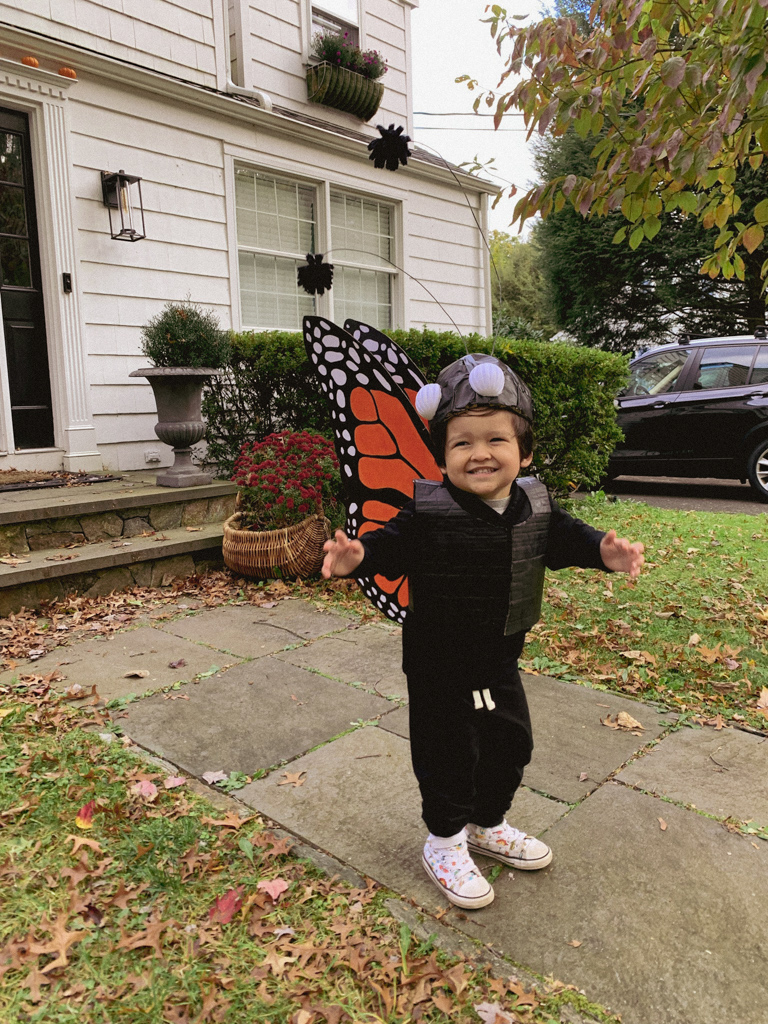
To make the vest, I cut out three pieces of cardboard. I cut the back piece of cardboard in the shape of the back of one of his shirts, and then made two front panels long enough to cross over. I wish I had a more precise way to describe this but I pretty much just kept cutting it until it was right. You must curl/press/mold–manipulate the cardboard in all directions to make it less stiff. I taped the pieces at the shoulder and on the sides under the arm, I wanted to treat it like it was clothing I was sewing, so matched seams to what a vest would have. I learned with the DIY Elvis Presley Costume that seams exist for a reason…*facepalm*
DIY Monarch Butterfly Costume Hat
I used a long strip of cardboard to measure out the circumference of his head, then used smaller straps in overlapping Xes to create the cap frame. A headband is tough to get the sizing right when something heavy is upon it, so only a hat with a top for no-slippage will do–that is, unless you want to pull a cool guy and wear antennae on your sunglasses like this inspo from a 1986 costume book:
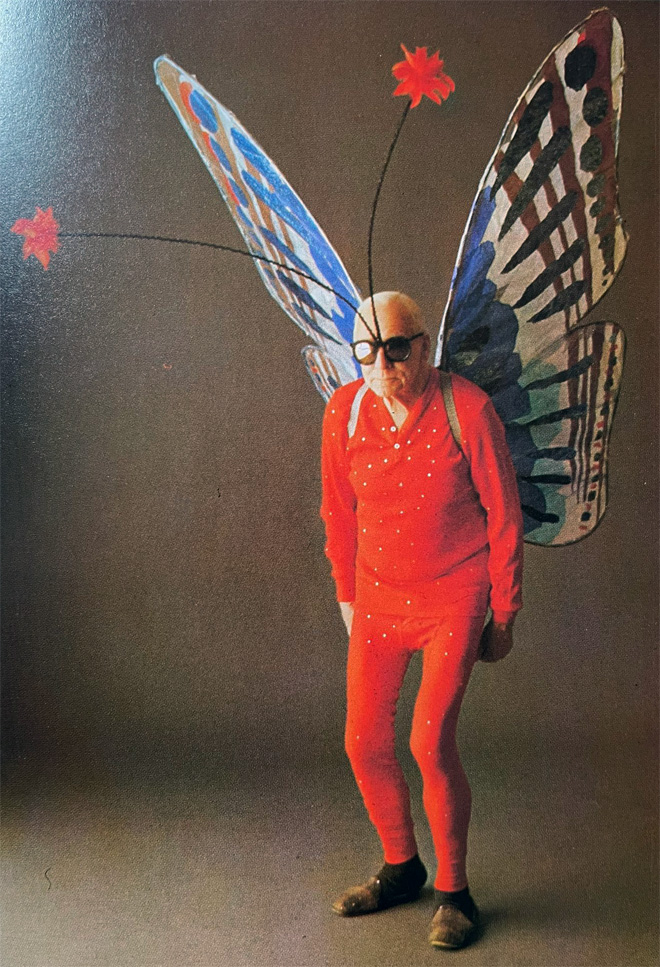
After creating the hat form with cardboard strips and tape, I covered it with a paper bag and painted it black.
The antennae are a thick gage wire I already had, along with some thick yarn that I had from a different project made into pompoms. I used a hot glue gun & tied the poms on, but you’re better off pinching the wire, as that’s what I had to do while trick or treating to repair it.
I recycled an unused plastic ball for the eyes by simply cutting it in half and gluing each half to the cap.
DIY Monarch Caterpillar Costume
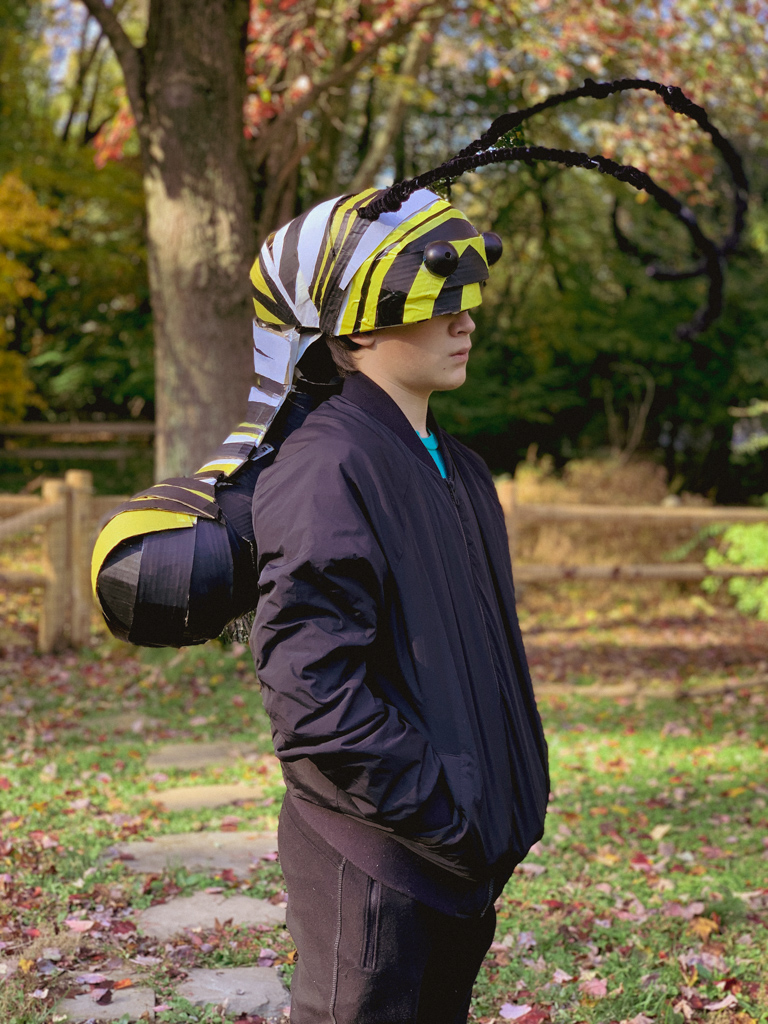
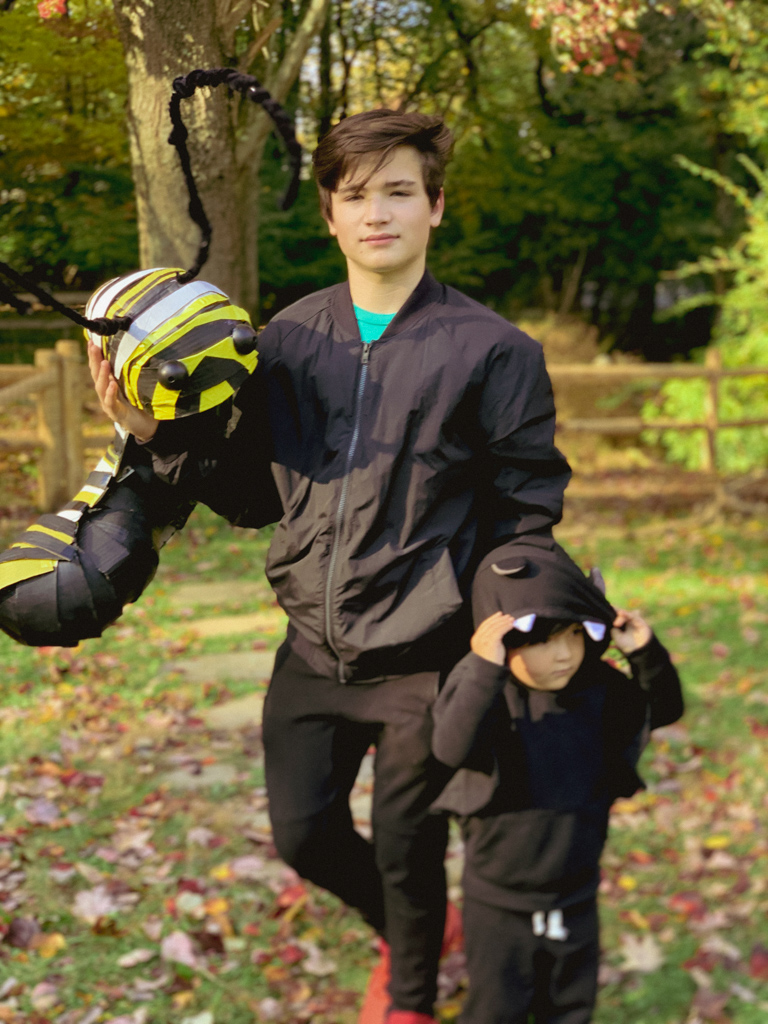
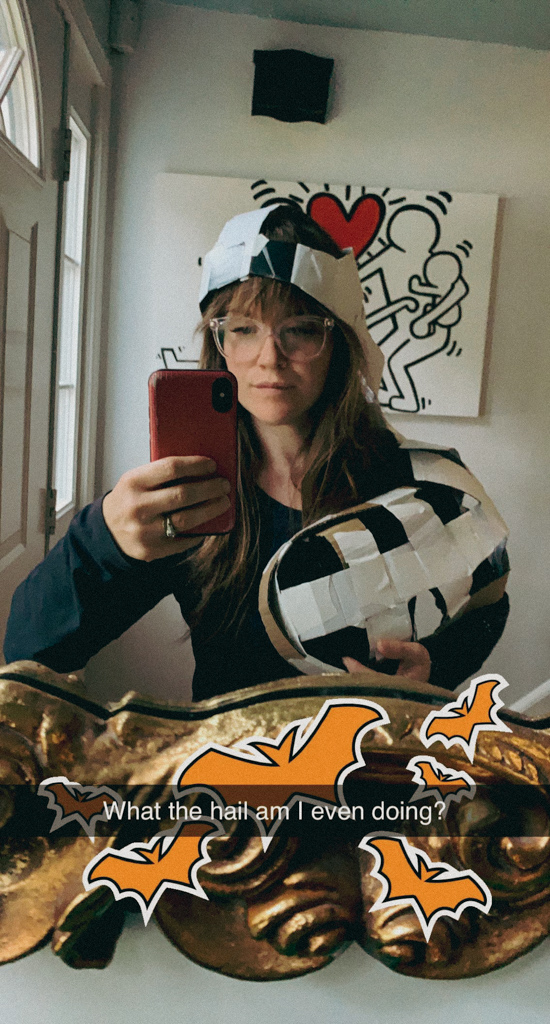
For the rest of the family, I created looks that were more subtle and not “all out.” My teen had plans with his friends for Halloween that would not include the life stages of a butterfly, so I decided to go with a hat that could be worn by my teen in the family photo and by my husband as we trick or treat. I was thinking along the lines of Lion King on Broadway, ya know?
I can’t really give a how to on this, because it was a lot of sculpting. Which seems strange to say about carboard but it was precisely that, I was manipulating the cardboard by pressing and curling it to make it moldable, getting it into a shape to my liking, and taping. The process was really artistic and though the results were more on the thrown-together-on-Halloween-weekend side, I would like to pursue some fine art works of this nature in the future with a little more time, care and attention.
DIY Milkweed Costume
I had lofty goals of replicating Dohrenwend’s Milkweed costume

…and even set some egg cartons aside. I then thought I’d simplify by creating a paper flower crown a la House Lars Built. I could have used her easy-to-follow instructions for paper daffodils, but in pinks, to create the crown.
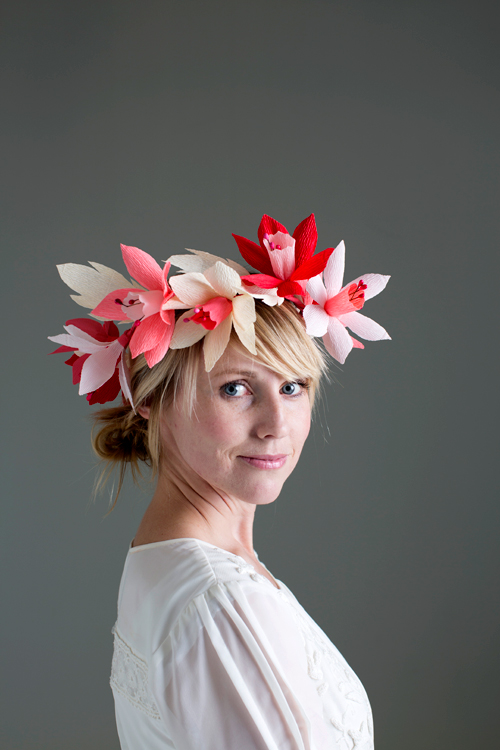
Then I saw some iron flowers from Terrain in my dining room, and thought it’d be better to work with what I have. So I wrapped ’em around some of that thick gage wire for a flower crown and called it a day.
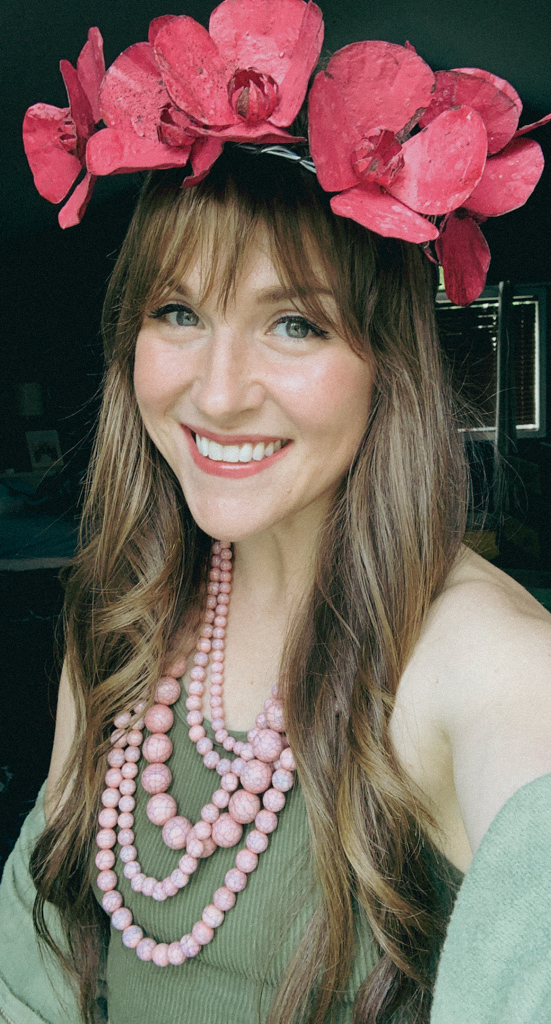


A source of pride for me regarding these costumes is that I everything used was something I already had at home; I did not need to purchase a thing. Monarch butterflies and their dwindling populations, are an environmental issue, and because of this I felt a duty to reduce, reuse and recycle to represent this issue in costume form.
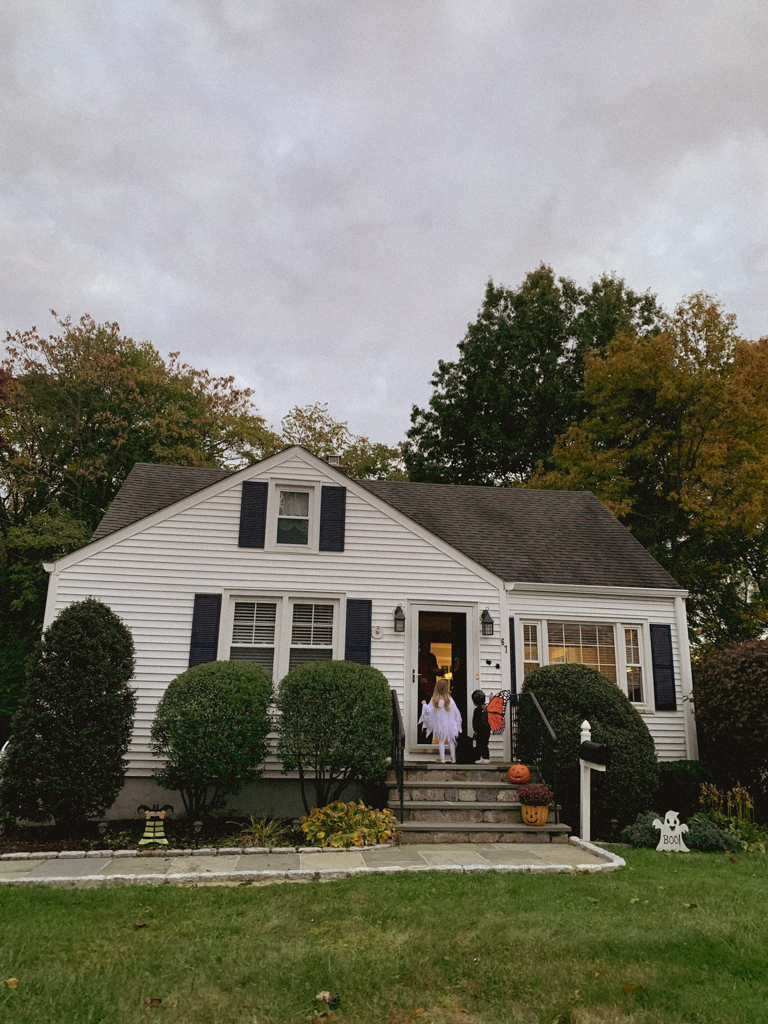
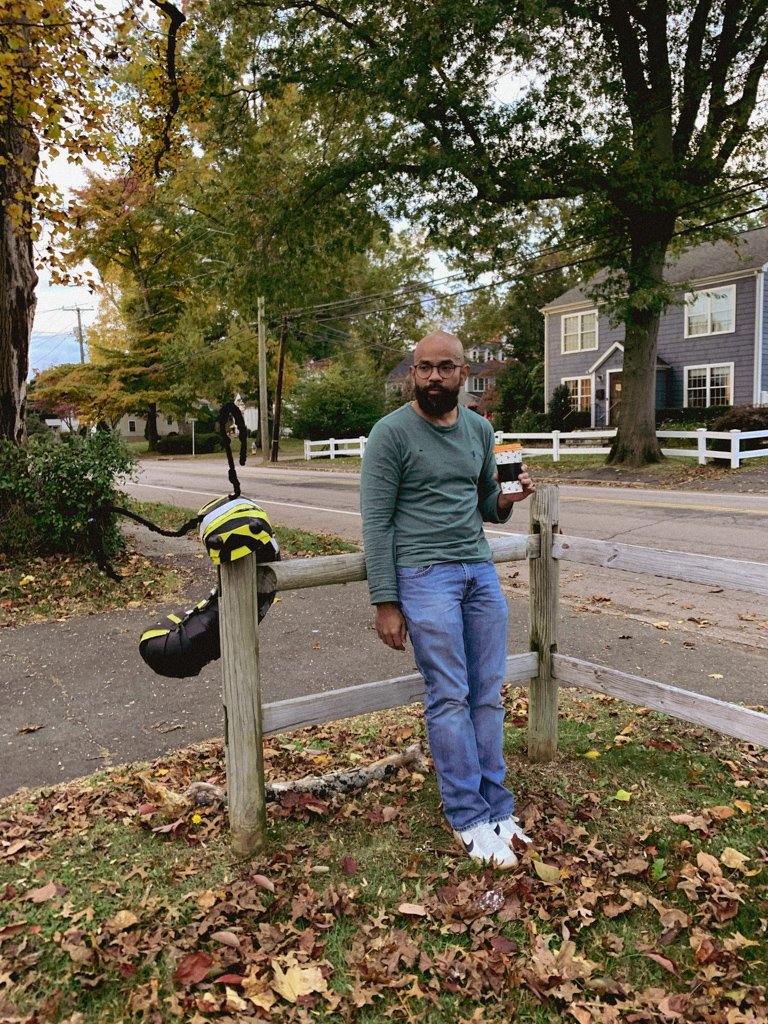
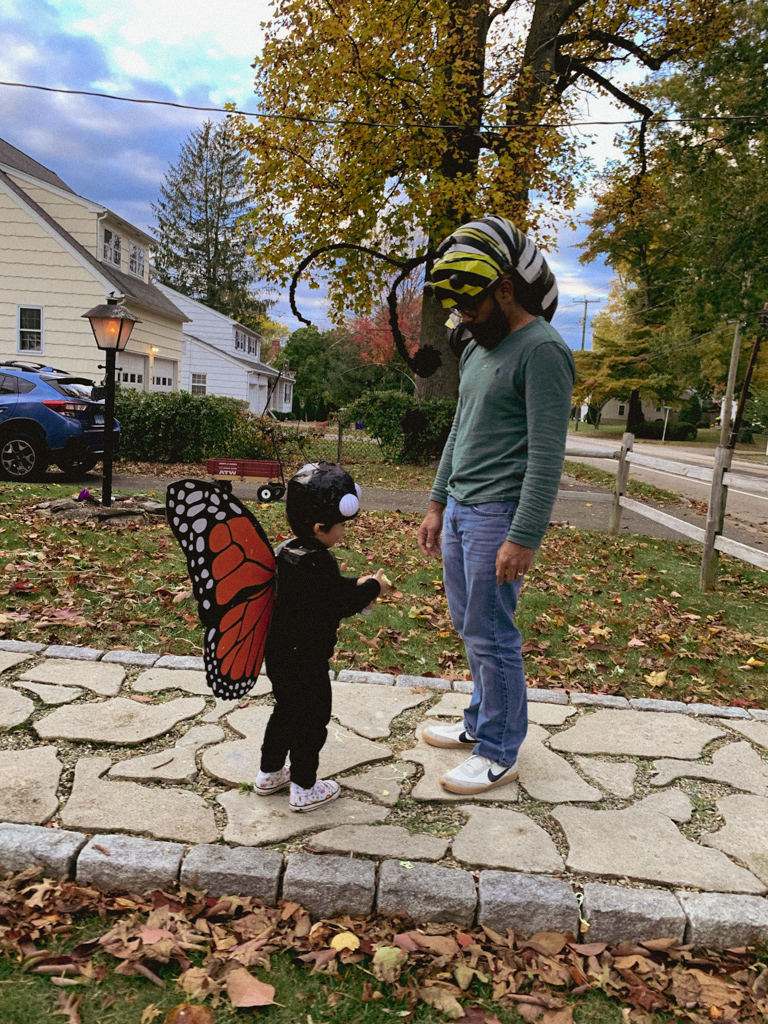
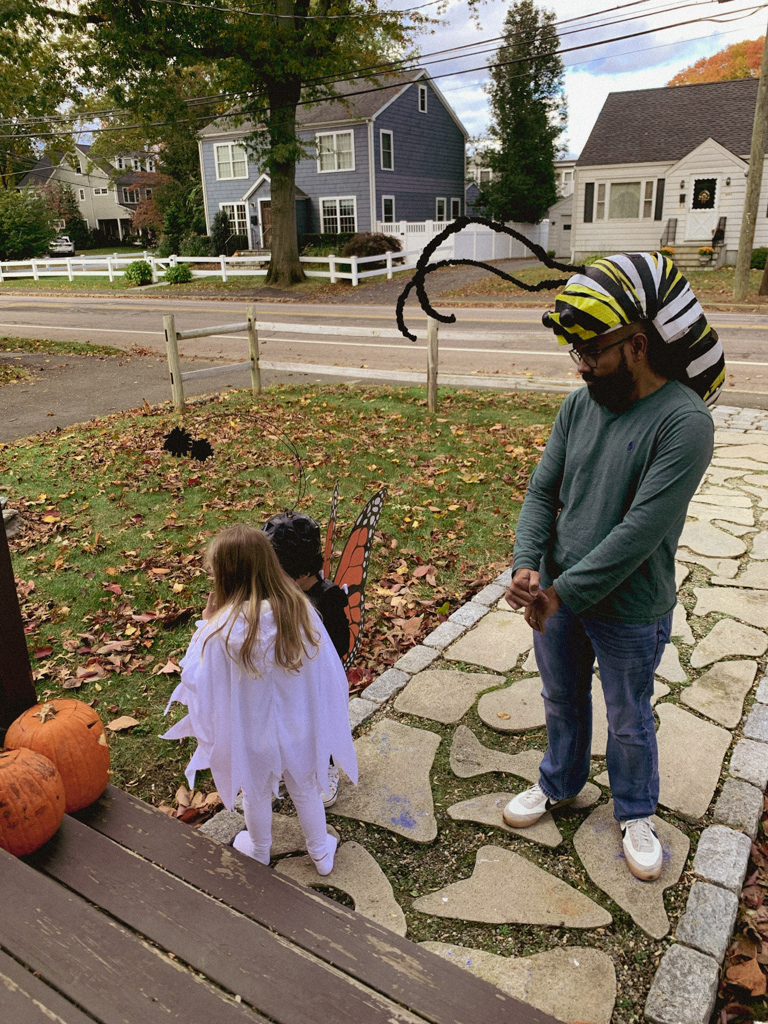
Here are some more pictures from the evening. It was a fantastic time!




[…] How to make a DIY Boy’s Elvis Jumpsuit Halloween Costume, Last Minute Yogi Bear Costume and DIY Family Costume: Life Cycle of a Butterfly. Halloween is my most celebrated holiday of the year, and my family is lucky enough to drag it out […]
[…] choosing our family costume, and he chose for himself to be a monarch butterfly. As a fam, we had a DIY life cycle of a butterfly costume, made of all recycled […]
[…] up to the little guy from here on out. If you were around in the past, you know he’s chosen Life Cycles of a Butterfly and Glowing Sea Creatures for the past two years–two of my most popular posts this […]
[…] Yep, those are the flowers I used for my DIY Family Costume: Life Cycle of a Butterfly […]
[…] hands down. My most popular blog posts are my DIY family costumes, like lifecycle of a butterfly, deep sea creatures, and Elvis jumpsuit costume. A picture from my Hamilton family costume post is […]