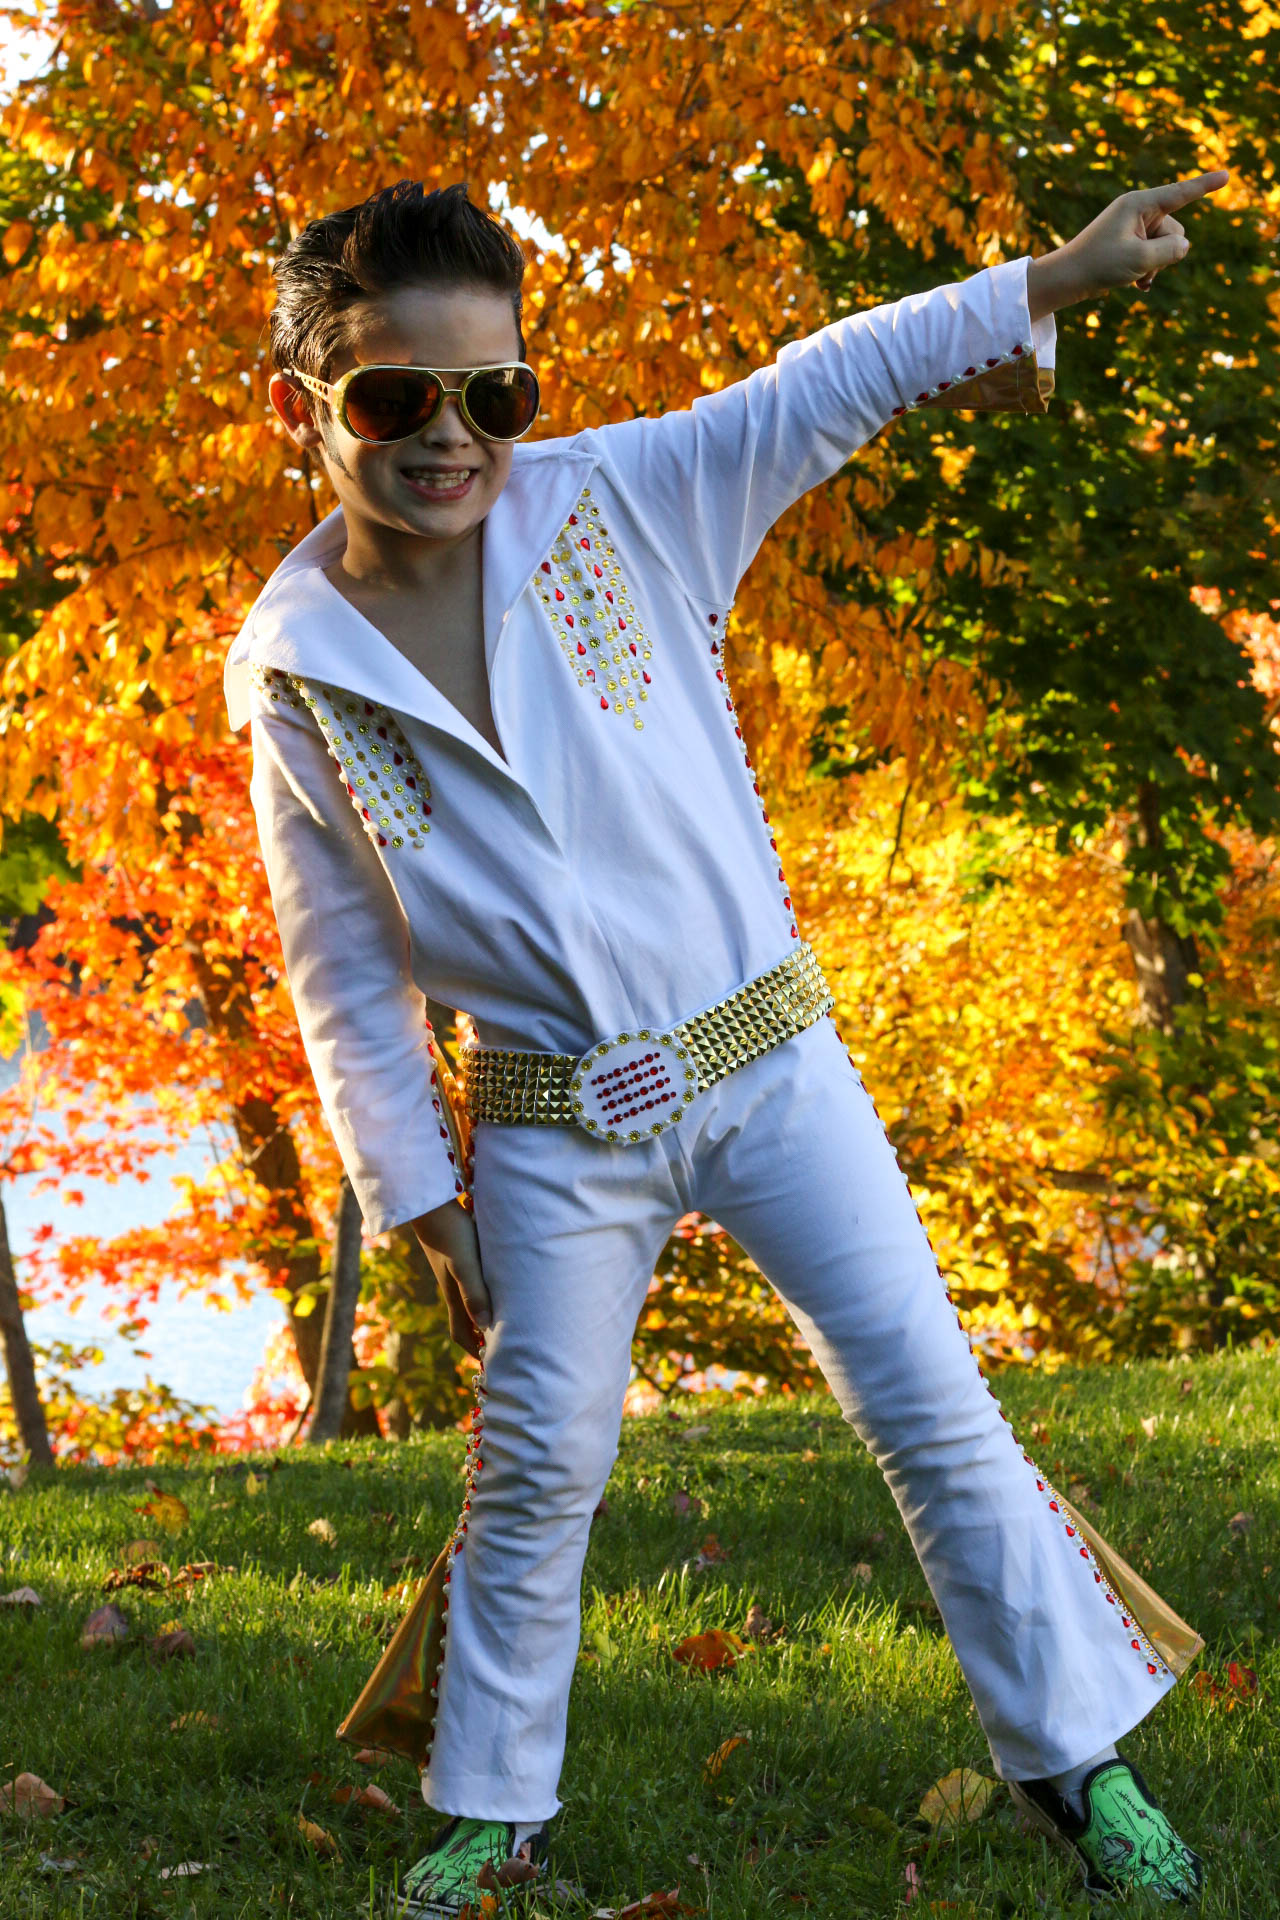
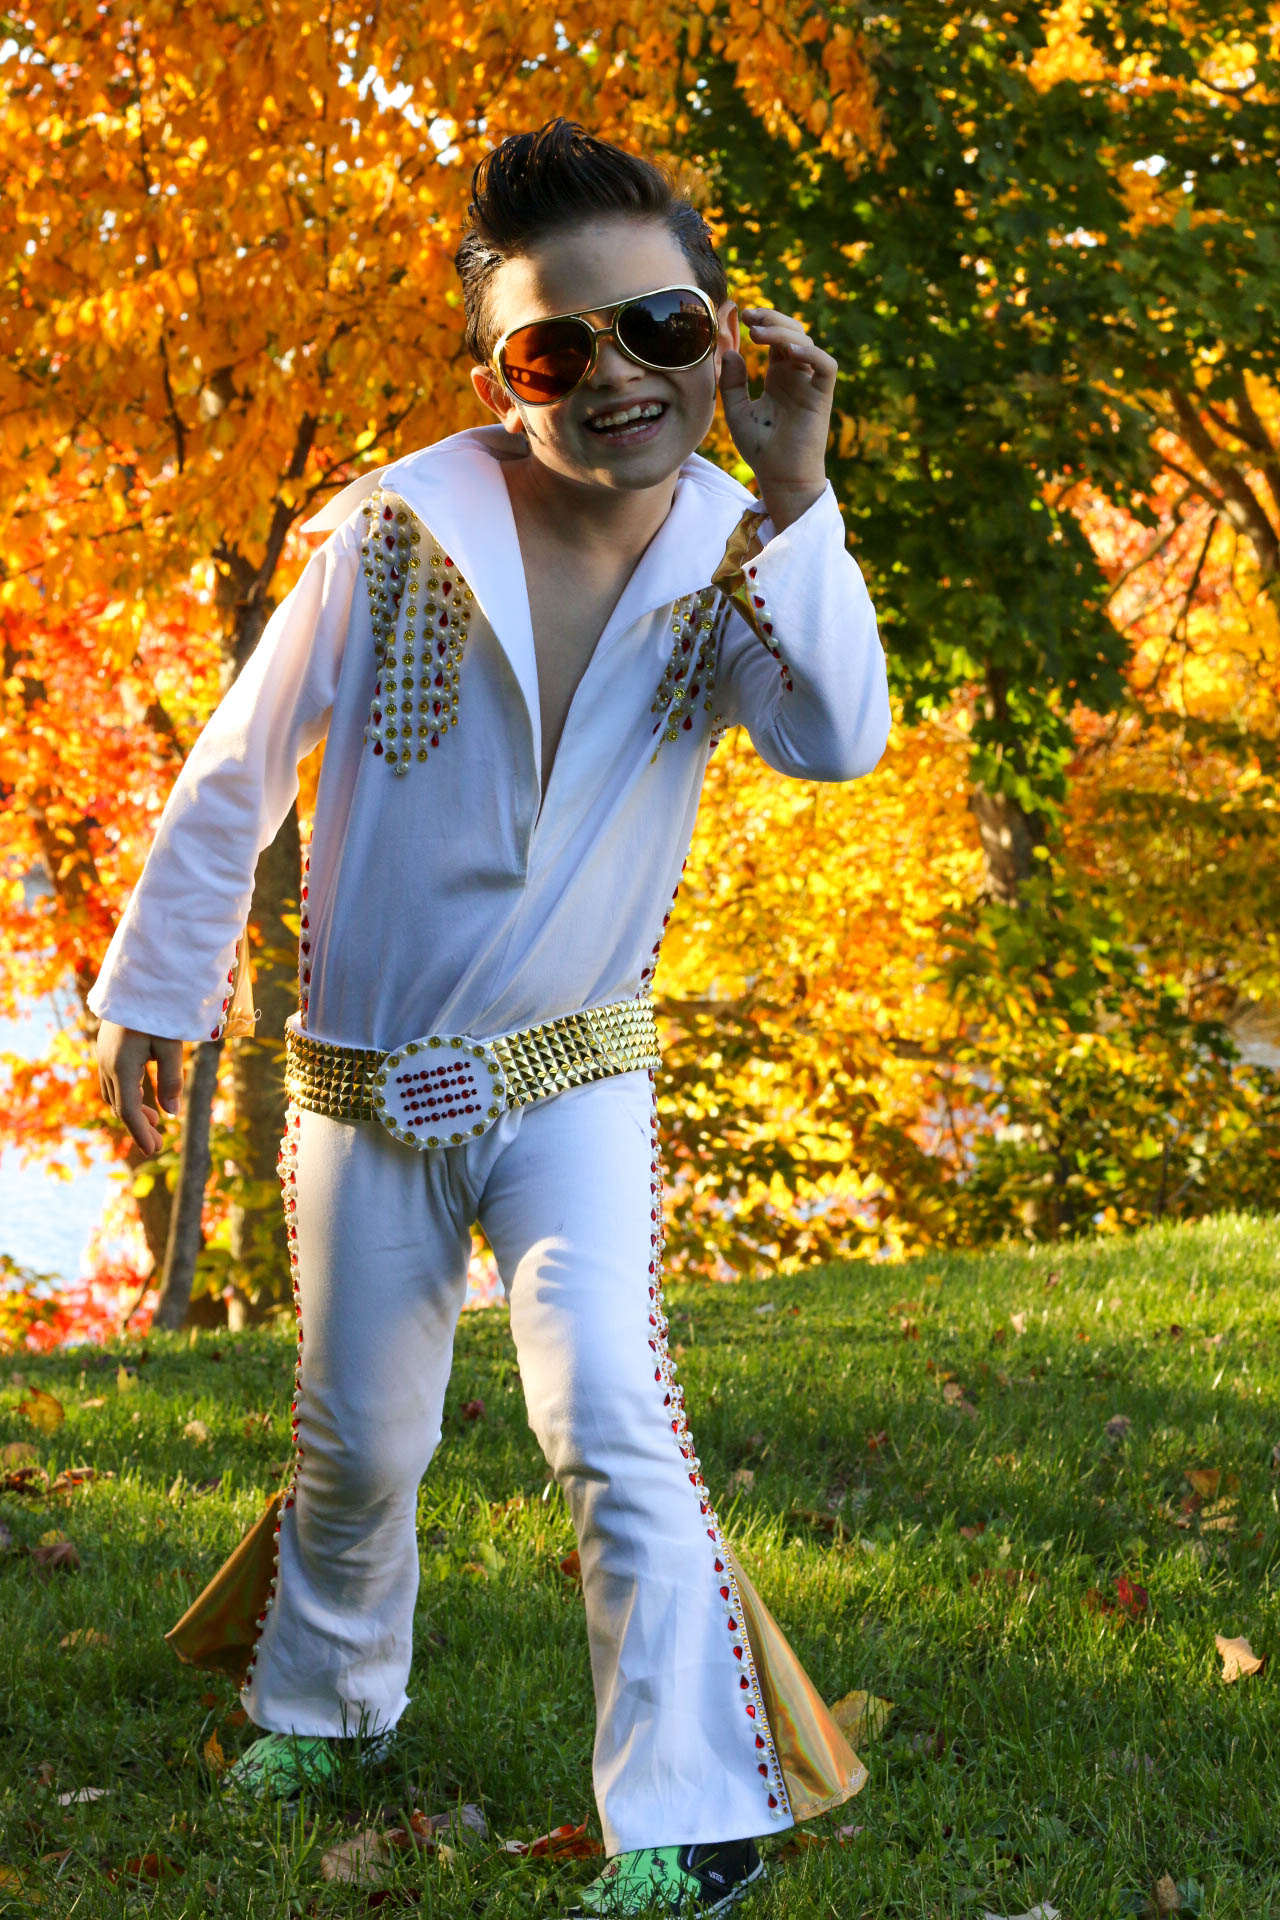
How to make a DIY Boy’s Elvis Jumpsuit Halloween Costume
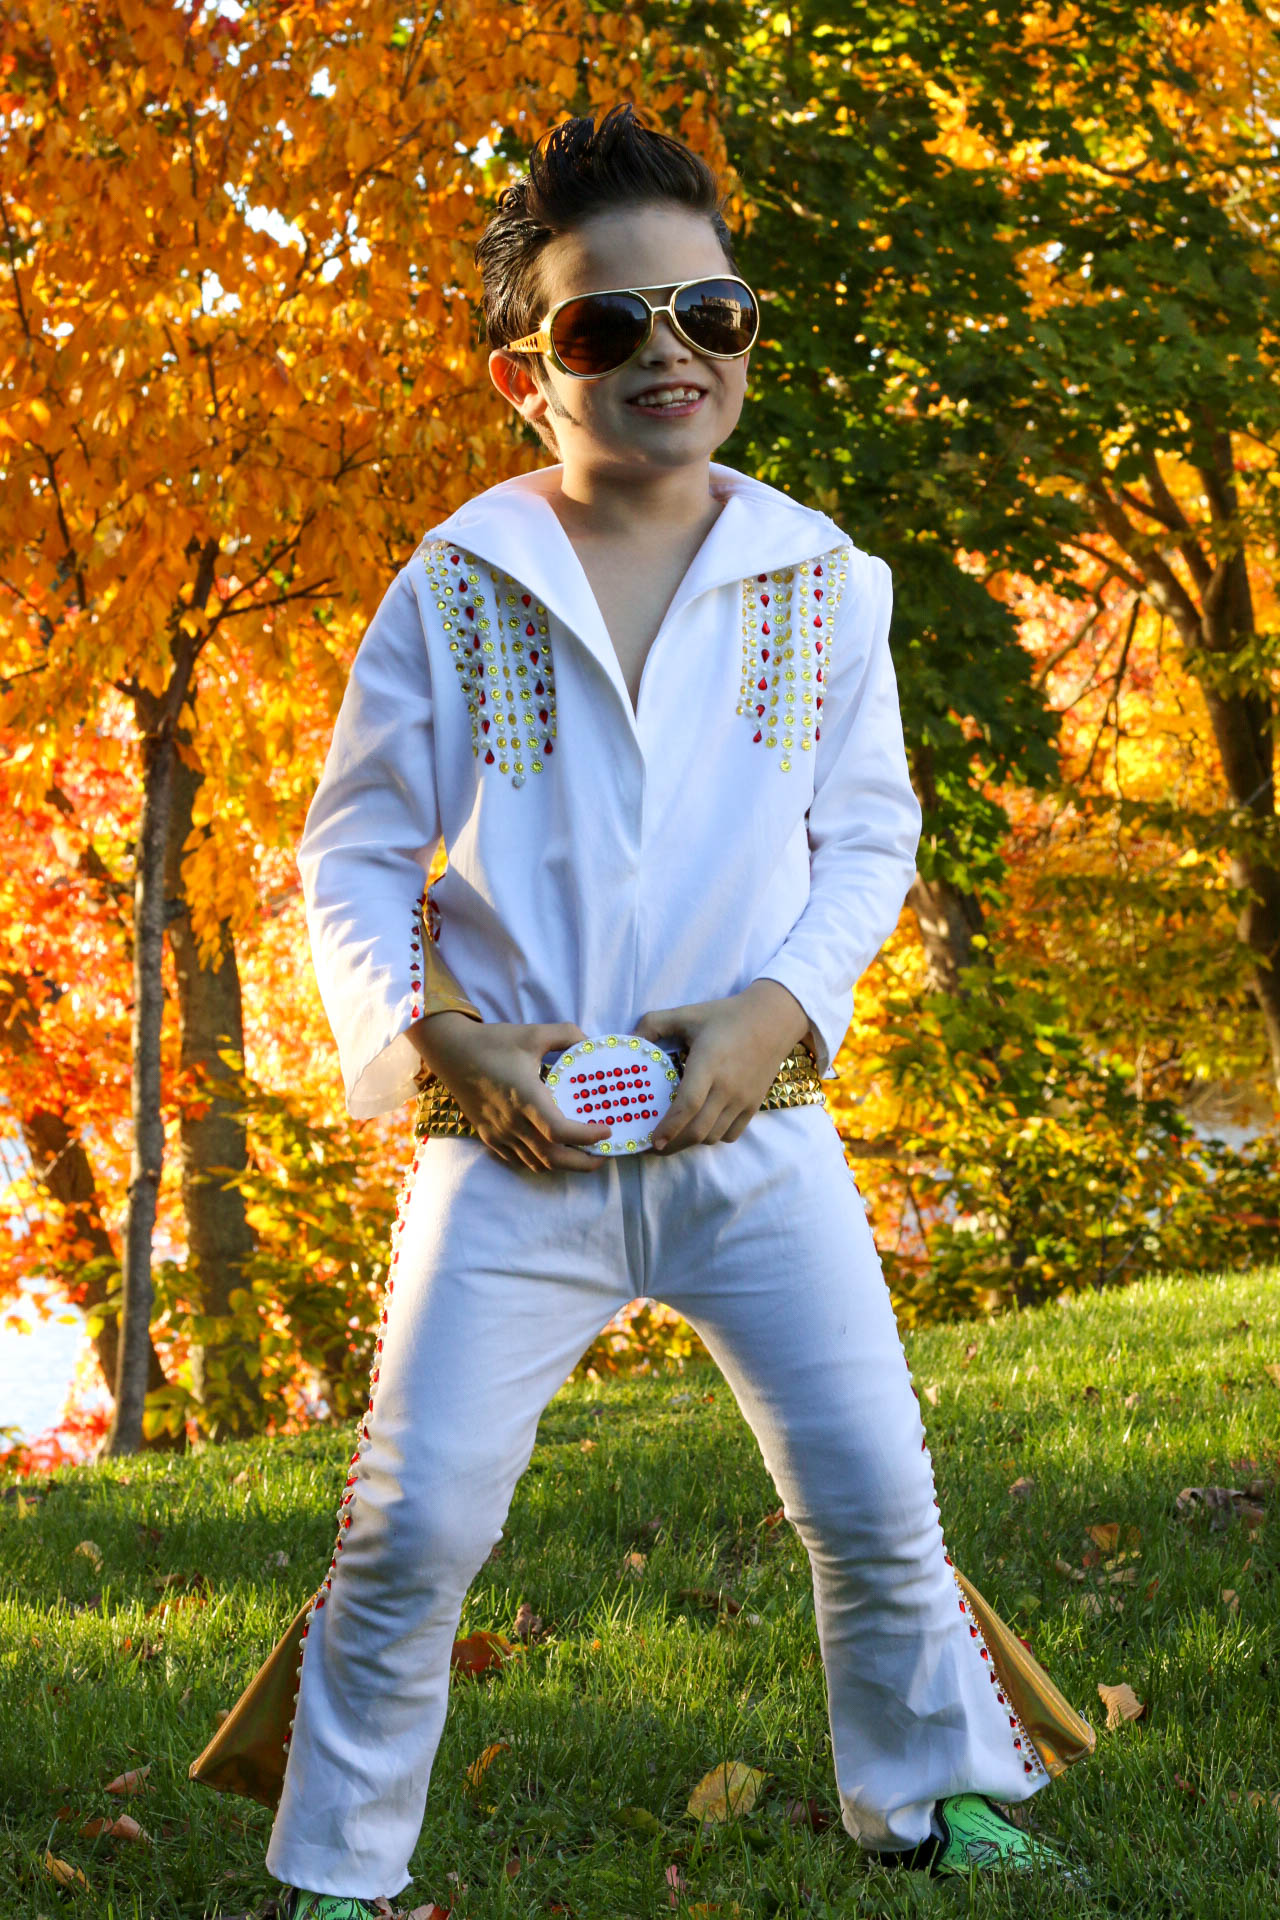
As promised in last night’s Halloween Recap, I’m here to share with you how I made Tobias’ Elvis Presley Costume, from scratch, with no pattern.
Let me just say, it wasn’t my intention to do this project with no pattern. In fact, before we made our way to the fabric store, I had told several people, “This is going to be my first Halloween using a pattern and a sewing machine!”
I’ve spent plenty of time in my life in craft stores, and I remember looking through the pattern book and always seeing an Elvis costume, without fail. When Tobias and I went to Joann, I handed him the Simplicity catalog & I began with McCall’s, figuring we’d pick the Elvis pattern we liked the most.
Imagine my surprise when there wasn’t one at all, in any of the pattern books!
After an in-store google search, I came across a VINTAGE Elvis costume pattern for THIRTY FIVE DOLLARS. Uh, no thank you. I’m far too frugal for that. That was also the day that I learned that I’m old and things that I remember as “just yesterday” are VINTAGE, thankyouverymuch. Sigh.
The fabric store is a few towns over from ours and I was anxious to get started, so I had to make some estimates for the amount of fabric.
Materials:
Jumpsuit
- 2 1/2 yards twill or stretchy white fabric
- 1/2 yard gold fabric
- Interfacing
- A LOT of rhinestones
- white thread
- 20 inch invisible zipper
- well-fitted pants that the child wears
- a button-down shirt belonging to the child
Tools:
- sewing machine
- scissors
- iron
- chalk or pencil for marking fabric
- ruler
Jumpsuit
1. Watch this YouTube video about how to make a onesie with no pattern.
- Follow the instructions, but with the following exceptions.
- Onesie pajamas aren’t meant to be fitted. Instead of using sweatpants as she describes, I used a pair of Tobias’ favorite skinny jeans and a button-down shirt.
- When tracing the pants as she did in her video, instead of continuing with the same seam allowance, at the knee I used a ruler to add a slight flare. I also added more length at the bottom, as skinny jeans are intended to end at a shorter length than a flare.
- At 2:35, she says to sew the upper back to the crotch. Our zipper is in the back instead of the front, so you will pin this the same way that she does the front. In the front, you can determine the depth of the jumpsuit’s neckline, and sew that.
- At 4:40, instead of sewing from the end of the sleeve to the bottom of the leg, sew from about 5 inches from the end of the sleeve to the knee of the leg. Both the arms and legs of this look have a flare with gold fabric detail.
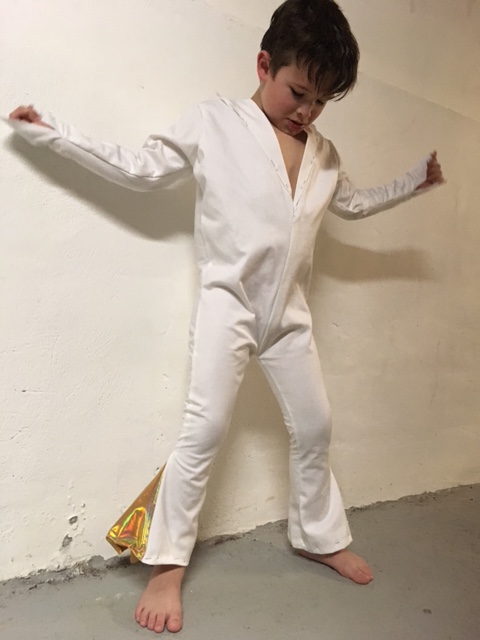
At 5:32, pause the video!!
So far, it should look a little like this:
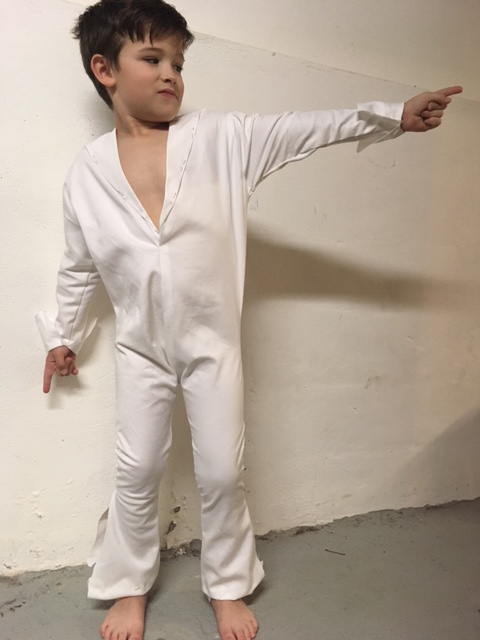
2. Make the inserts for the bell-bottomed pant legs and sleeves. For this step, you’ll open up the not-yet-sewn portion of one leg to the desired bell size, trace the size with your pencil onto the wrong side of your gold fabric, then cut the fabric with added seam allowance.
Trace the cut piece for the second leg, and repeat this process for the arms.
For each piece, pin the triangle to the pant right side to right side, then sew along with the pant inside out. Be sure to stop sewing and pivot for the top of the triangle.
3. Pin and hem the pants and sleeves.
4. Sew the collar.
This is pretty complicated stuff for a newbie like me (did I mention this was my first time using a sewing machine??), and unfortunately instead of having the same pattern as the woman in the video, I used the same shirt that I traced in step one to trace the collar pieces.
[youtube https://www.youtube.com/watch?v=dO1x76OceMo]
Pause at 7:56!
An exception to this video: I added some more length to the points on the collar so that it would appear more dramatic than his flannel shirt. Here’s what mine looked like after completing this tutorial:
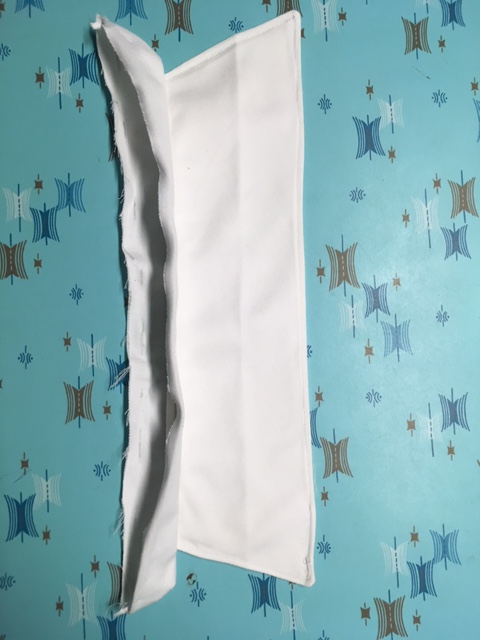
Flawed as it may be, I was very proud of this collar. My first collar! How many times can I mention that this is my FIRST sewing machine project before I get annoying? Oh, too late? ¯\_(ツ)_/¯
5. After you’ve taken a moment to look proudly at your work, maybe take a picture of it like I did because you’ve gotta go ahead and cut that sucker in half. Scary, I know. But we can’t sew the kid in the costume, so we’ll need a zipper right there. Bear with me.
6. You’ll need to do something about those raw edges on the lapels.
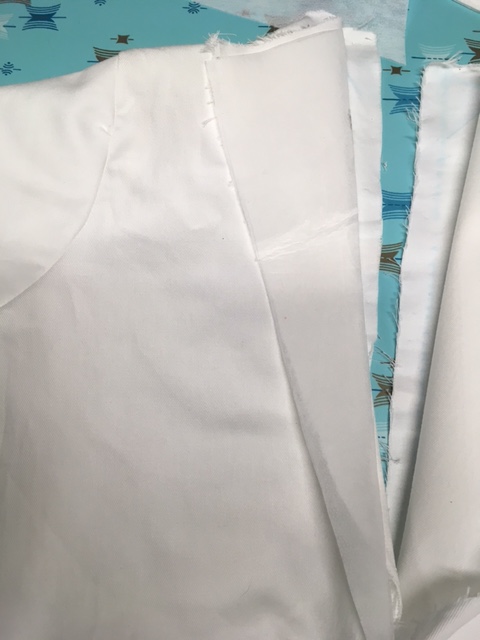
I used the concepts from the collar video above:
- cut a matching lapel piece from the additional fabric
- iron the self-adhesive interfacing
- sew right side to right side with it inside out
- flip
- sew around all of the edges for a streamlined look, with care around the points
7. Pin and sew each collar half to the coordinating lapel.
This is where you want to watch the rest of that collar video. If you already closed the window, here’s the video beginning from where you left off:
[youtube https://www.youtube.com/watch?v=dO1x76OceMo]
I may have made some mistakes–so act with care! I think my lapels were too high and that’s why the collar didn’t stand up well. I also noticed that if I would have had a more shallow “V” in the neckline, the collar was more likely to sit up straight. If you’re a more seasoned seamstress, let me know in the comments below 🙂
8. Zip it up!
Pin the top of the zipper end an inch or two from the top of the collar. If you need help with how to sew in a zipper, play that onesie video again or play right here where you left off:
[youtube https://www.youtube.com/watch?v=vMFAwRYhV2c]
9. It’s the moment you’ve been waiting for: BEDAZZLE THAT JUMPSUIT!
Elvis wore many jumpsuits over the years, so you really can be creative and do as you wish with the placement of the rhinestones.
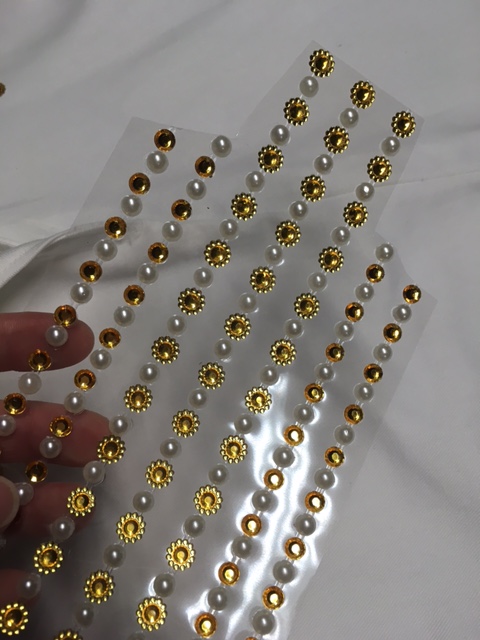
Pro tip: whenever I make a costume, I always look through thrift and dollar stores before heading to the craft store. I found sheets of self adhesive rhinestones that were pre-set into lines (used for glamming up your electronics a la Paris Hilton 2003-2006) they were two for a dollar! So cheap compared to the exact same thing at the craft store for $6 a sheet. Did they fall off my the end of the night? Yes. Do I care about the end of the night or using costumes a second time? No.
Another great thing about these was that the backing was clear, so I was able to figure out the placement ahead of time without making it less sticky in the meantime.
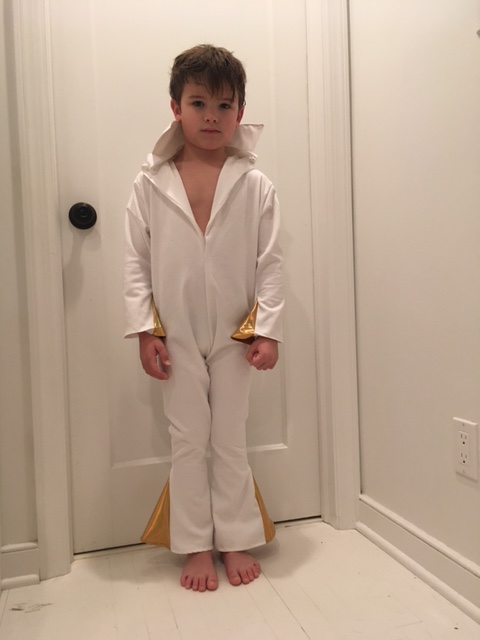
10. There you have it, a jumpsuit!
This post was a little longer than I expected. (I’ll never understand how quickly I forget the complexity of projects. I guess I’m just in the flow of things.) Check out my next post where I talk about making his belt from scratch, and the finishing touches to turn this eight year old into Elvis the Pelvis!


Kelsie, Granny would be so proud of you!
Thanks Kelli! Love you!
It’s awesome! Maybe I play Elvis for the next 12 months and one of my kids will choose this costume over some ridiculously complicated and stupid video game character. Gah!
We miss you like woah, girl. Look like life is good.
Xoxo
Hahah! I love the idea! What were the boys this year?
I miss you like crazy, too! Maybe we could FaceTime soon?? 💕
[…] on from Elvis’ jumpsuit costume DIY from Halloween 2016, you’ll need to do a few more […]
[…] I sewed an Elvis costume for Tobias, […]
[…] is only my second sewing machine project, my first being Tobias’ Elvis halloween costume, and I was really proud of the results. Even though it was very simple, it makes a big difference […]
[…] like it was clothing I was sewing, so matched seams to what a vest would have. I learned with the DIY Elvis Presley Costume that seams exist for a […]
[…] posts are Simple & Cheap Family Costumes, More Simple & Cheap Family Halloween Costumes, How to make a DIY Boy’s Elvis Jumpsuit Halloween Costume, Last Minute Yogi Bear Costume and DIY Family Costume: Life Cycle of a Butterfly. Halloween is my […]
[…] our DIY Elvis costume, it was easy to find patterns for period costumes for the American Revolution. I’m still not […]
[…] your child feel like a rock star this Halloween by giving them this simple DIY Elvis costume for kids. We can’t help but become enamored with her timeless […]
[…] blog posts are my DIY family costumes, like lifecycle of a butterfly, deep sea creatures, and Elvis jumpsuit costume. A picture from my Hamilton family costume post is going to be published in a textbook in […]
THANK YOU!!! my son wants to be Elvis but specifically blue flare suit Elvis with gold cape. I also refuse to pay over 30 dollars for a “vintage” pattern!
You’re welcome! So happy to help. I’d love to see the results!