Painting Class in Fairfield County with David Dunlop
One of the hardest things about returning to blogging is that I have SO many pictures, reference notes, and experiences to share that I don’t know what to pick!
I decided to install a random picker app, put a few ideas on there, and let it help. I use Tiny Decisions.

There’s no affiliation, but the name did help me decide which app to download 😉
Today I’m going to talk about one of the painting classes I took last winter.
I was very excited to select a painting class in Fairfield County but overwhelmed with my choices! I’ve gotten used to be able to get a second opinion on everything. Between TripAdvisor, Yelp, Google…even employer review sites, there are so many places where you can read about someone else’s experience and get a better understanding of what to expect. This wasn’t the case with a painting class!
How to Paint a Really Good Landscape
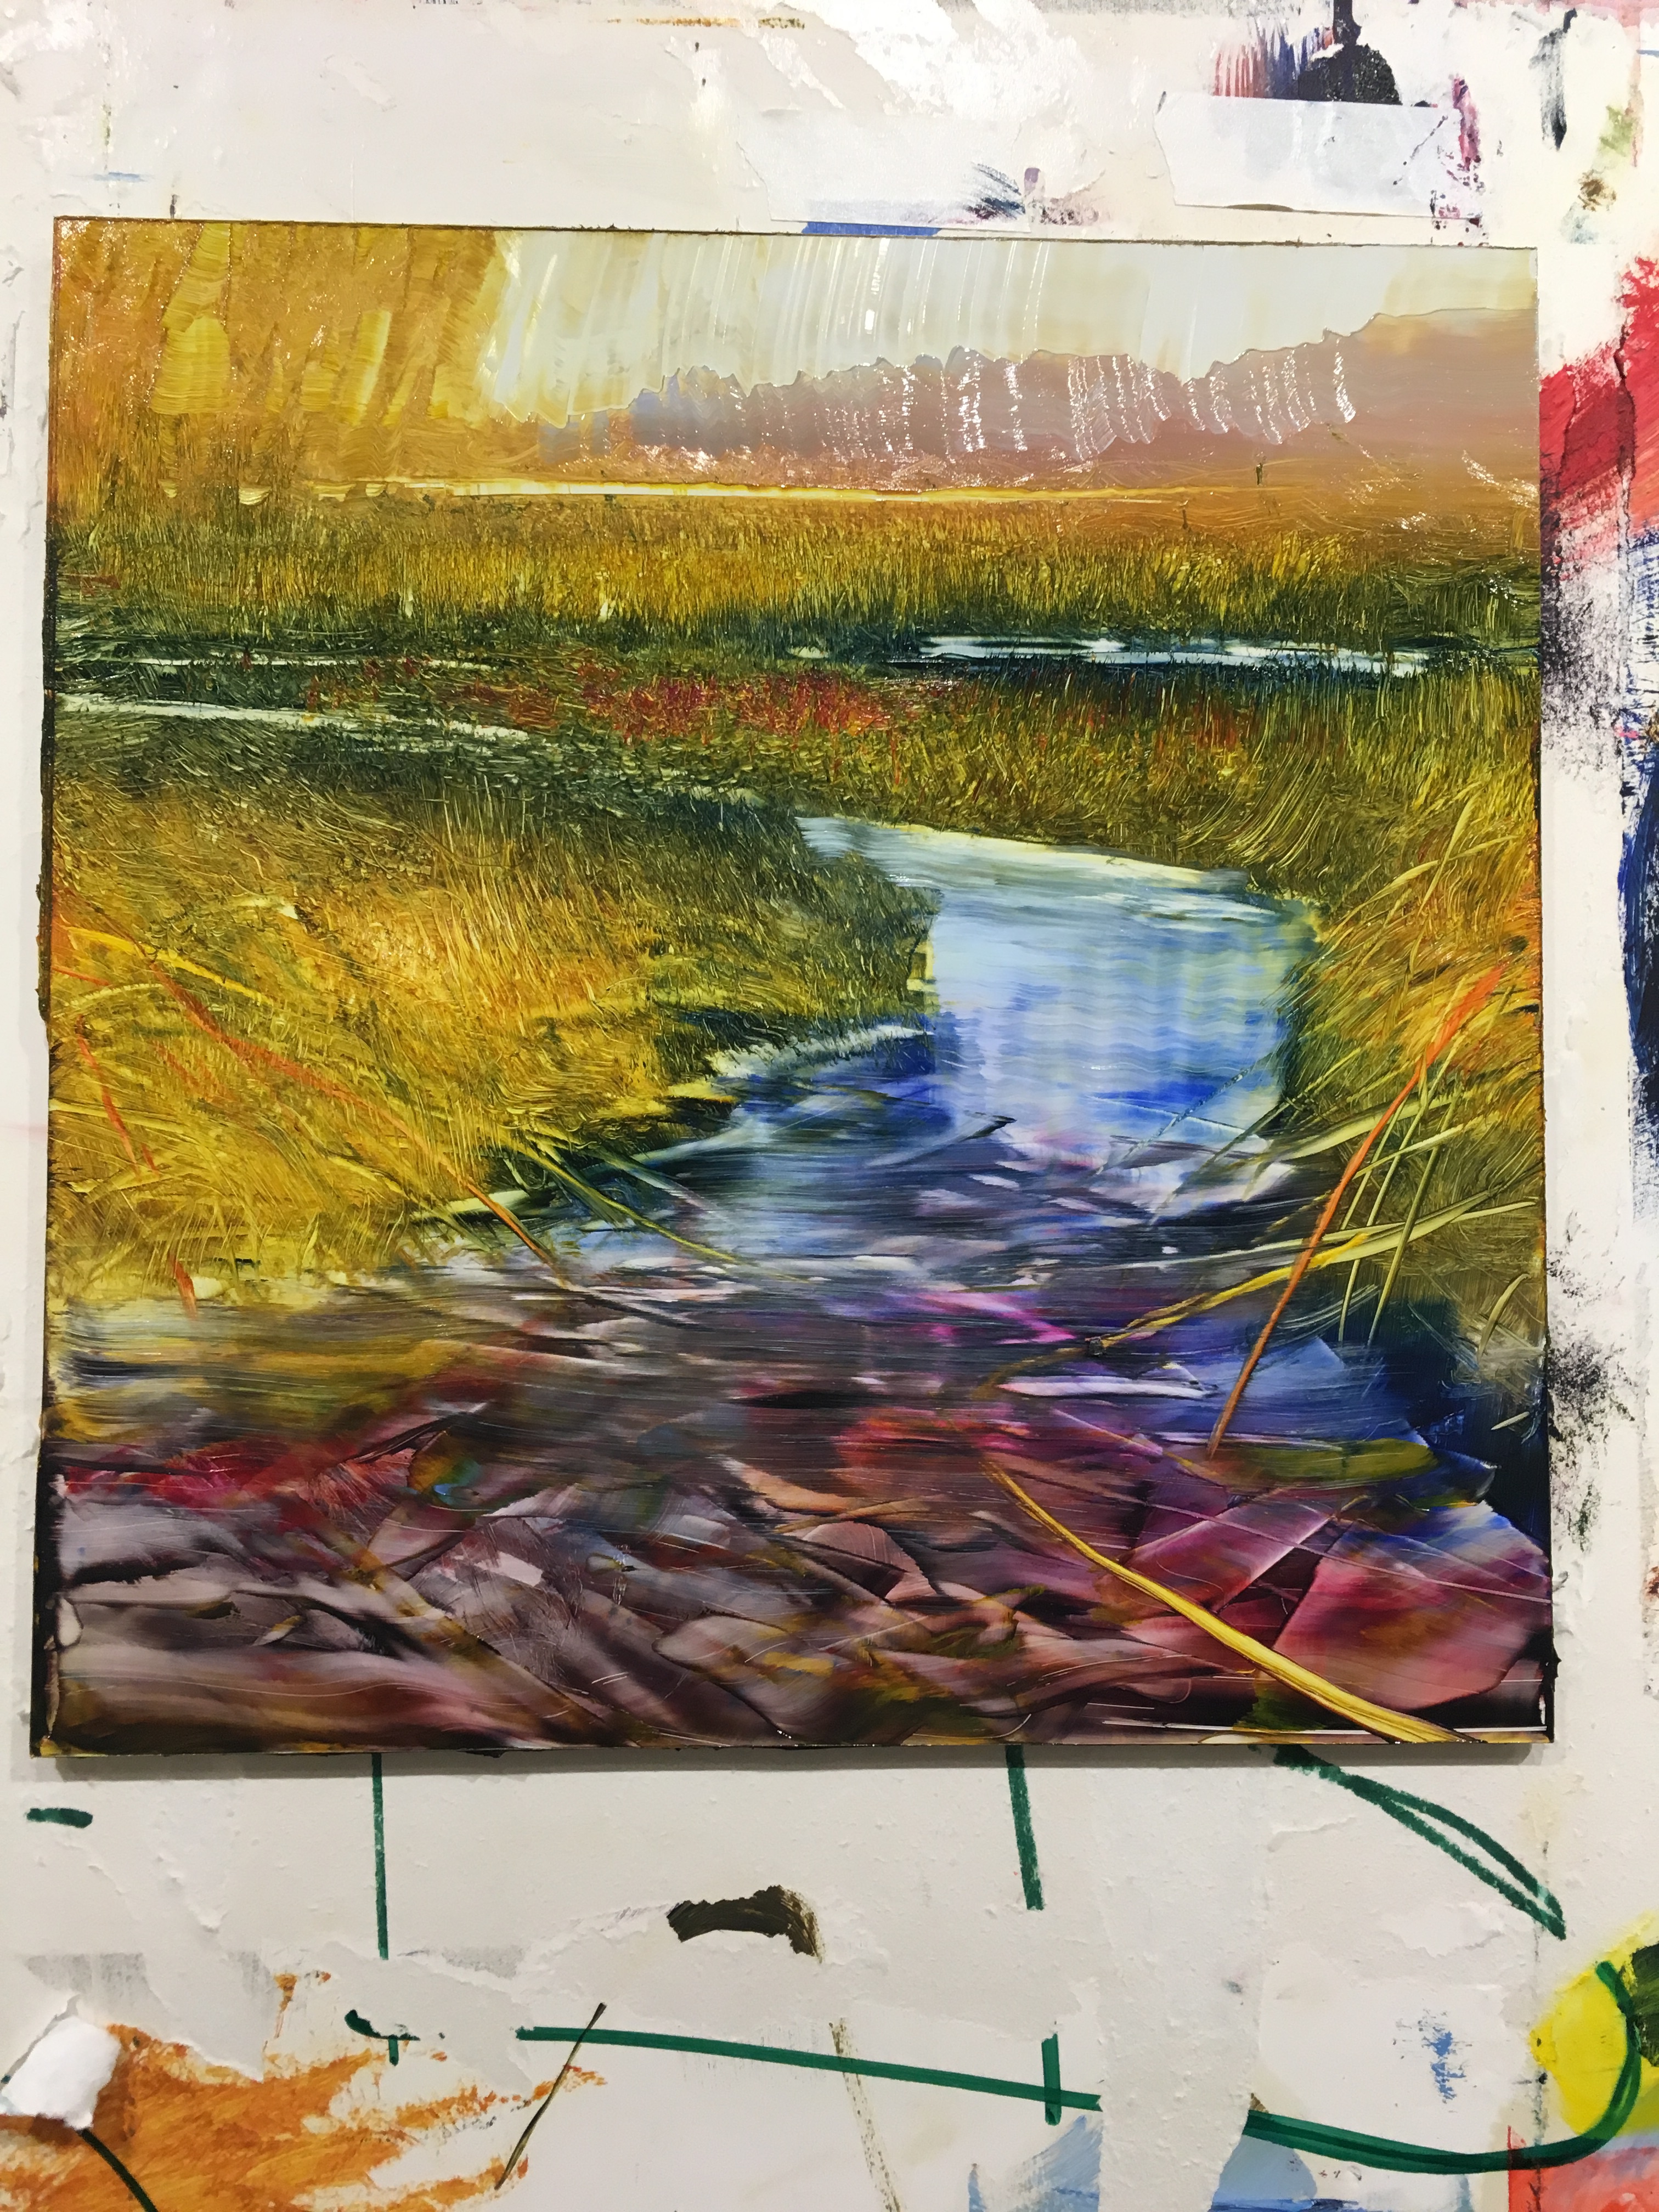
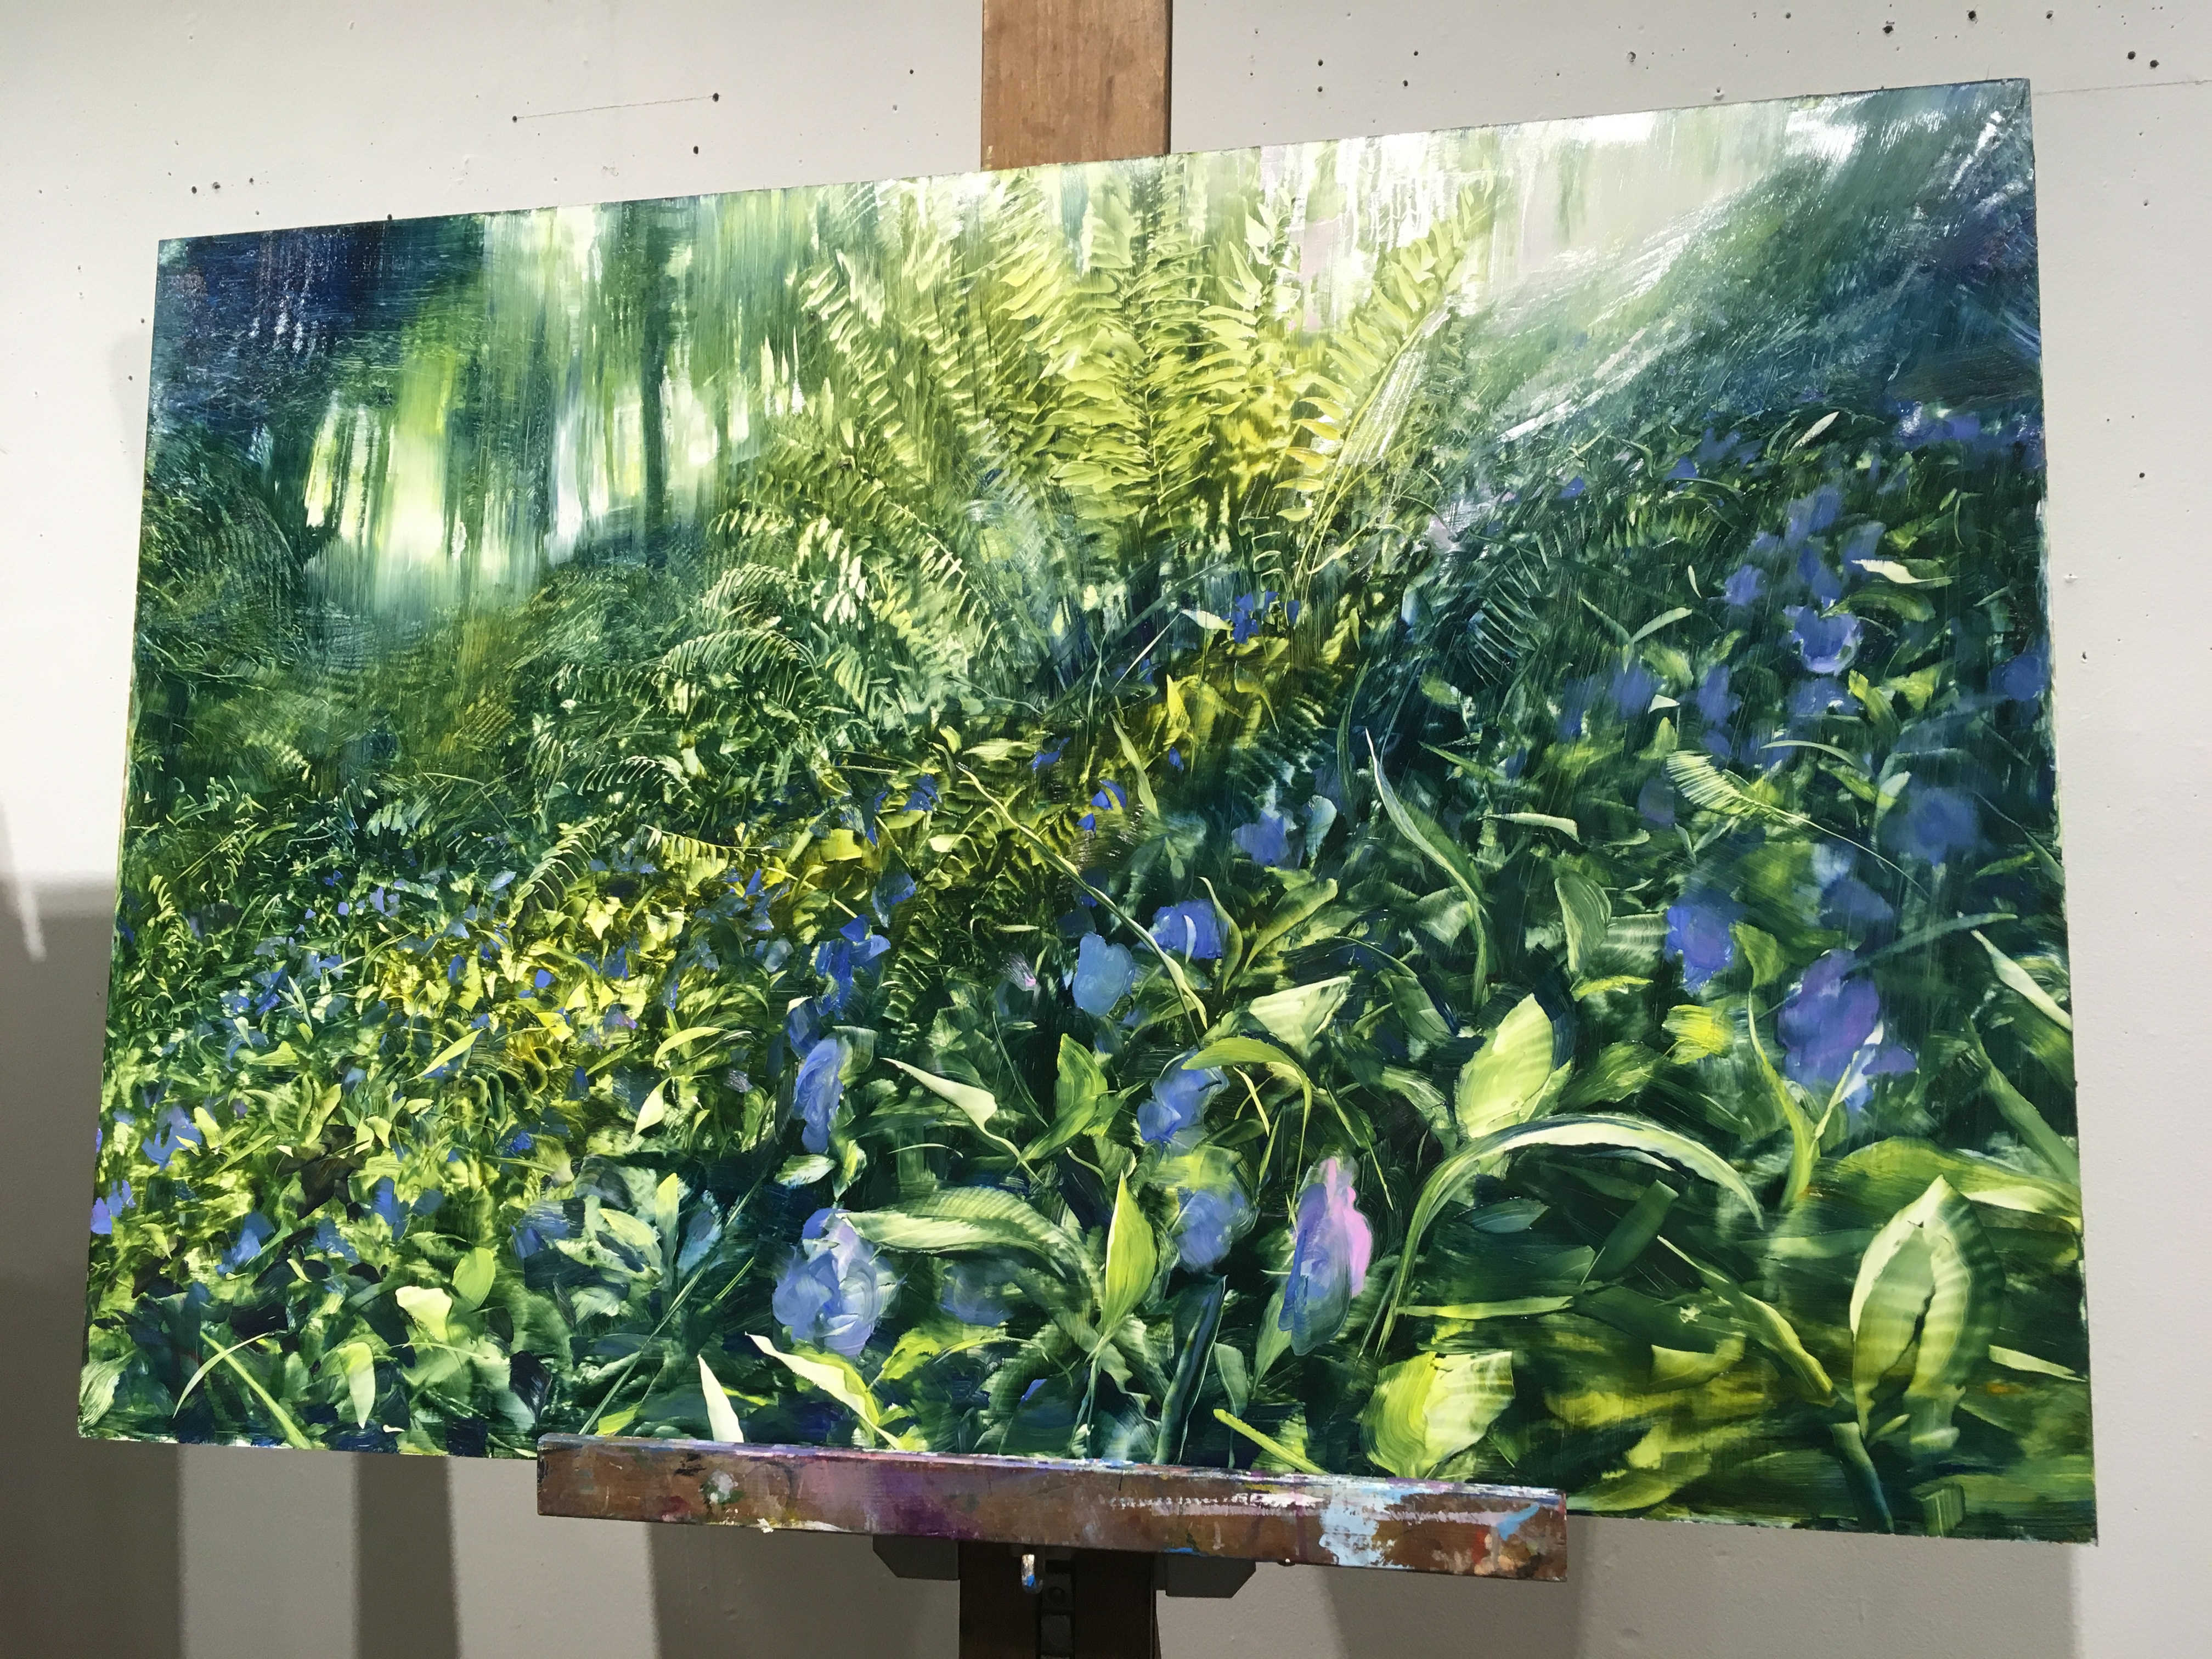
I began with googling the various teachers’ names. When I saw David Dunlop’s paintings, I knew his was a style I wanted to emulate. I signed up for his course, How to Paint a Really Good Landscape at Silvermine Arts Center. Here are some pictures from his painting examples he brought to class:
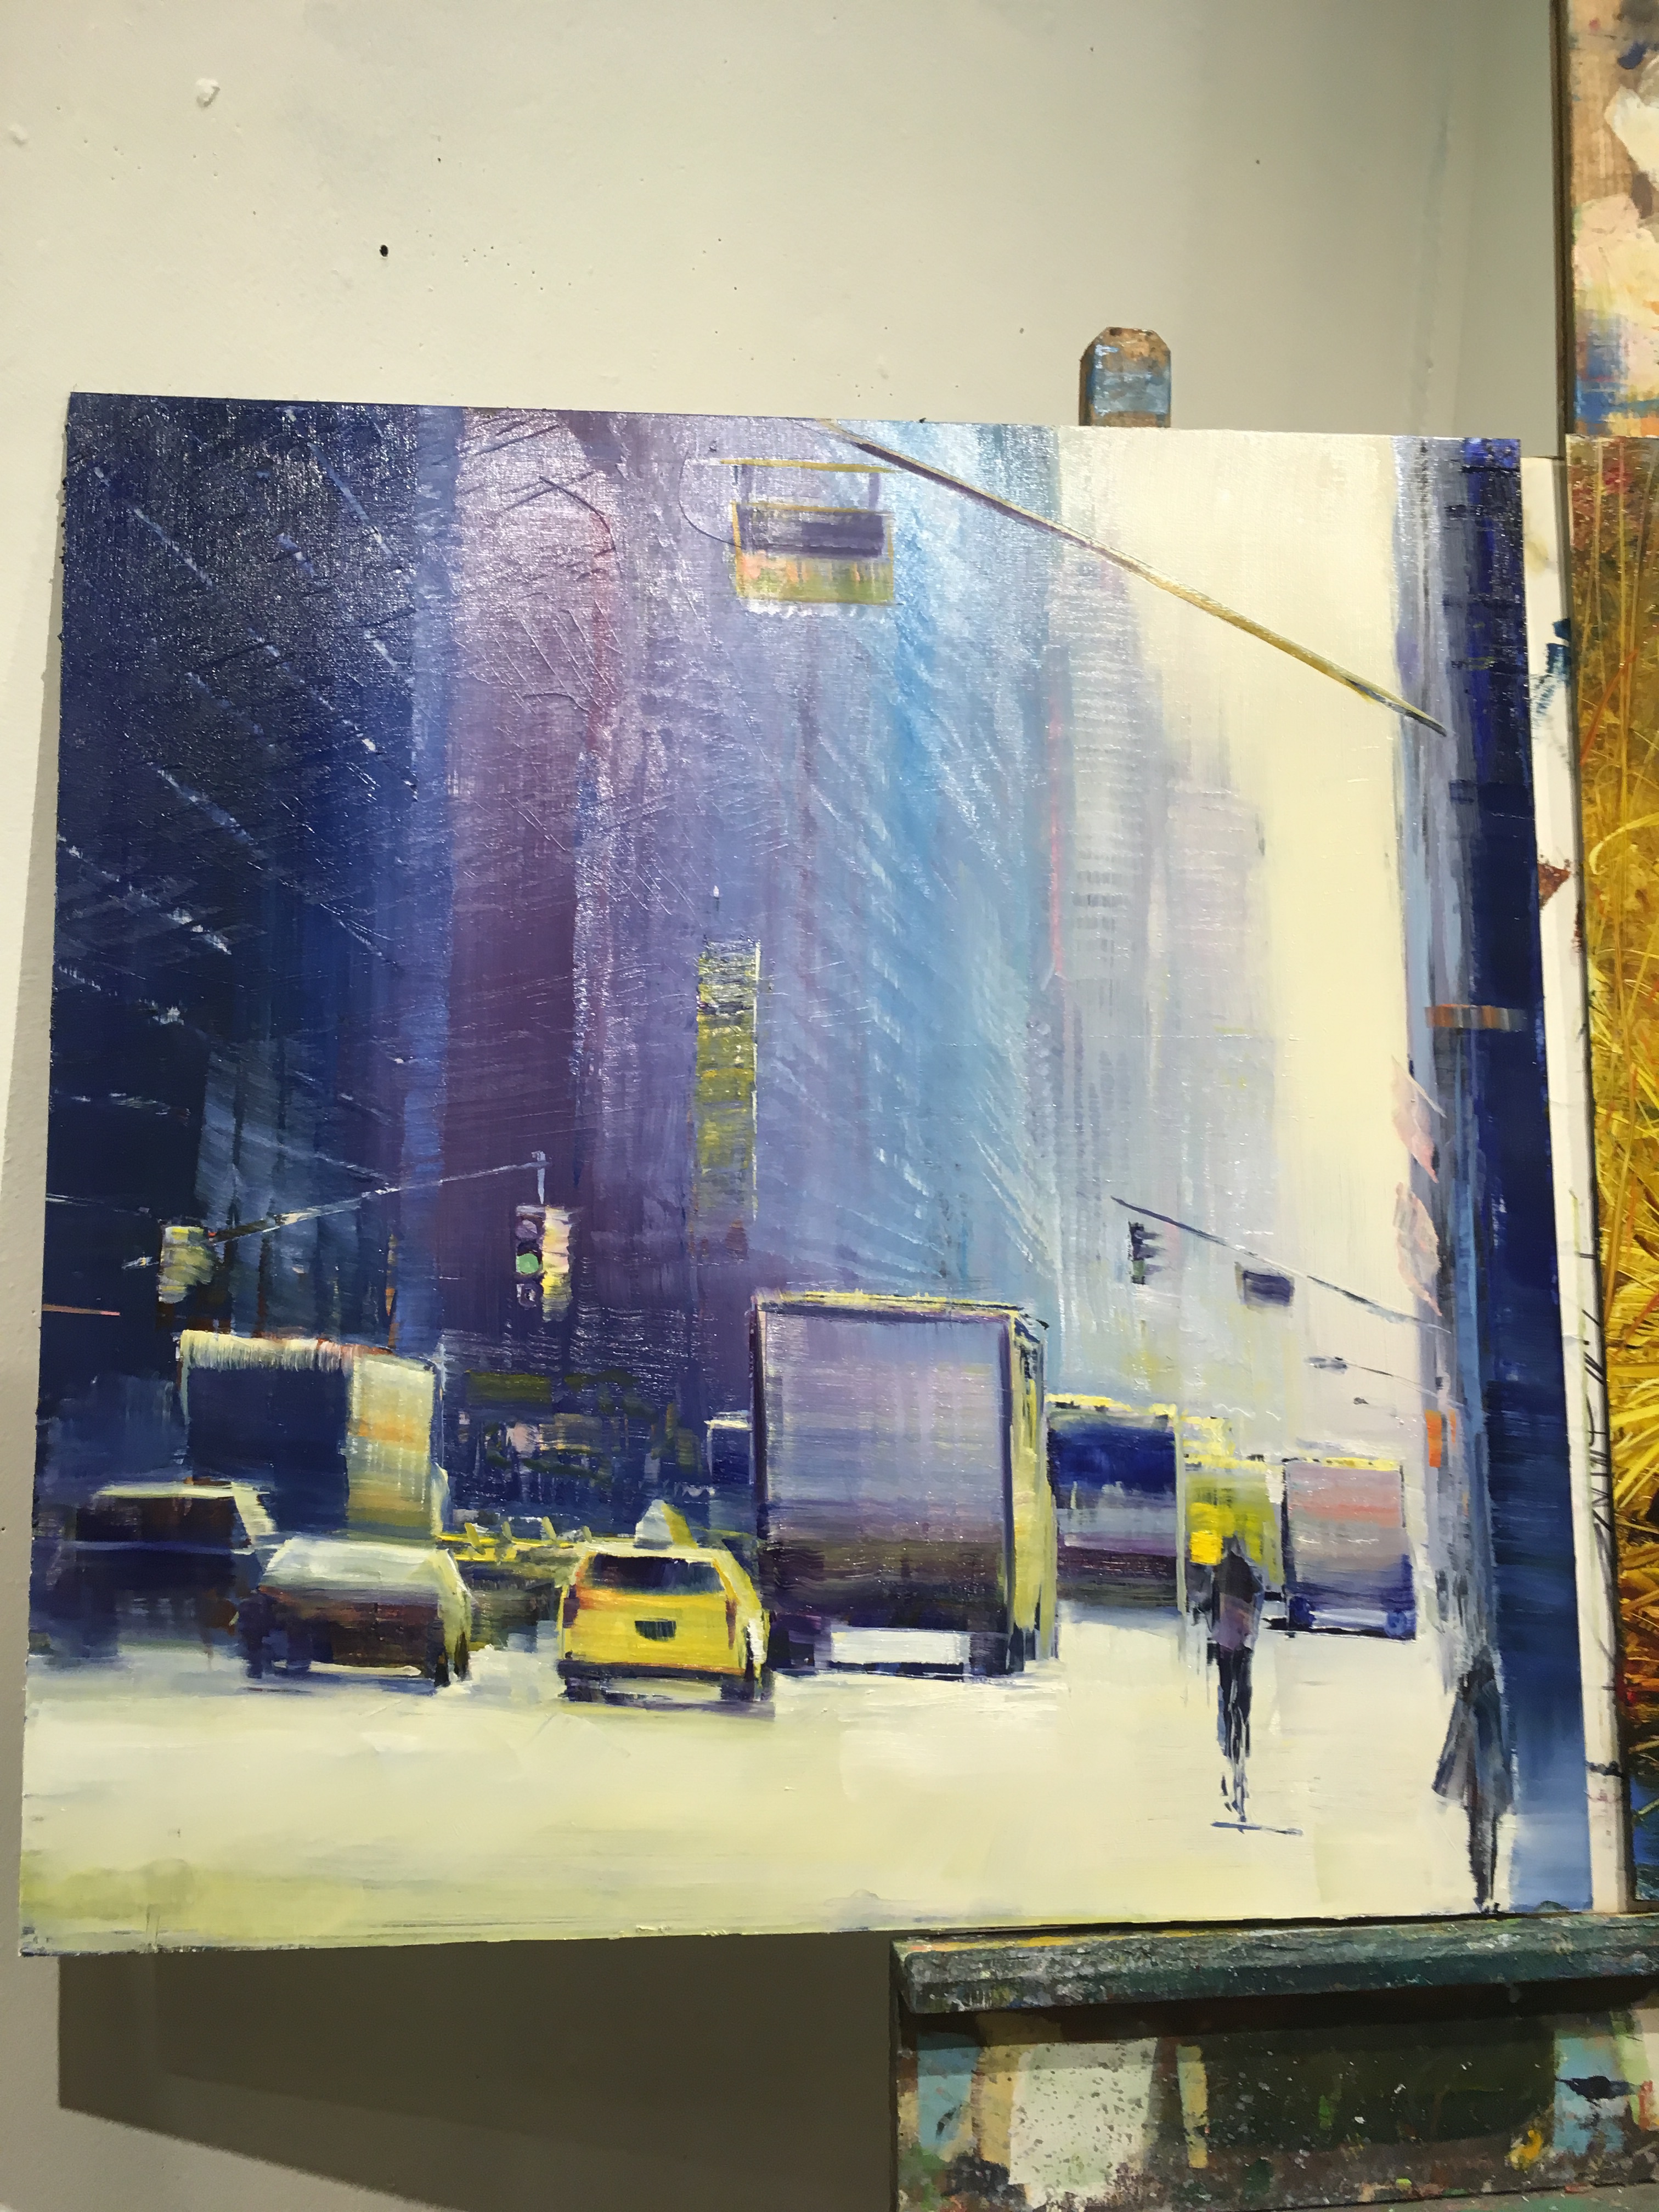
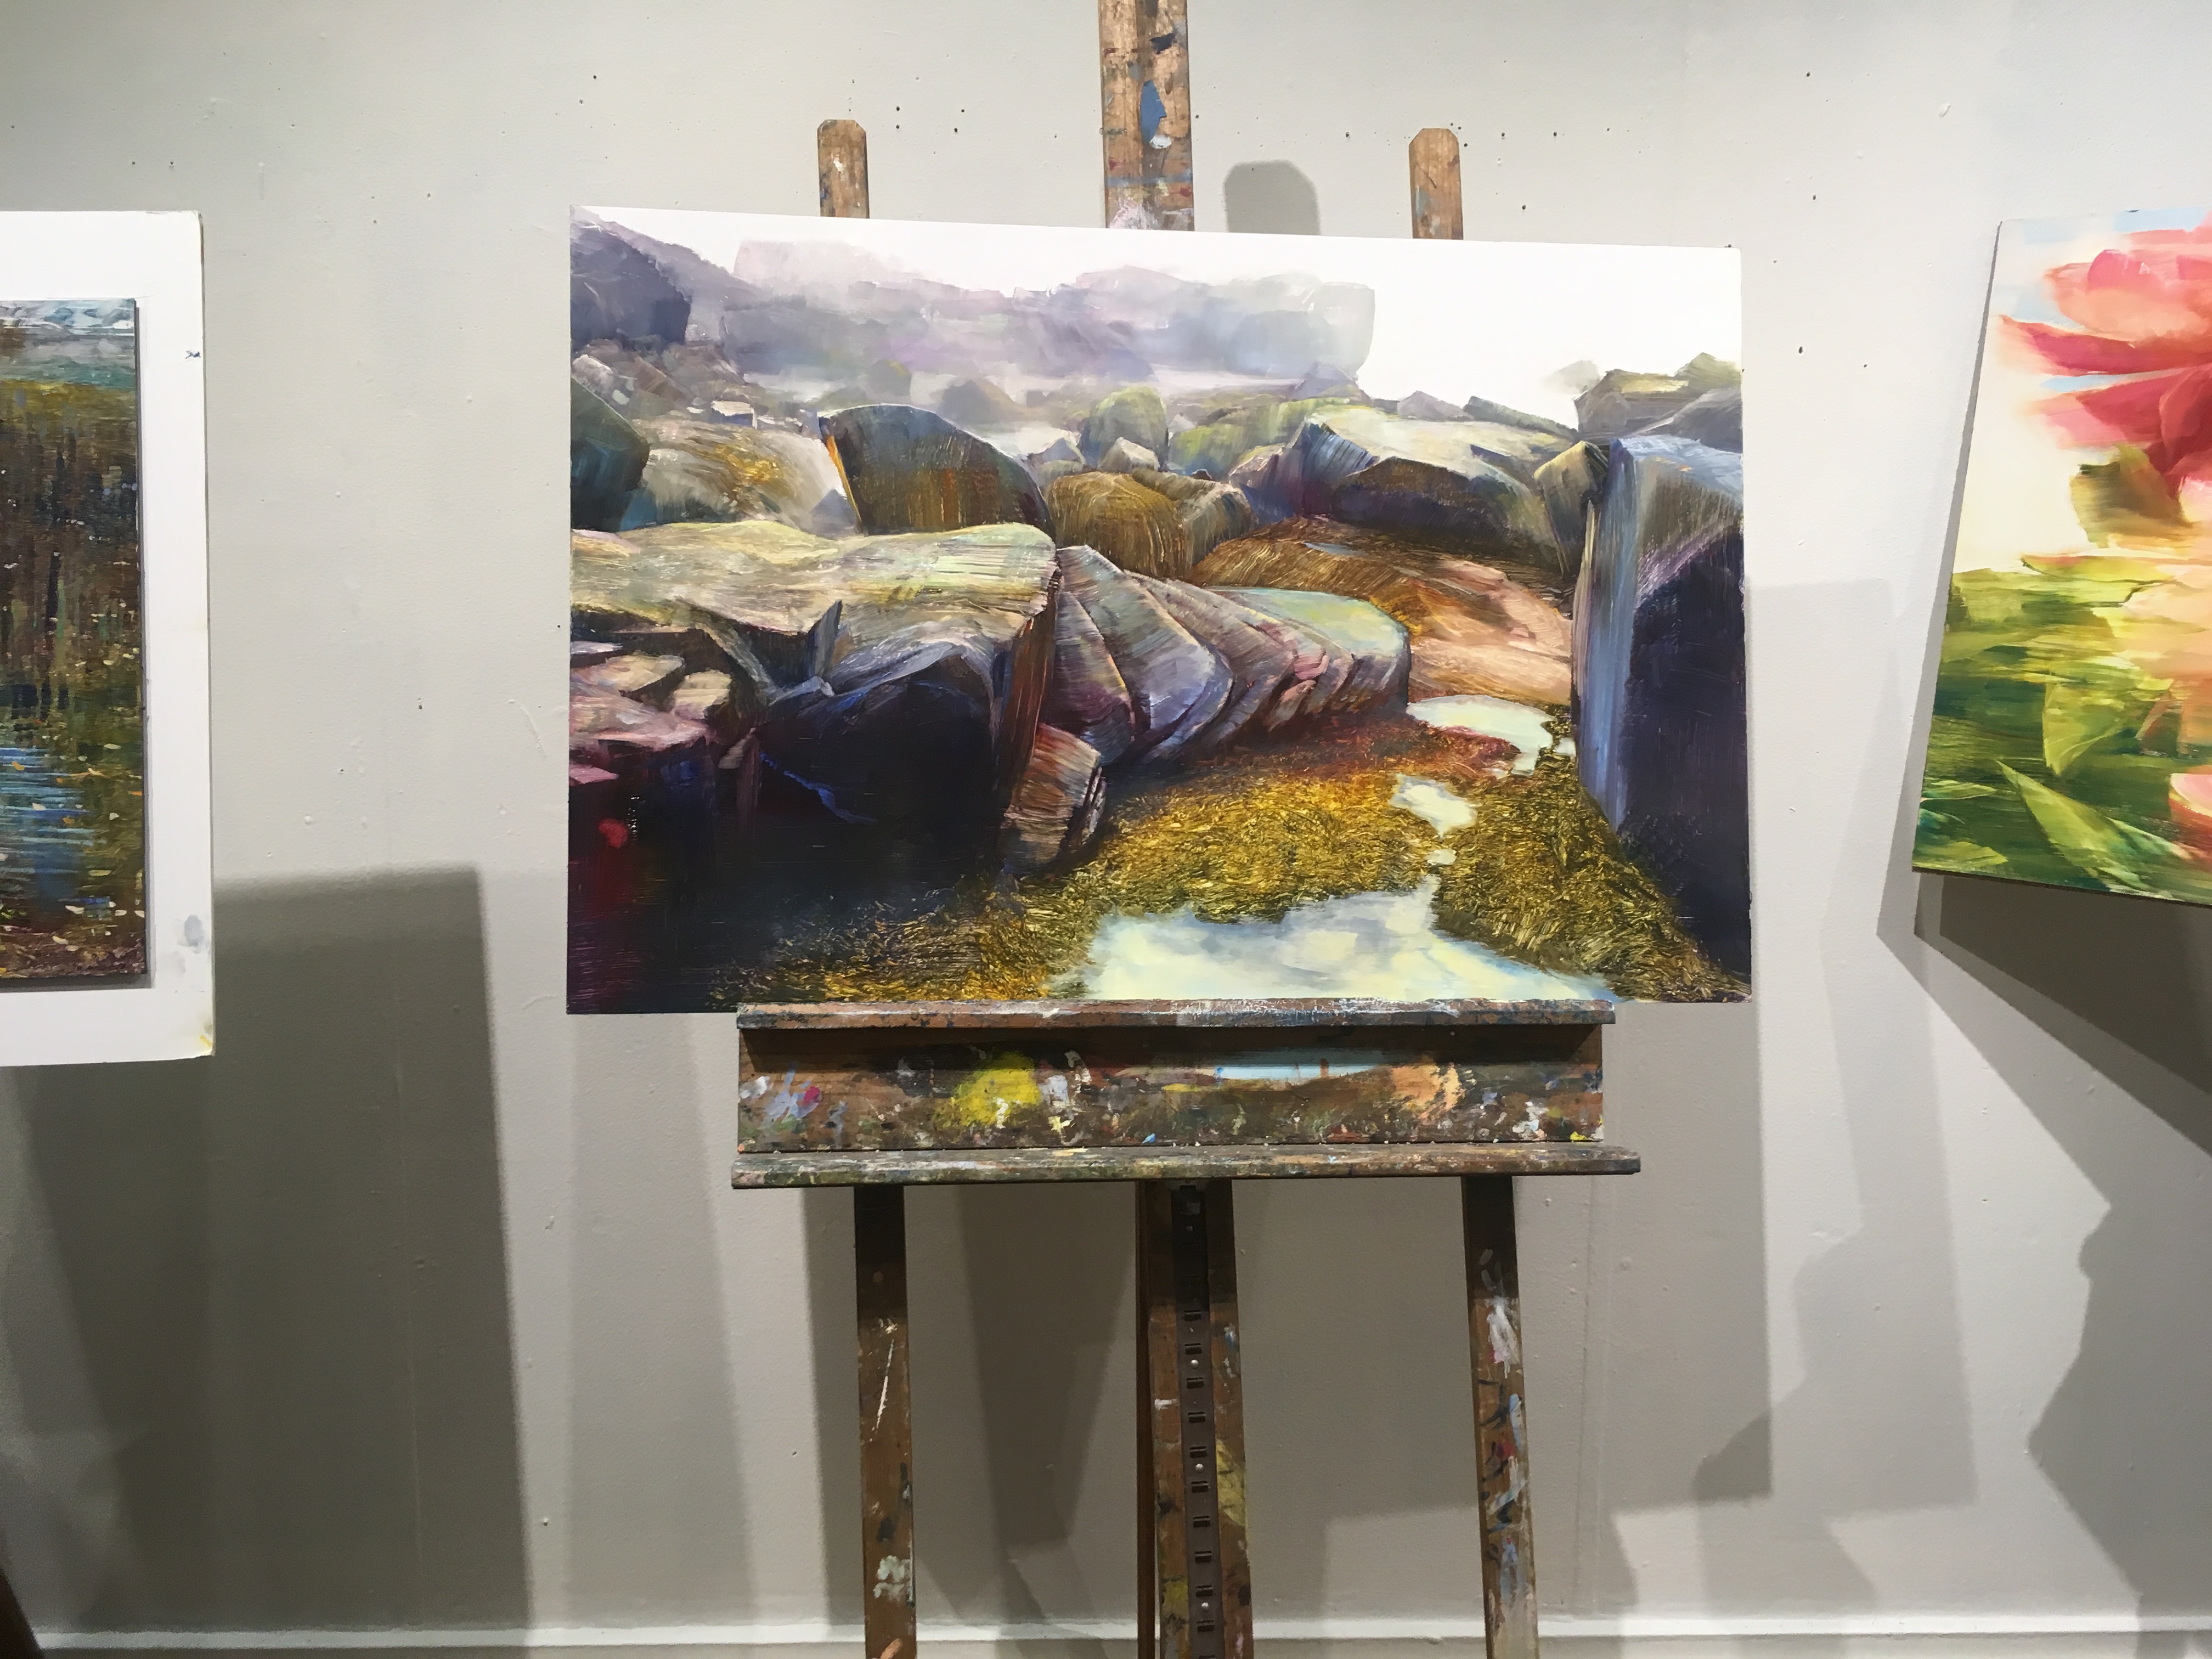
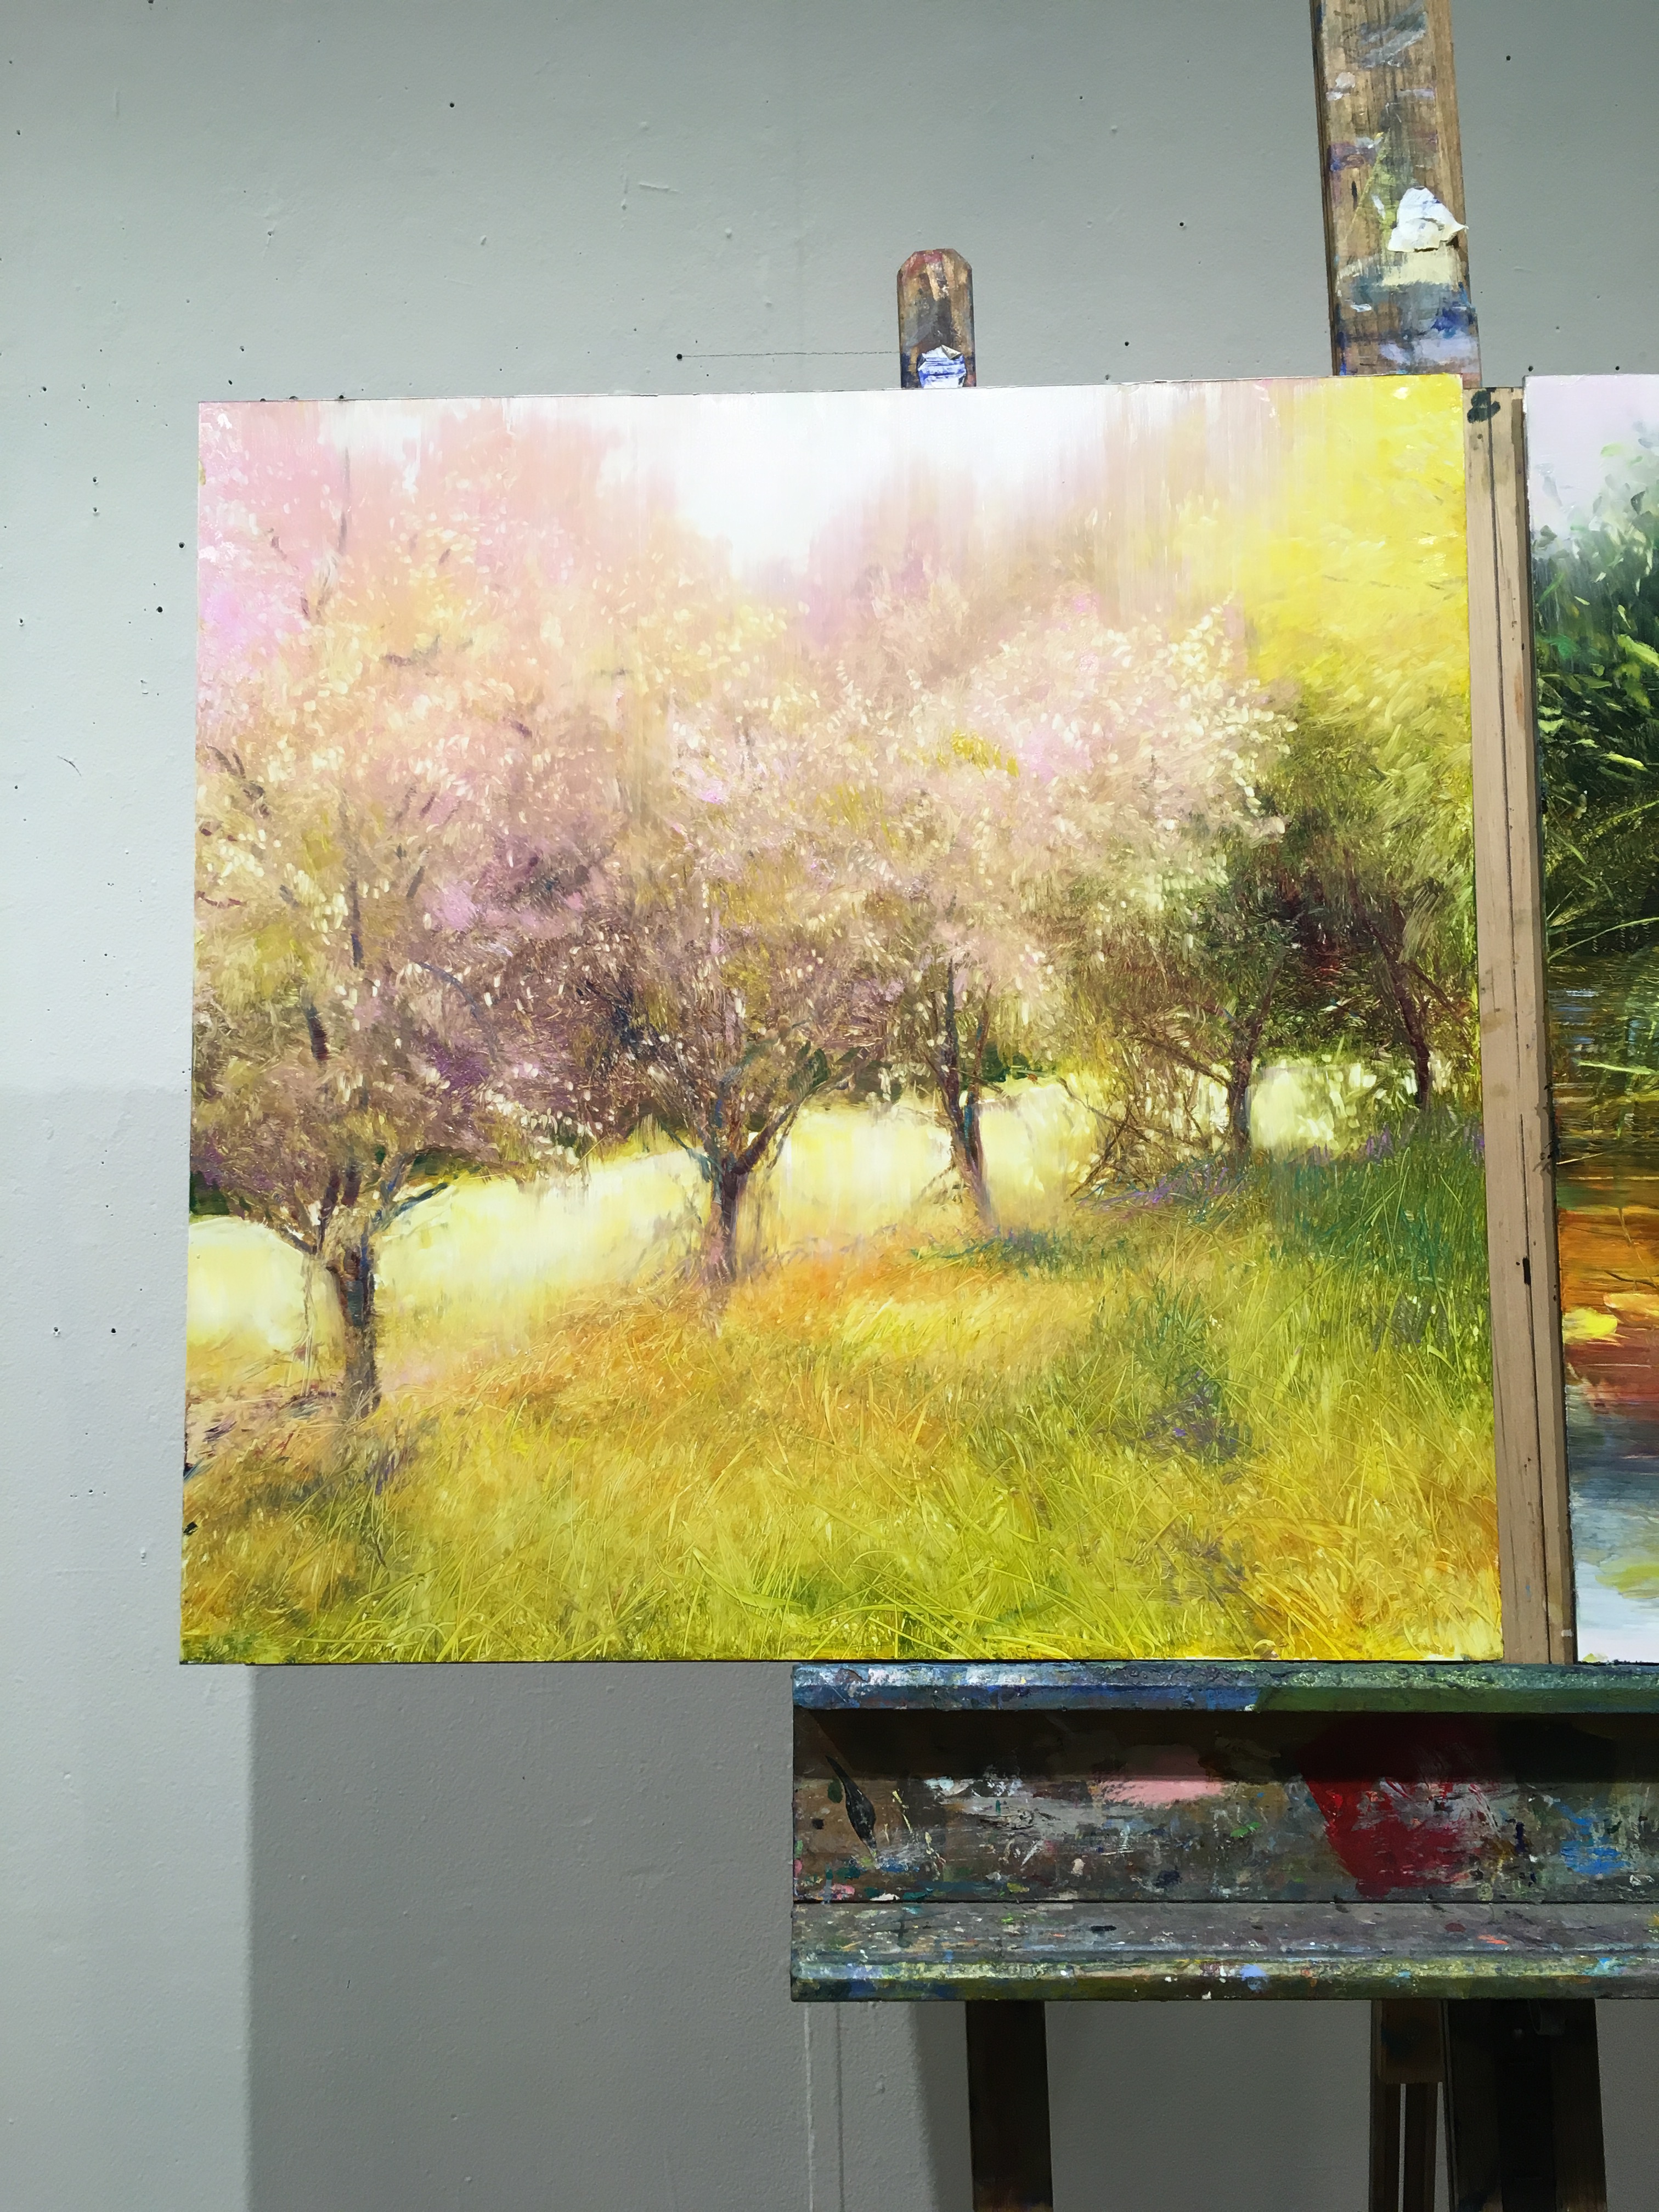
Materials
David had a list of supplies attached to the course description page. The materials included some pretty high-dollar oil paints: his favorite colors from his favorite brands. Much of them were Charvin and Old Holland. Also on the list was a portable easel, a portable chair, and a cart for hauling the tools around and several suggestions for surfaces to paint on, like clay board, aluminum panels, and triple-primed portrait canvas.
I set off to Michael’s Arts and Crafts, the nearest hobby store. Only to find out that even their “professional” level painting supplies weren’t as professional as the list requested.
I hadn’t taken a class of any sort since college, so I felt like having “all the right tools” would make me a better student. I tried to get as much from the list as possible, but I was cringing at the prices!
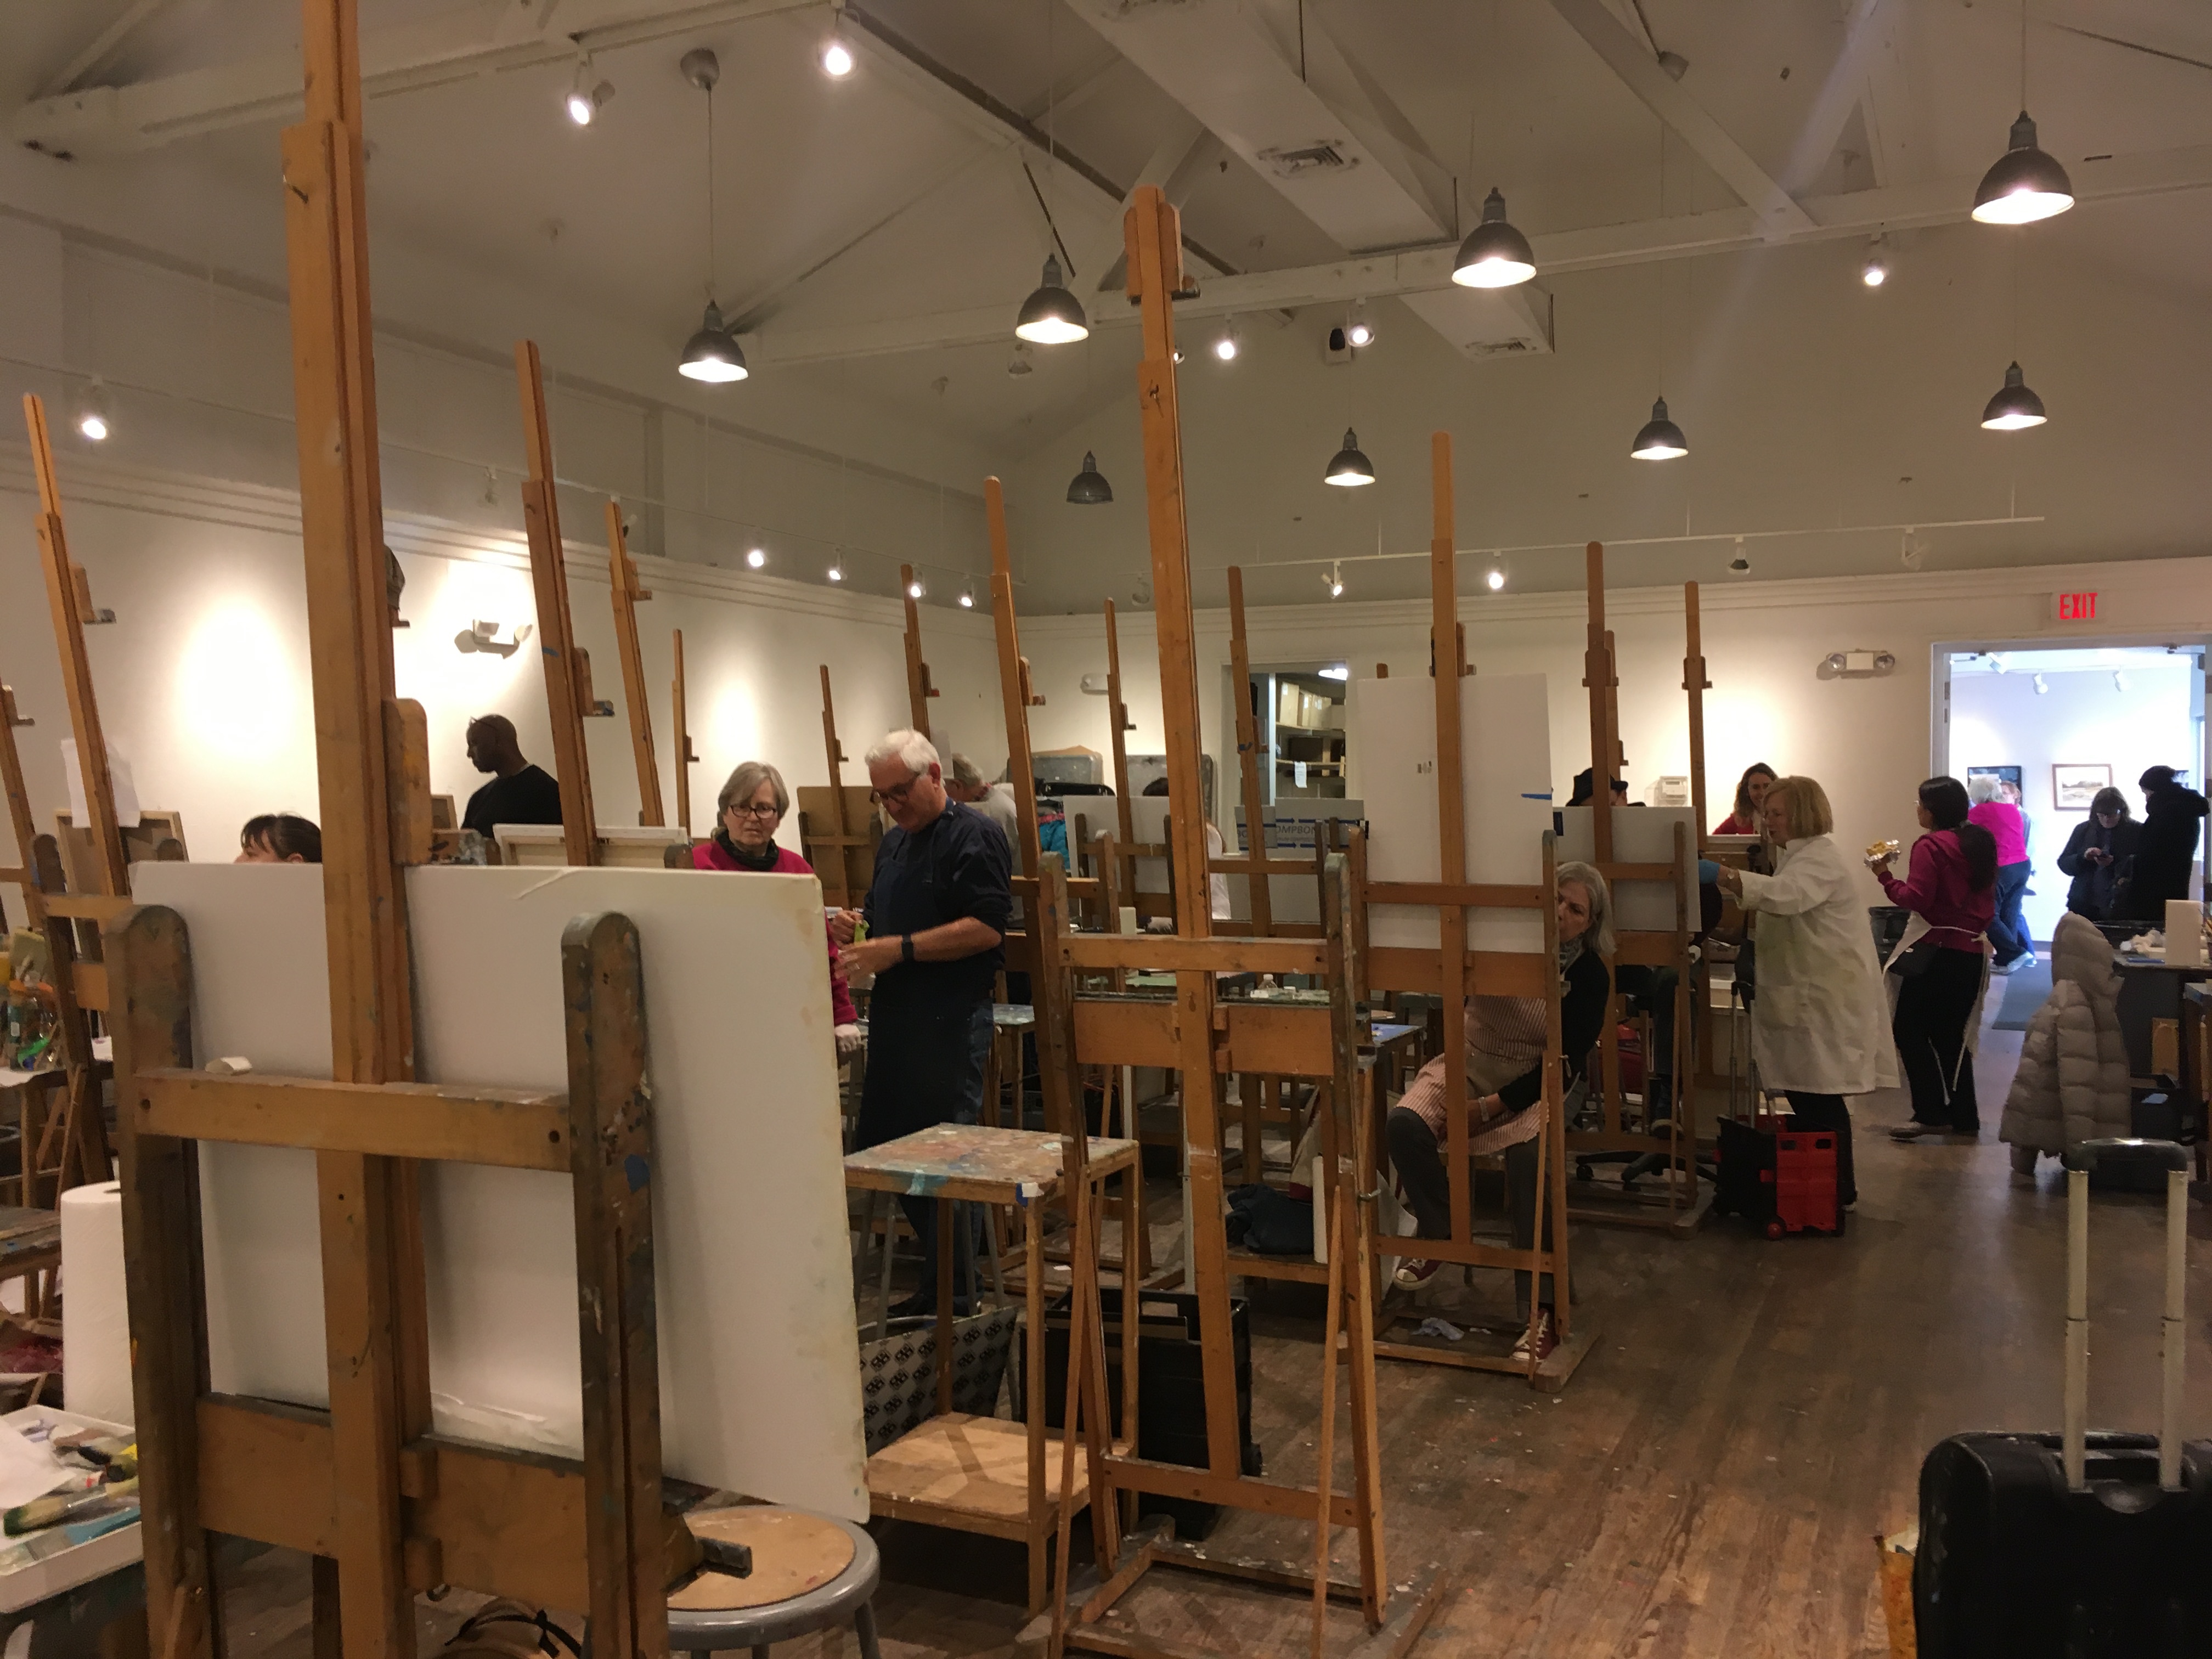
The winter session at Silvermine definitely wasn’t en Plein air (a term used for painting outdoors) so I didn’t actually need an easel or a chair. It was in this larger studio, as it’s one of the most popular courses.
All you really need
Turns out, I didn’t need everything as it was exactly on the list. The main tools needed to work with him in oils were:
- Aluminum boards or Acrylic Varnish clayboard
- Oil paints–if you want to go BARE minimum, I’d recommend using the CMYK method that printers use. In this case, you’ll only need a good cyan (like Charvin Cerulean), magenta (Charvin Intense Pink), yellow (Charvin Lemon Yellow) and black. If you’re feeling weird about not coming equipped with white, Titanium is the way to go.
- Linseed oil
- A container for the linseed oil (I bought something special for it, but have used a short to-go soup container and it worked perfectly fine
- Squeegee
- A LOT of paper towels
- Gloves (these are more necessary than you think!)
- Many extra large flat brushes, bristle and soft synthetic, some small rounds and flats..the more brushes in all ranges, the better
Technique
Set Up
Every class session, David would bring in a foam core board, as you can see above, on which he would tape the surface he’d be painting on. He’d also tape his reference photo and draw a quick sketch of the composition on the foam core. Then he’d take a sheet of disposable canvas on there, so the color mixing he’d do would be right next to what he’s working on.
This setup is more efficient than the traditional canvas on easel/palette and reference on the side. Everything is in one place.
Color Mixing
The palette wasn’t always used. David frequently start off by applying colors to the panel, many of them unmixed. I was surprised by this process!
He also didn’t clean his brush. He’d maybe add more of the Linseed oil and wipe it off, but often he’d allow for the colors to mix. This gave the colors used more cohesion.
Subtraction
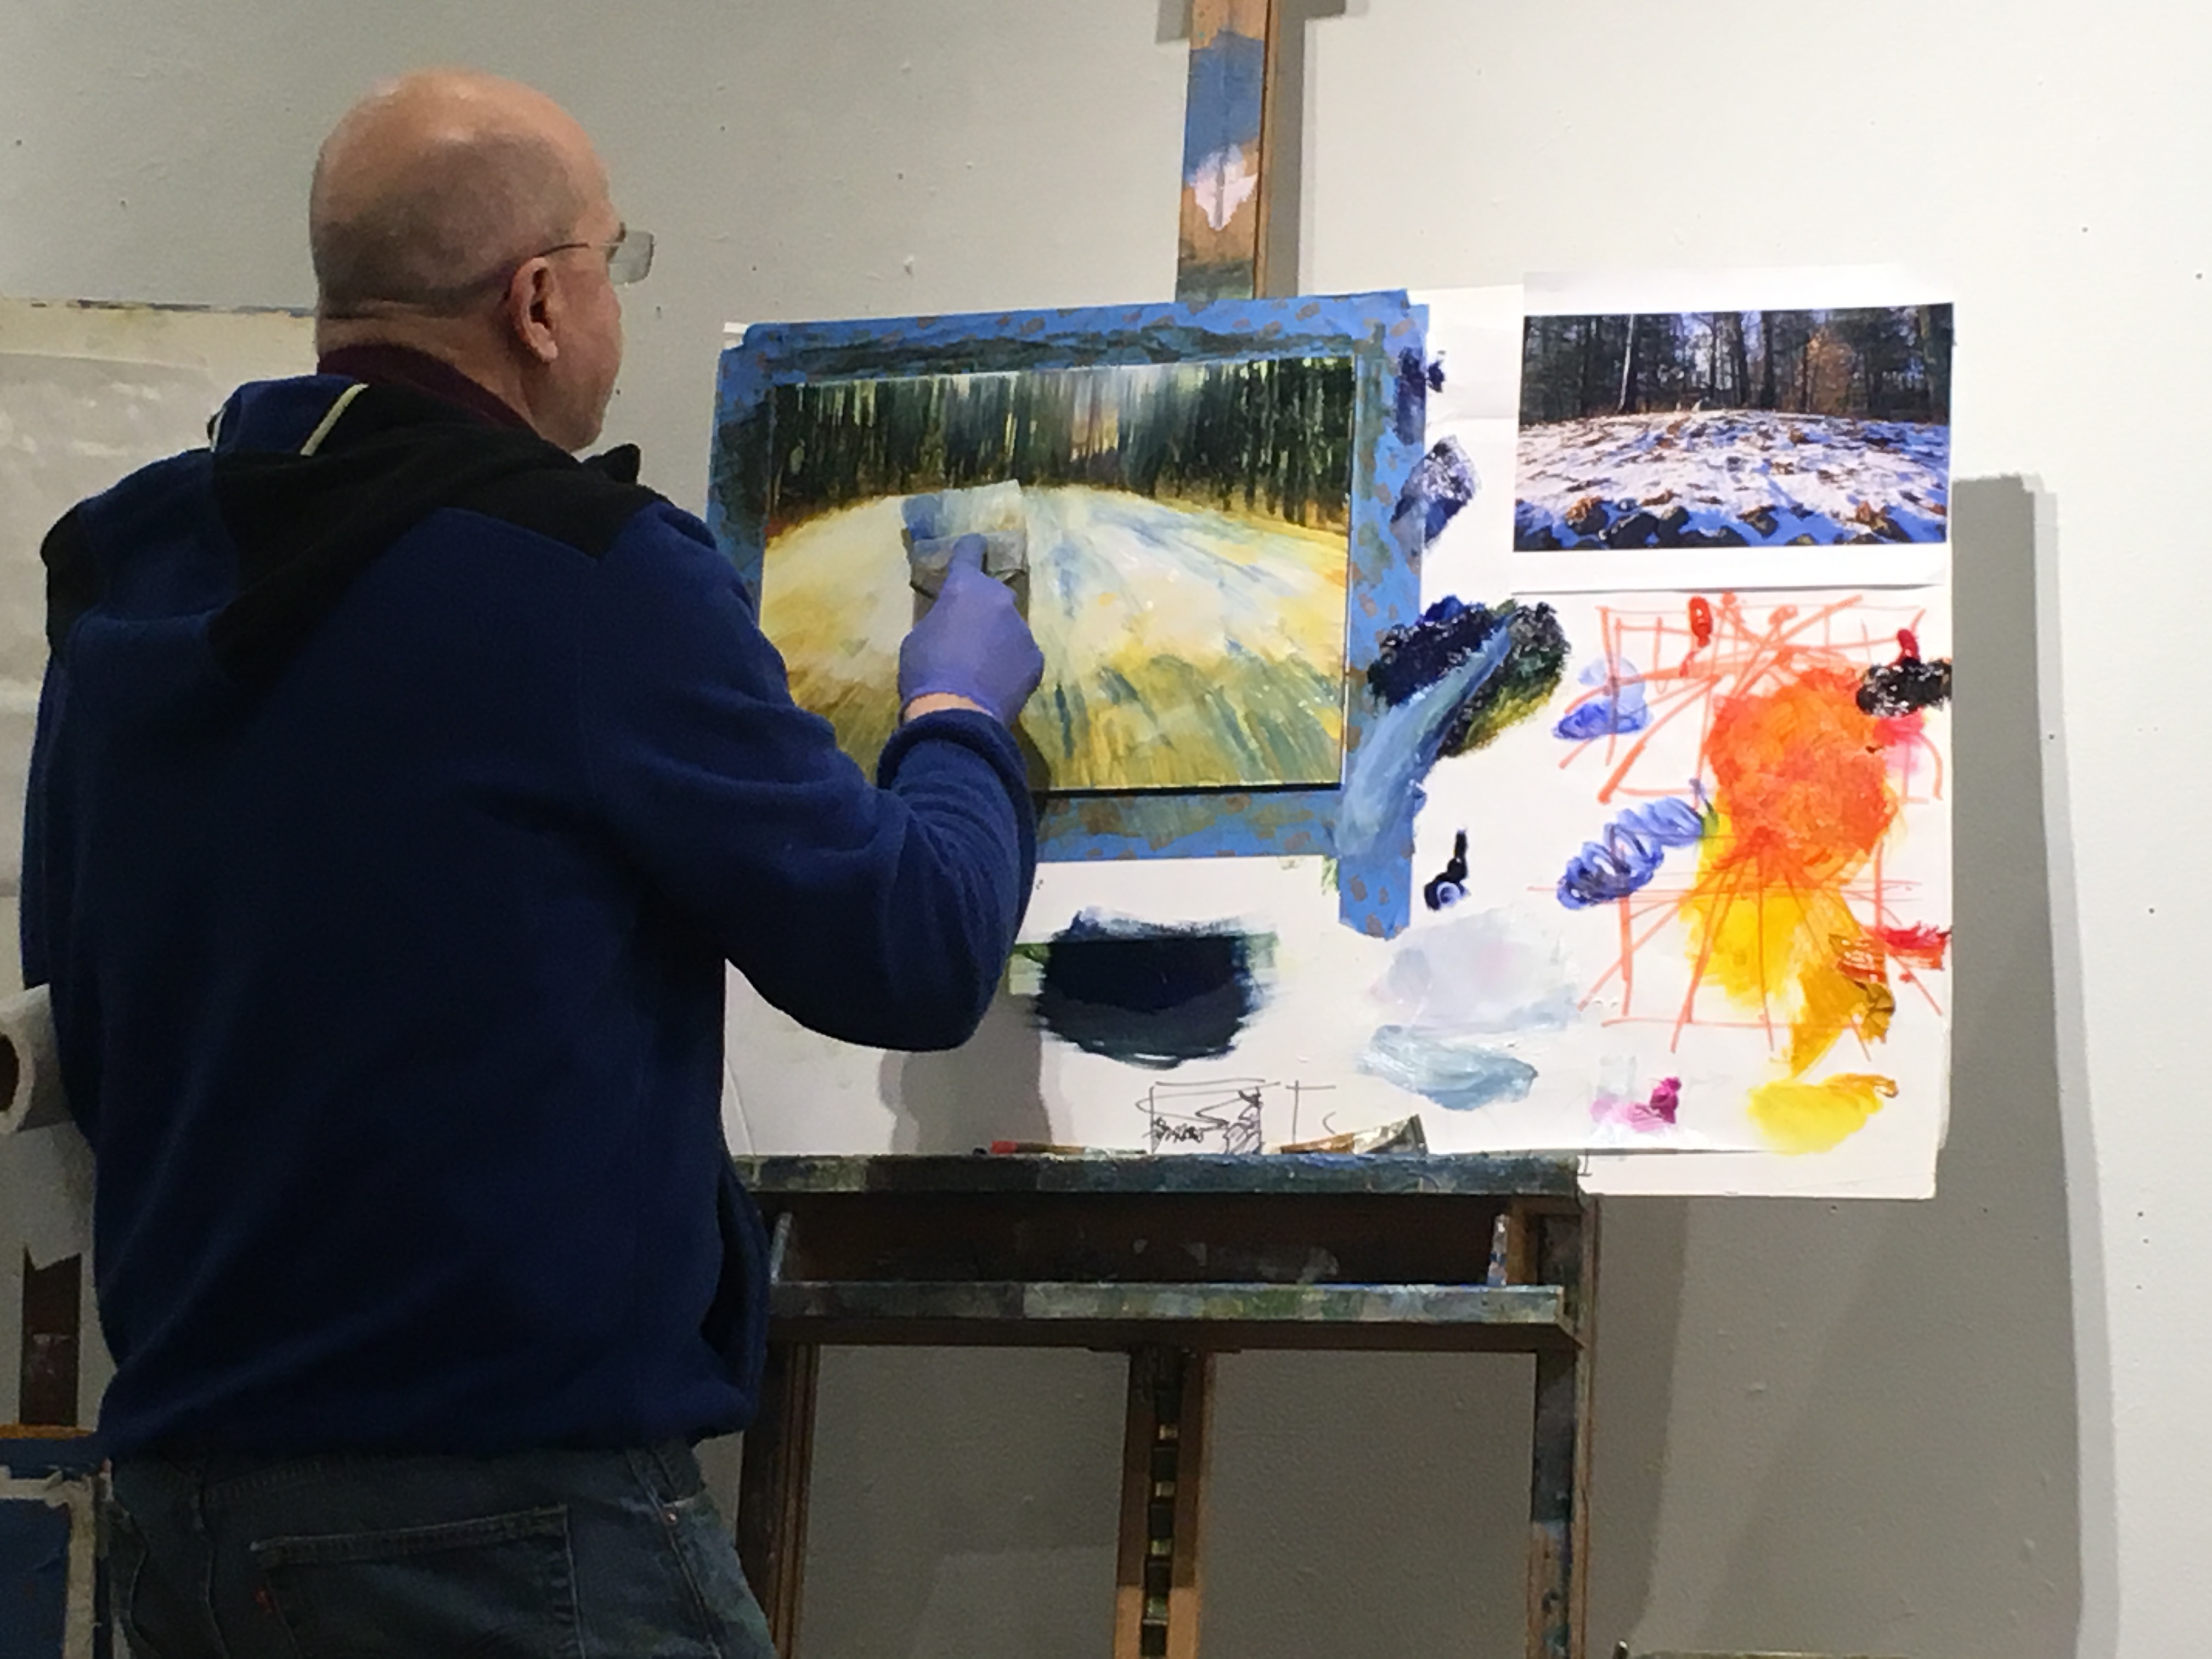
David primarily uses a method of subtraction when painting. This was something I was completely unfamiliar with prior. He covers the entirety of the canvas in a color, then pulls textures out of that color with brushes, squeegees, paper towels, and his (gloved) fingers.
Here’s an example of working within the subtraction process.
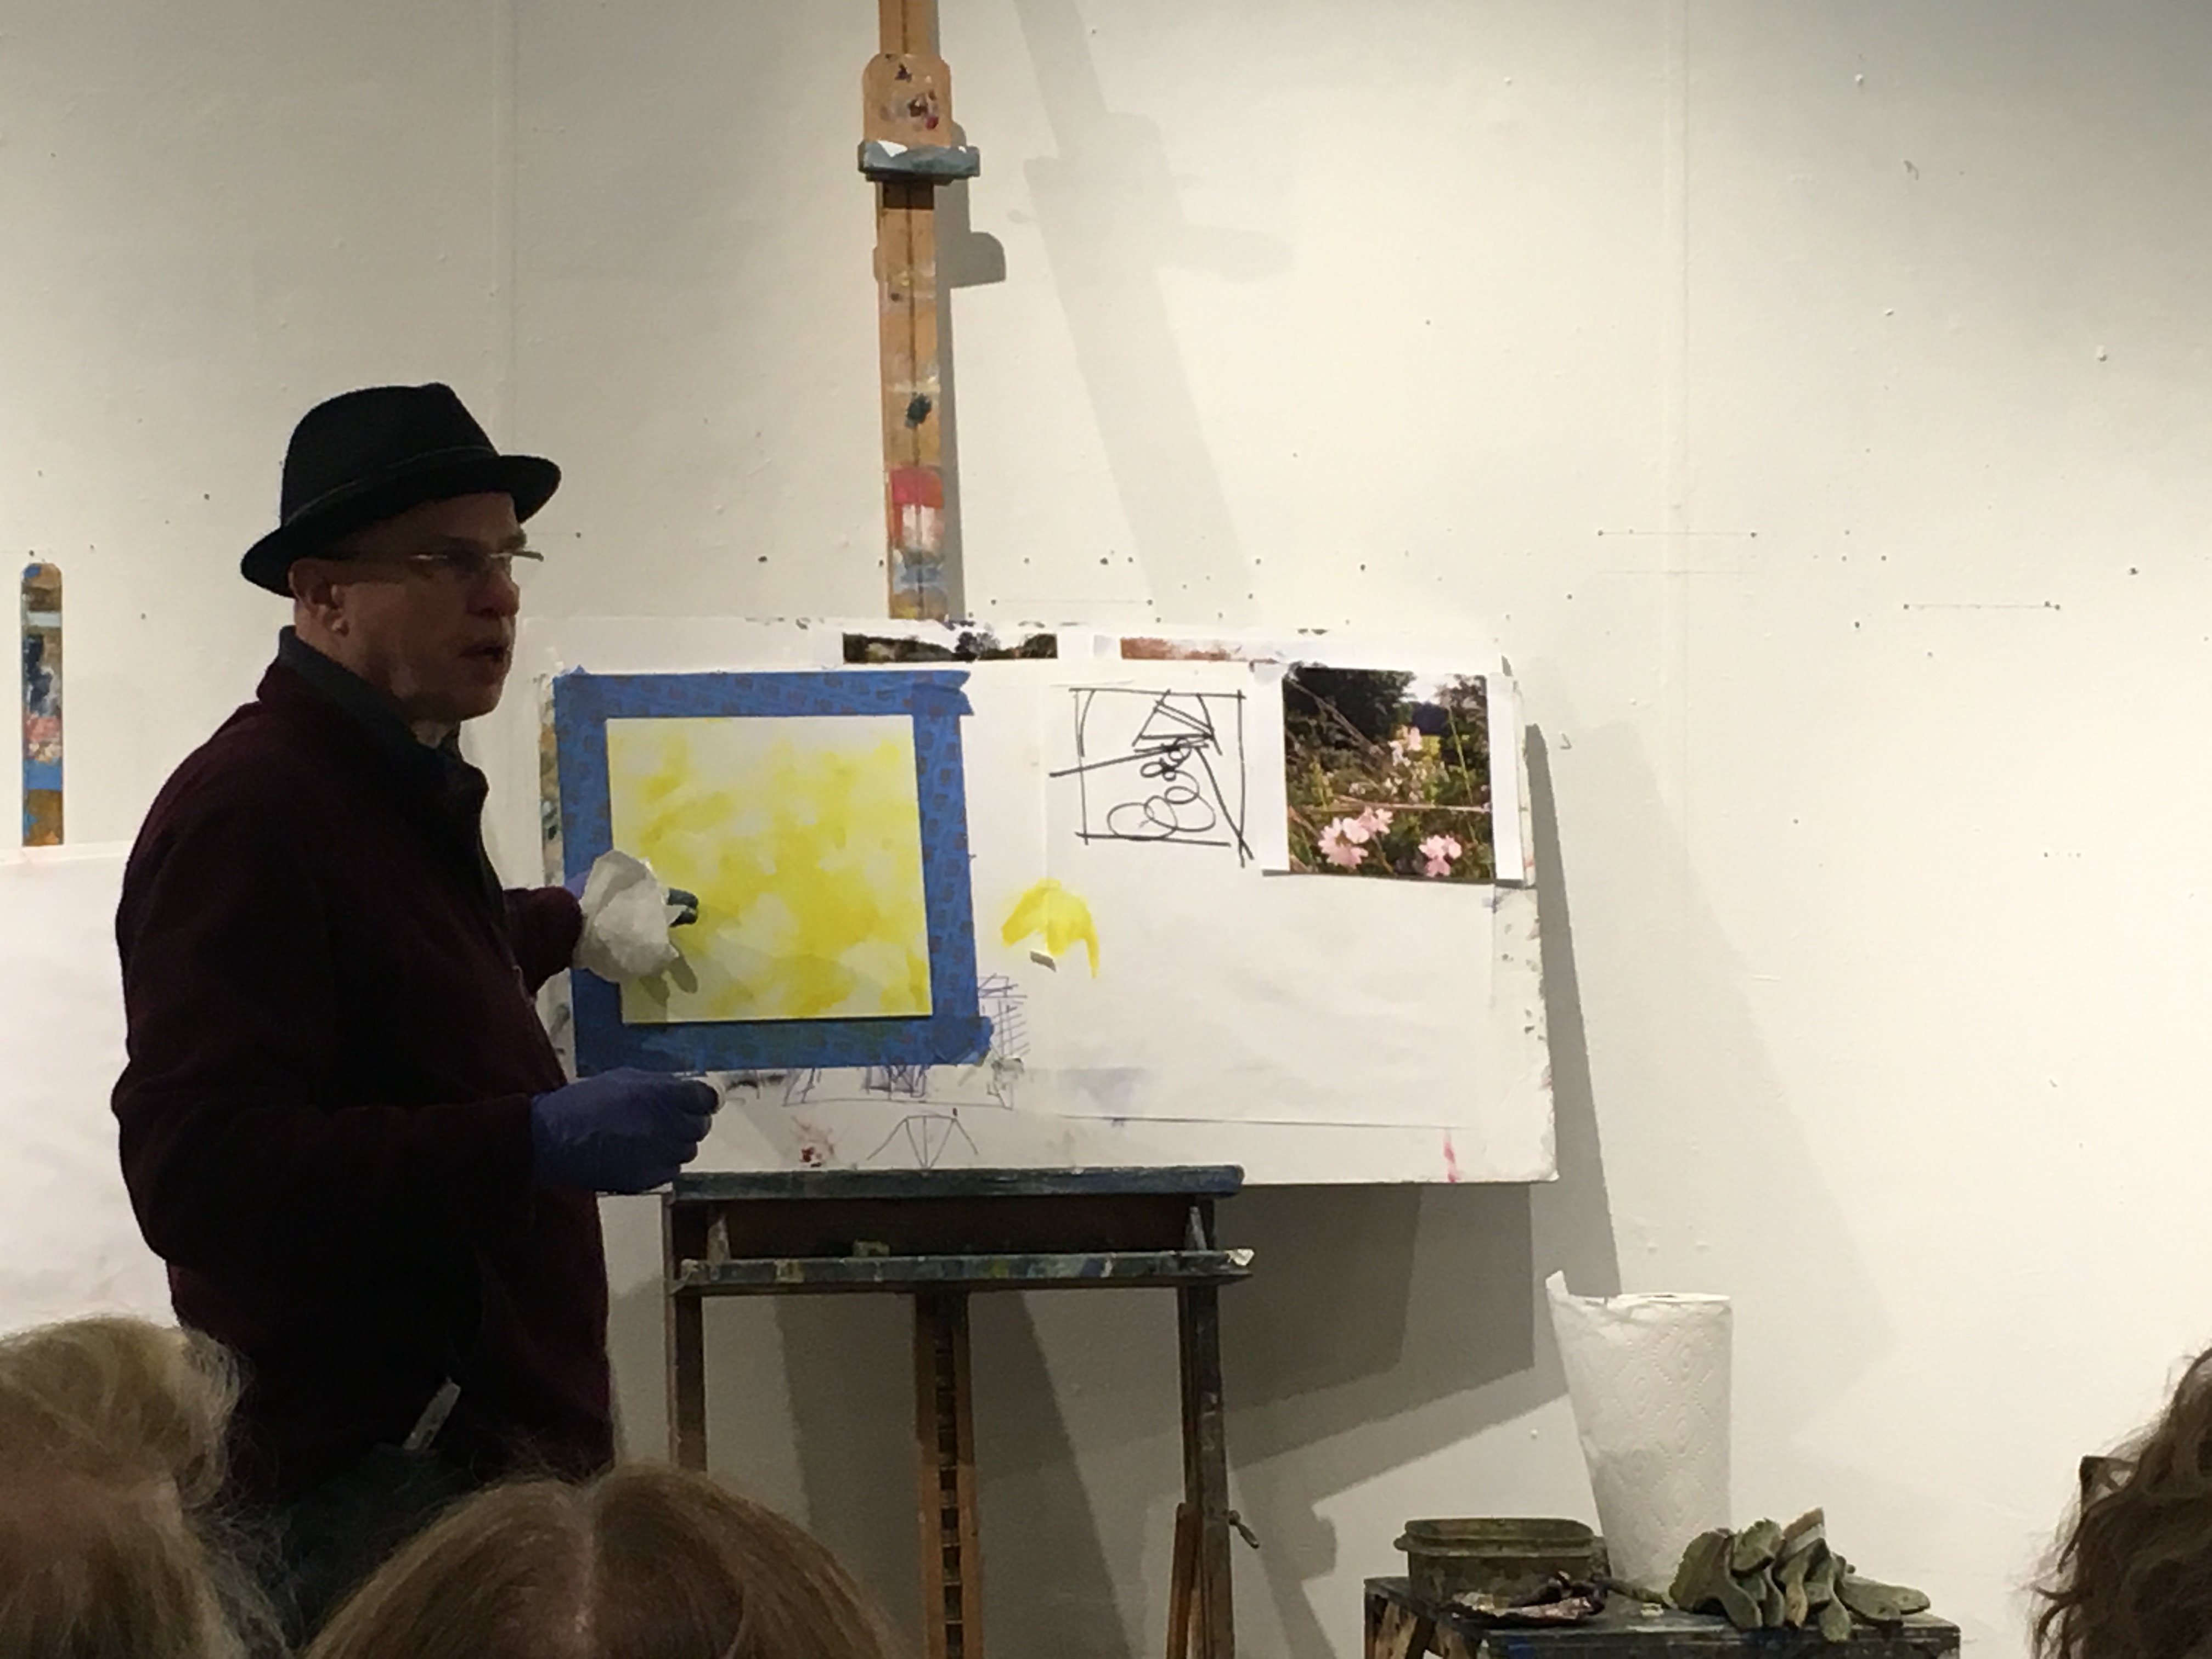 Here he starts with a lemon yellow base color.
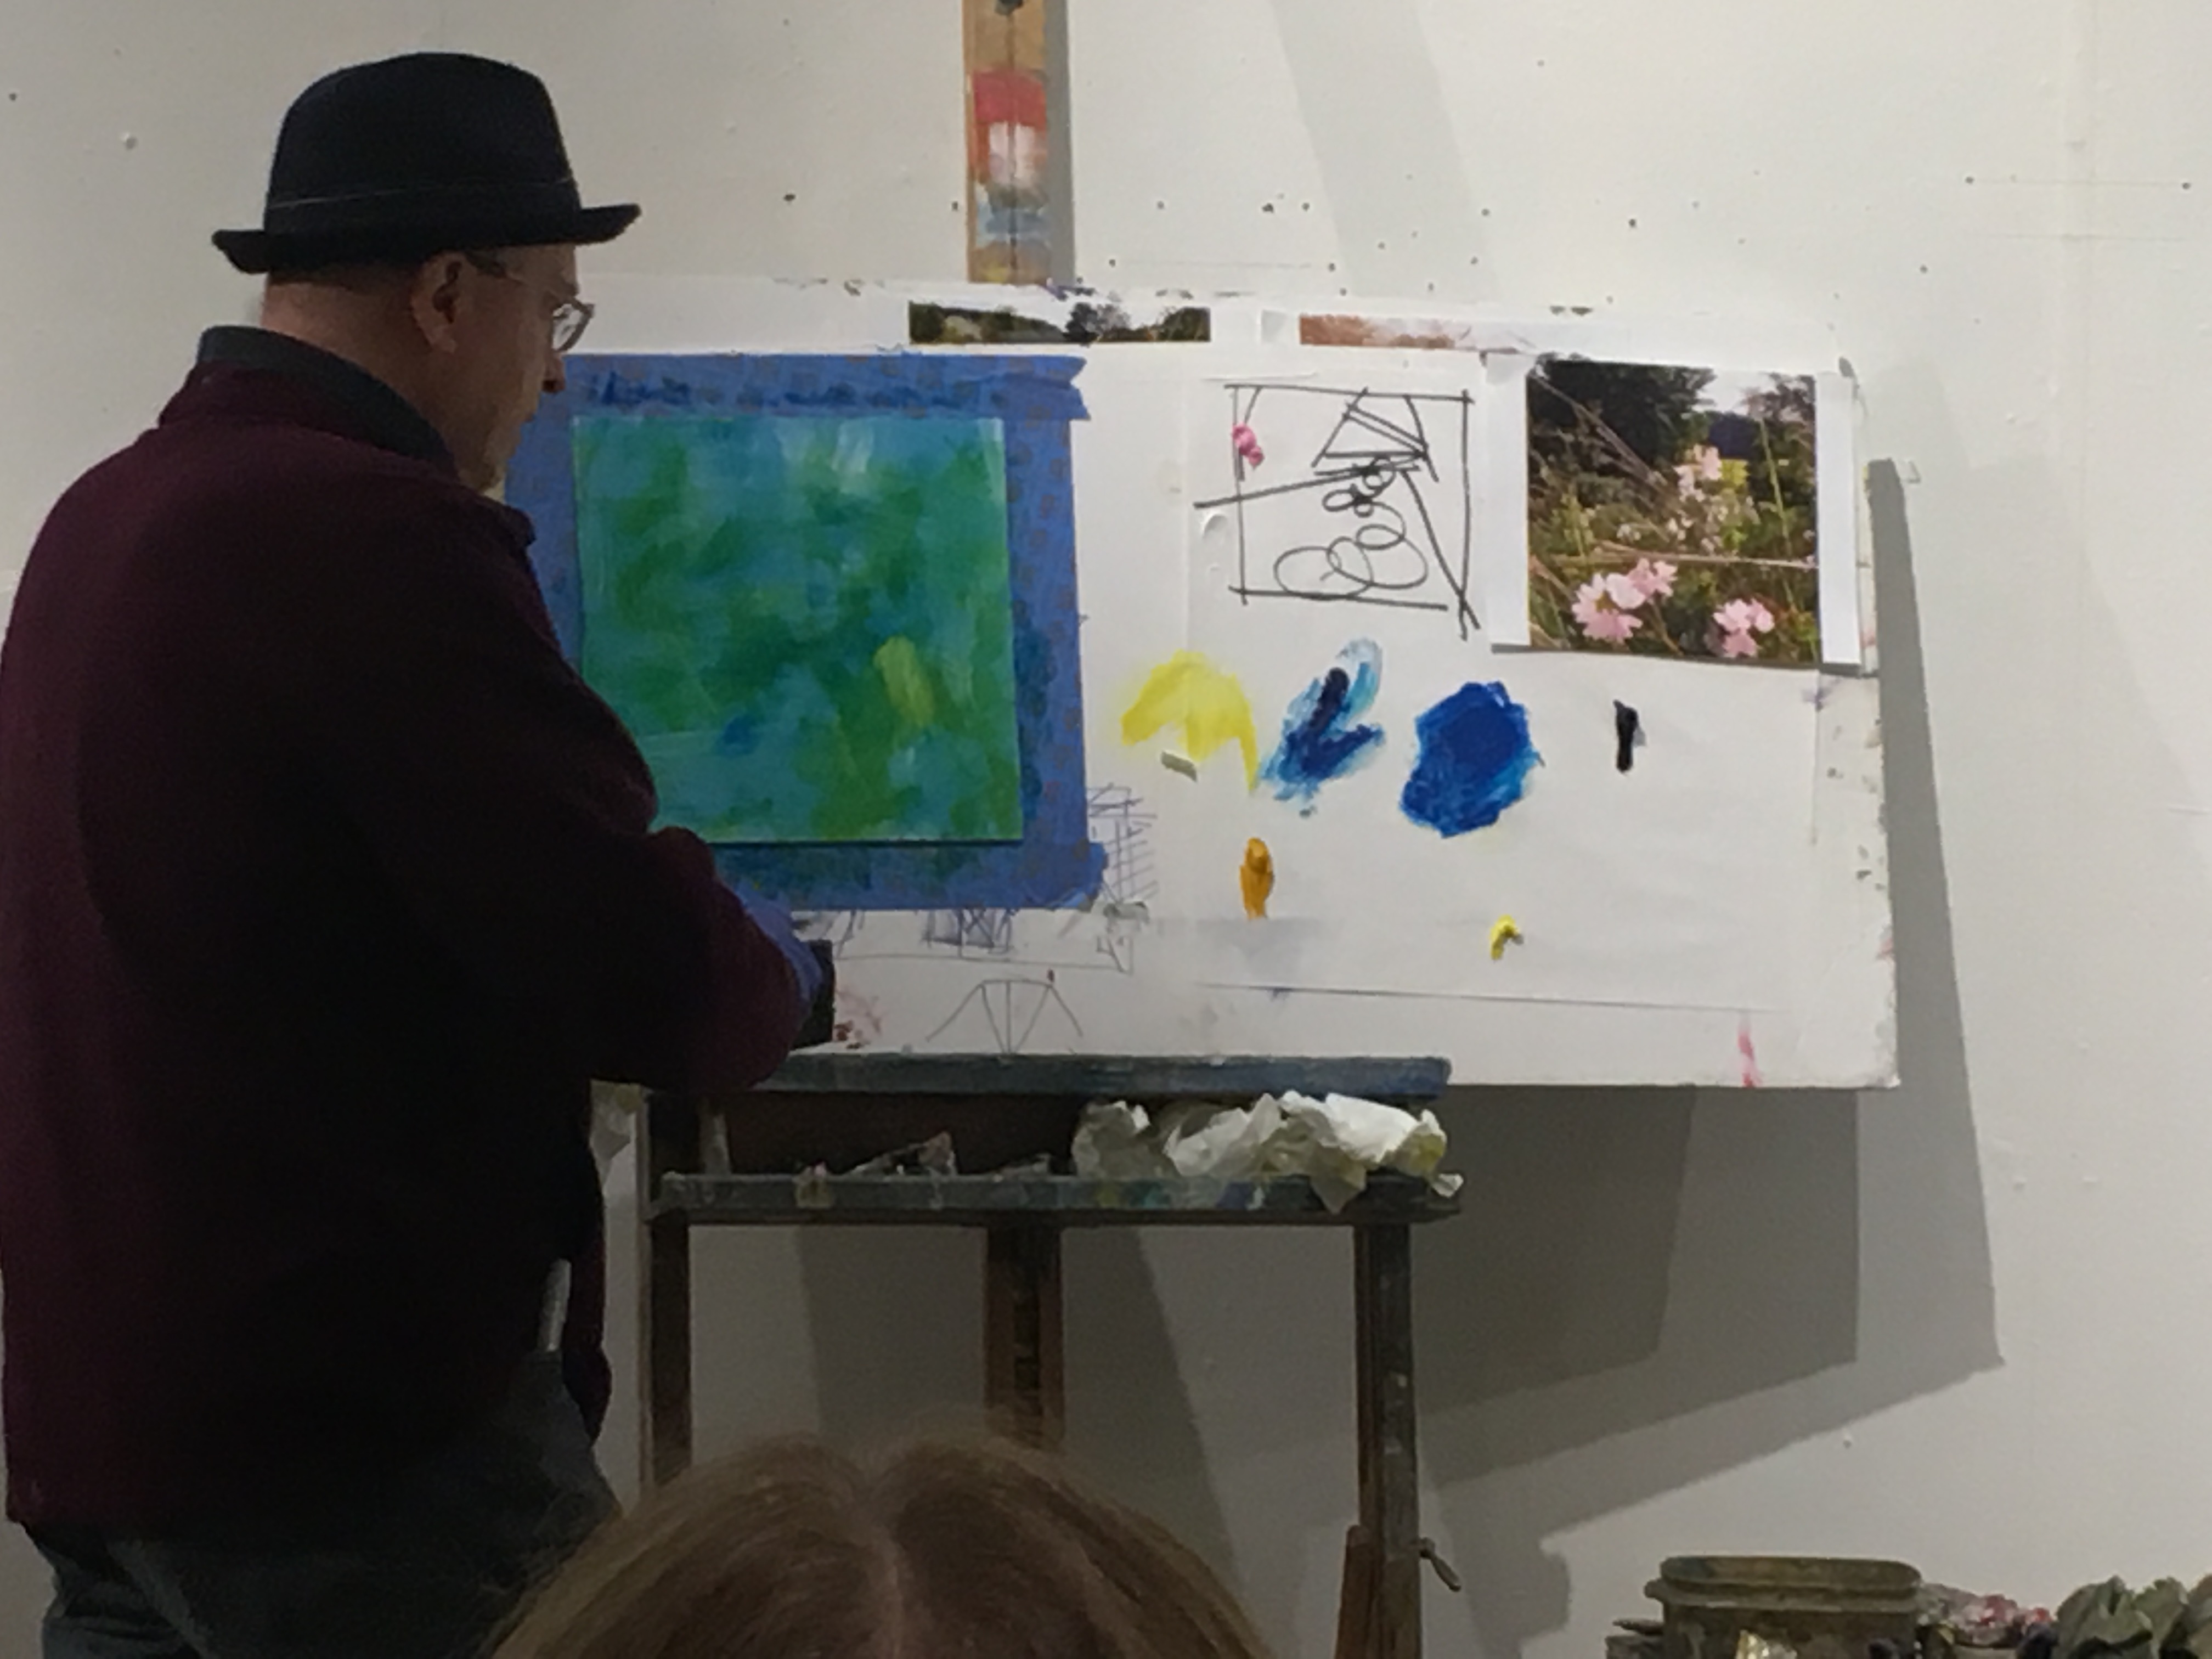
He adds an overall color of blue, but allows for transparency and variation of tone. Nature is never one solid tone, after all.
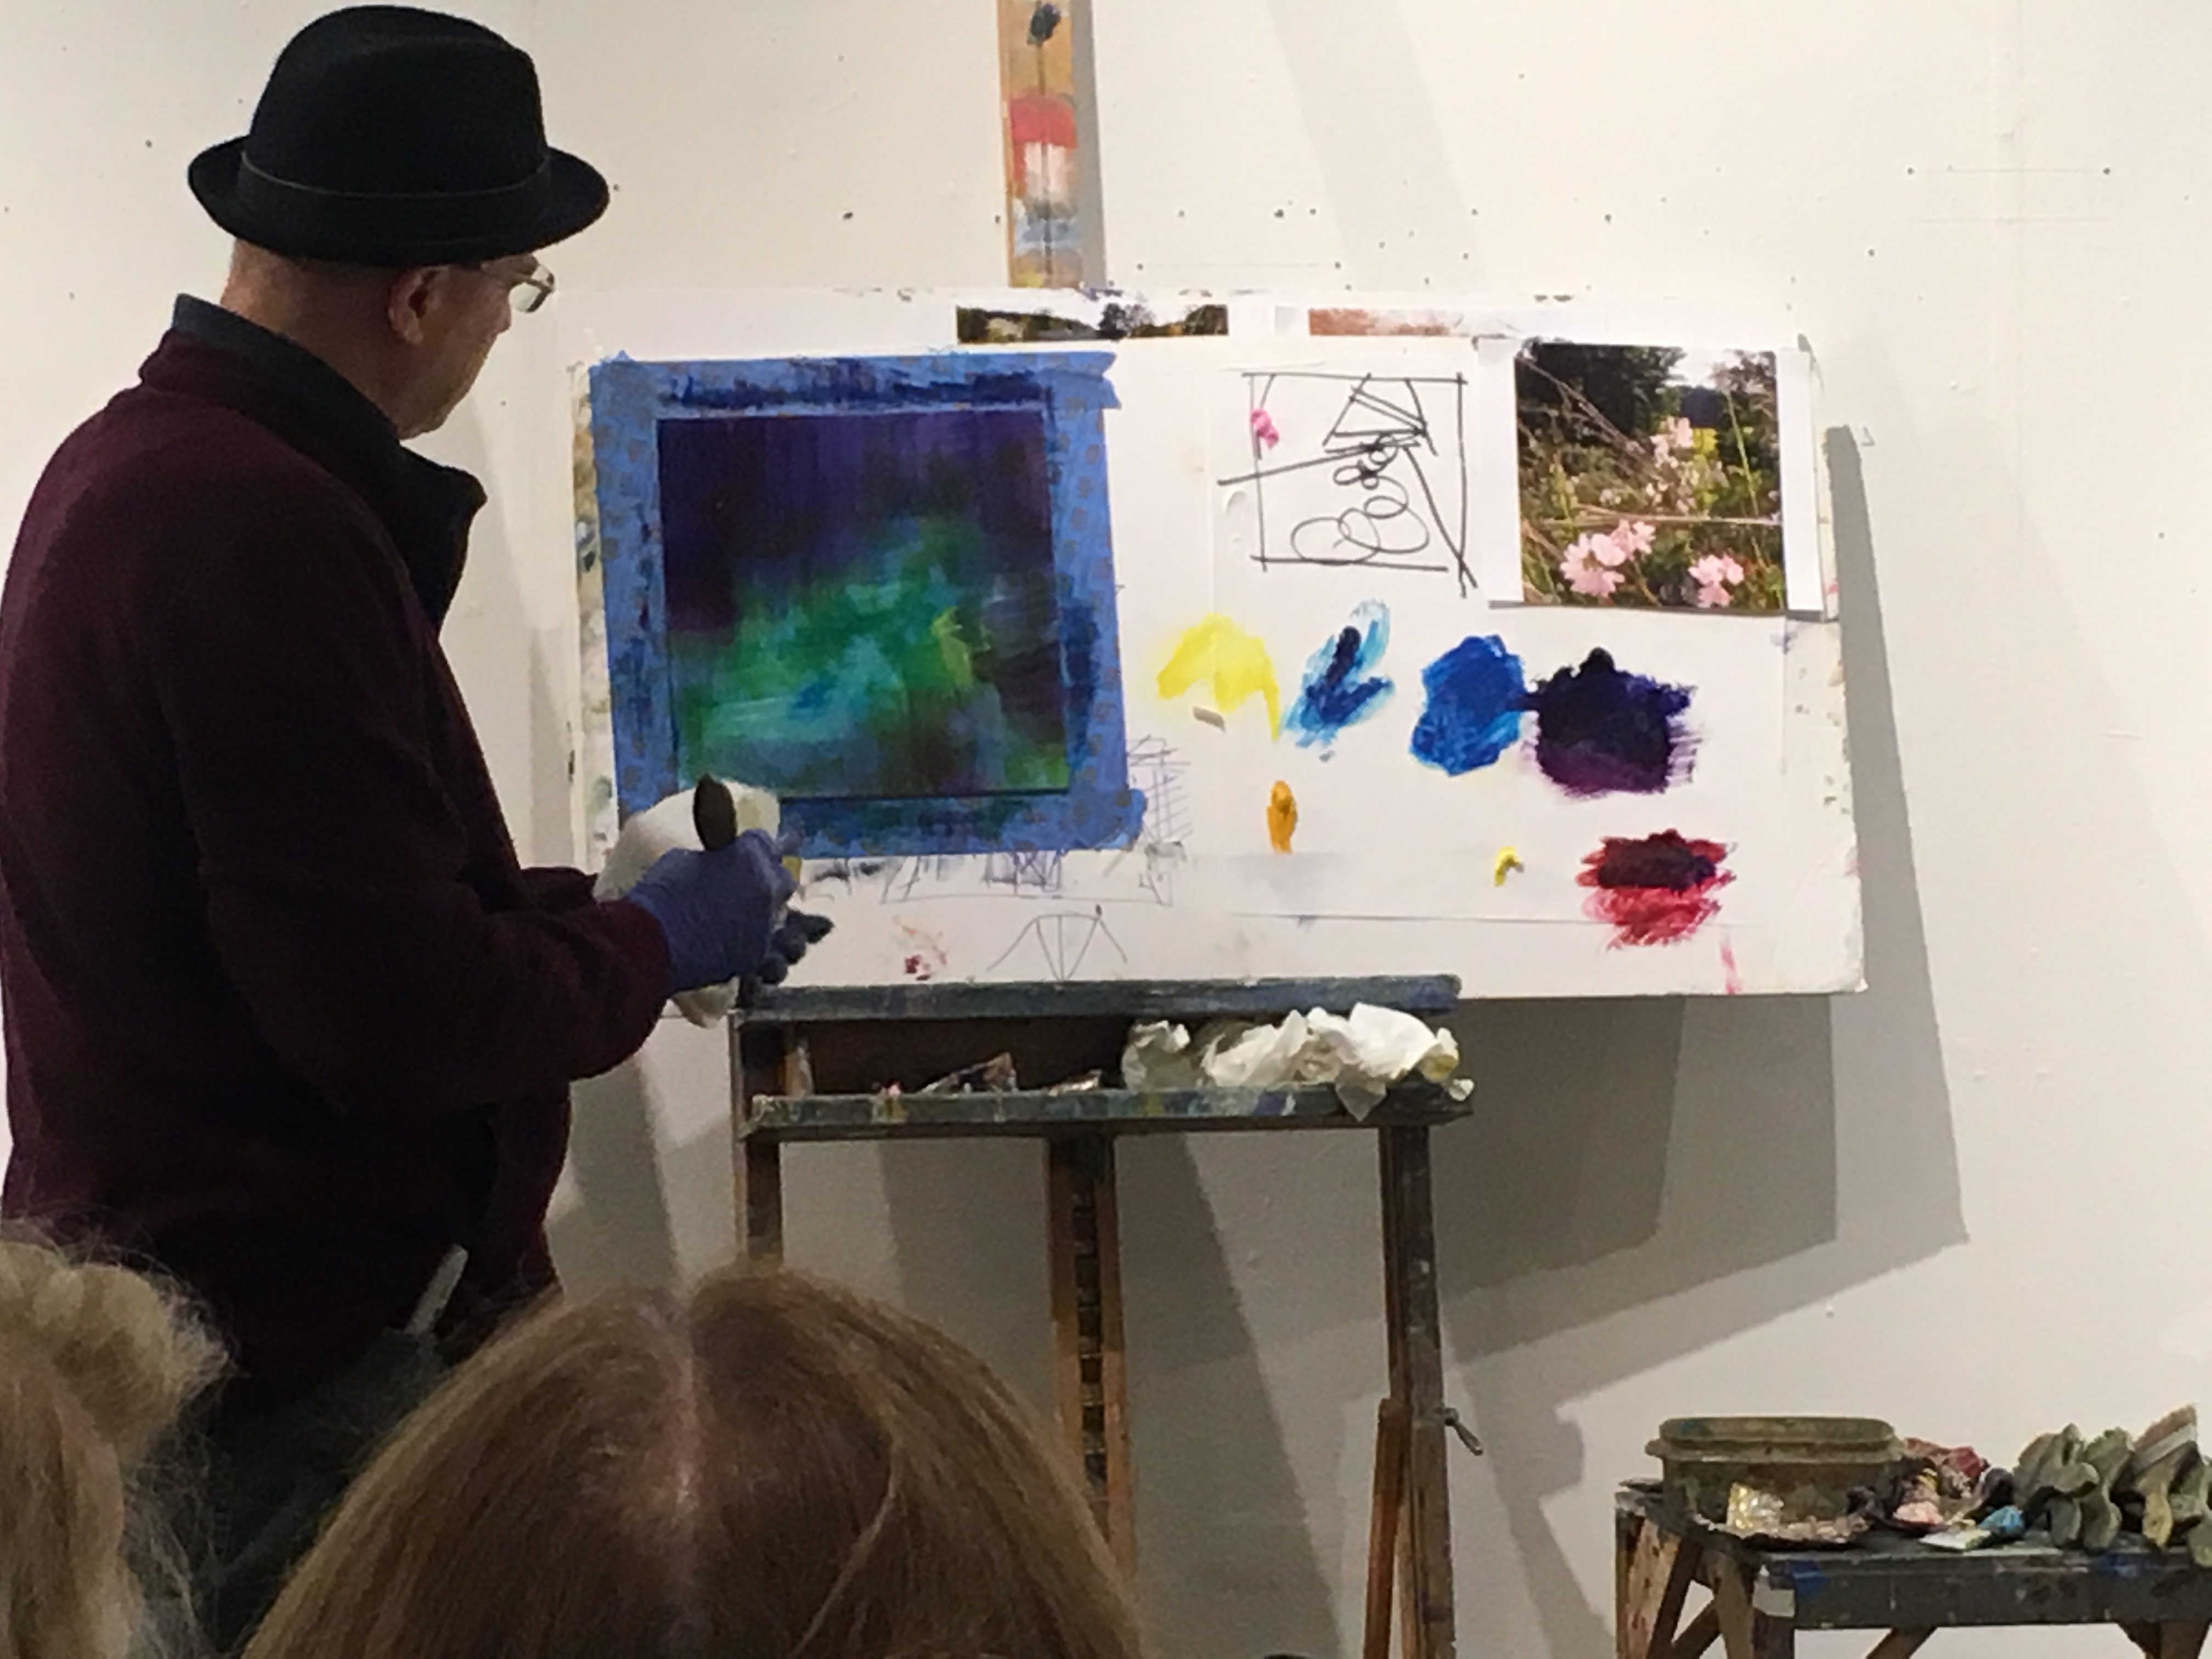 Third he adds a reddish-purple. This color was mixed off of the painting, and was used to create more depth within the painting.
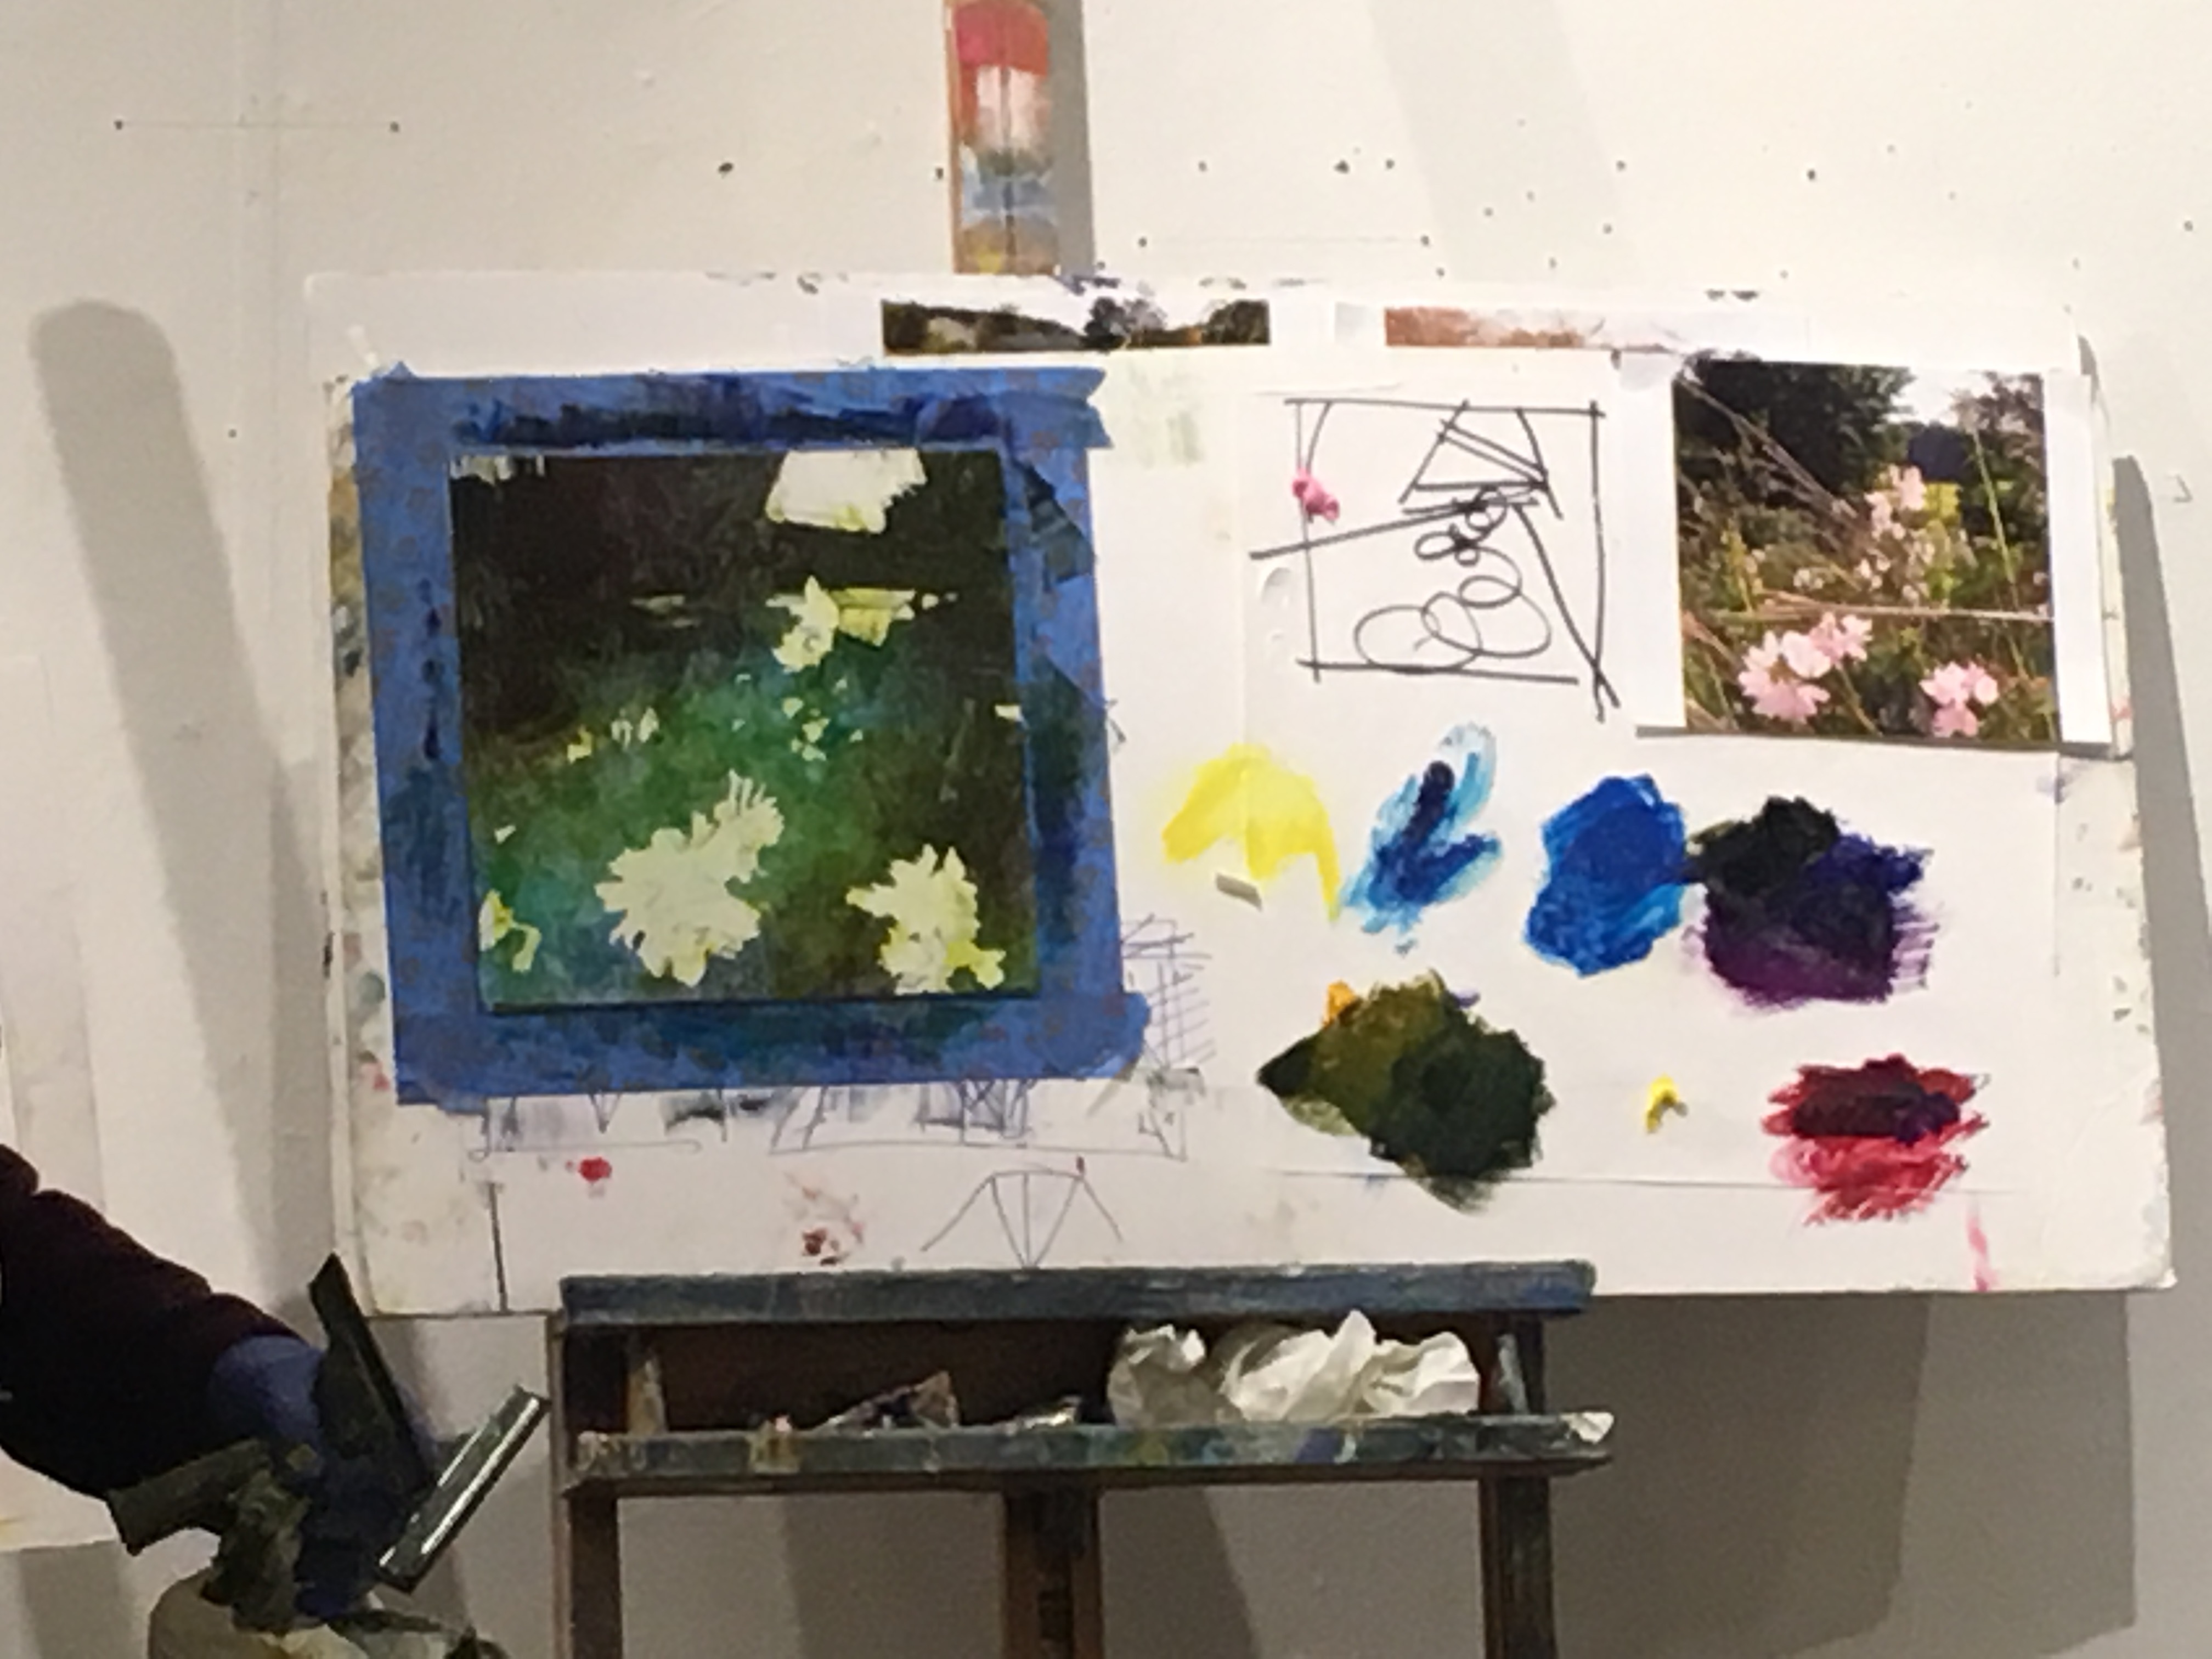 Here you can see he’s used his squeegee to pull up the spaces where the flowers will be. He’s also carved out the bushes/trees in the background to create a sense of depth.
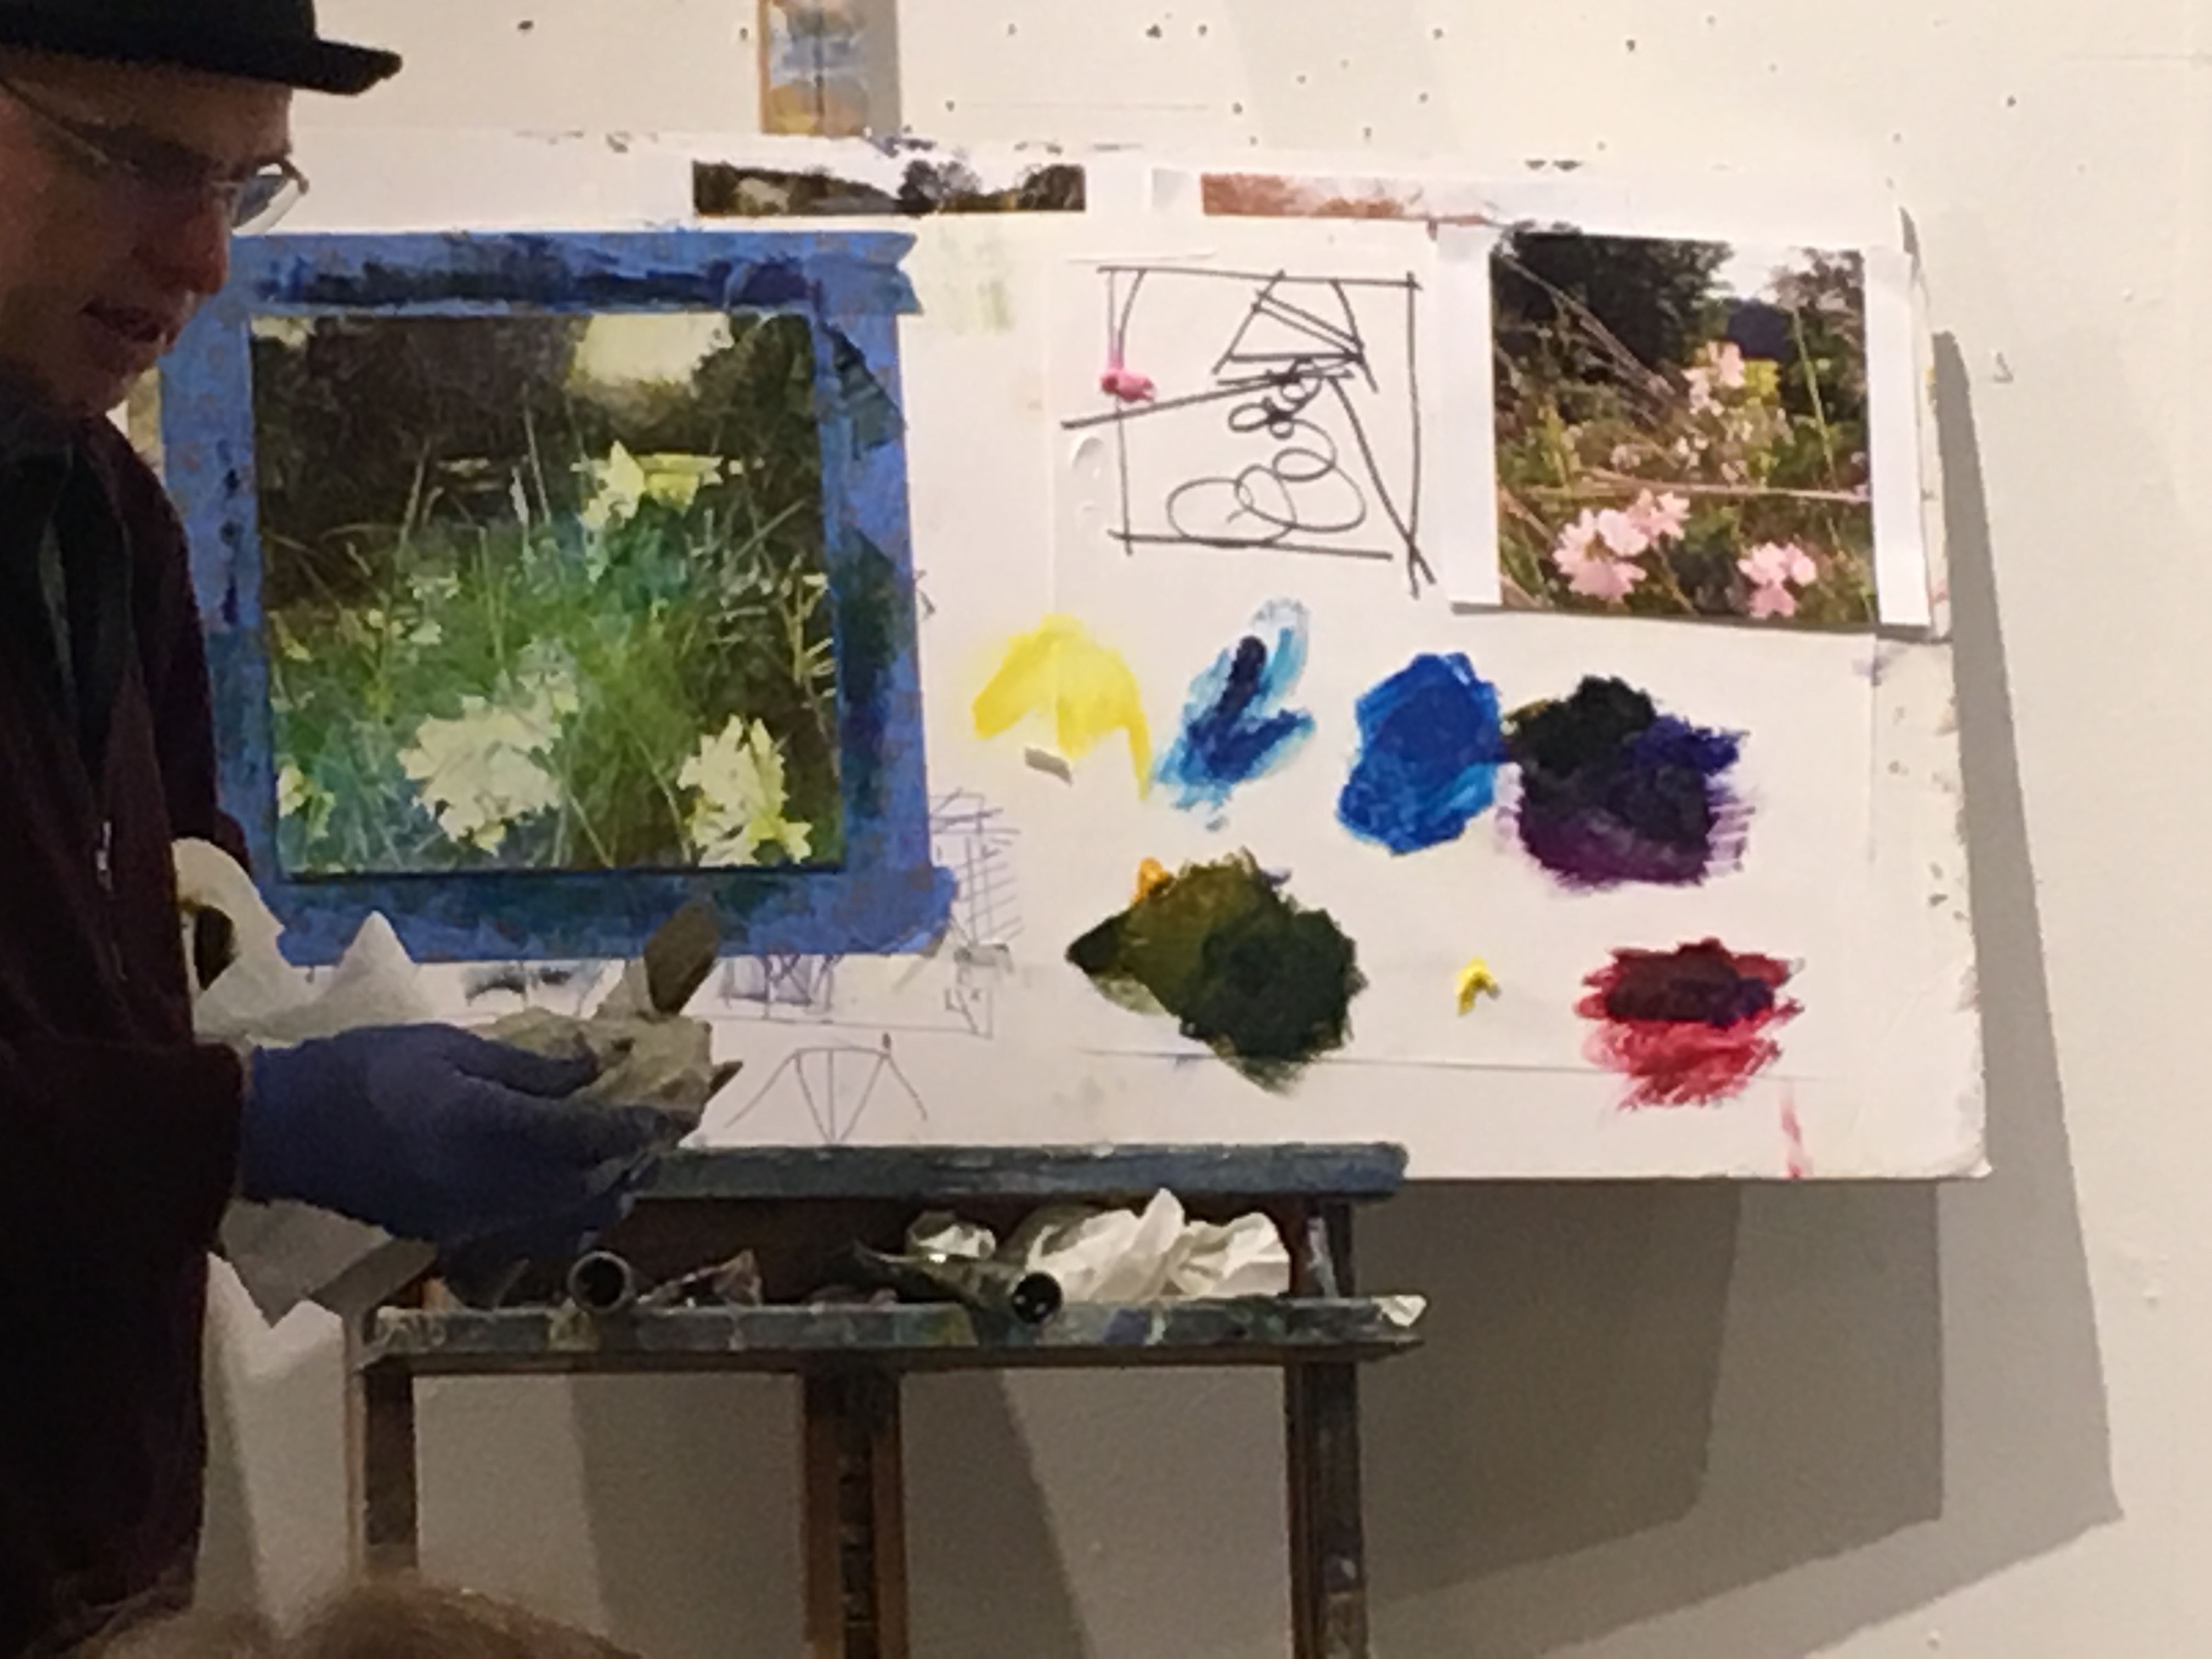 Here you can see that he’s used paper towel to blur the edges of the background trees, and a broken-in squeegee to pull up shapes that resemble blades of grass.
The subtraction process calls for a smooth surface. Traditional canvas will not allow for simple removal of paint the way that claybord or aluminum will.
Alla Prema
Based on the series of photos I just shared, you may get a sense that he does these paintings quickly. He does! Most of the work he does alla prema, or wet-on-wet.
Finger painting
Were you surprised when I said he paints with his gloved finger? I was too, until I found myself painting in the subtractive method. But did you know that both DaVinci AND Rembrandt were also finger painters? The fine art process doesn’t always look the same.
Refraction
Another thing that is important about the surface you’re panting on is refraction. With a bright white or aluminum board, you’ll get a sheen to your work that will create more depth. Because you use the subtraction process, you allow for the sheen to show through. He showed us that between the refraction and subtraction, he could paint a snow scene without white paint.
Teaching Style
I’d recommend David’s class 100 times over. Not only because he taught me so much about painting that I hadn’t known before, but about ALL the things he taught me within our several meetings.
Class time was set up by lecture, followed by demonstration, during which he would nearly complete a piece, and then he would give individualized instruction to every student to help them improve on what they were currently working.
The lectures would include topics that would range from psychology, to economics, to neuroscience, to human behavior, art history–but it wasn’t scattered, it was all relative to the specific topic of the day.
Give it a try
If you live in Fairfield County, I’d recommend taking a class with David Dunlop at Silvermine. However, his classes fill up very quickly. You can get a sneak peek at his lecturing style by reading his painting class blog and, I later found out that he had an Emmy award-winning show on PBS! You can purchase his videos and practice his style at home.


[…] My latest painting is one that was many years in the making. My first attempt at painting from this particular reference photo was six years ago, when I took a painting class with David Dunlop. […]
[…] I came across Sari’s work, I had recently taken David Dunlop’s painting class and another with Dmitri Wright. Both were in oils, but my early painting days when I was a teen […]