Bamboo Blinds to Roman Shades DIY
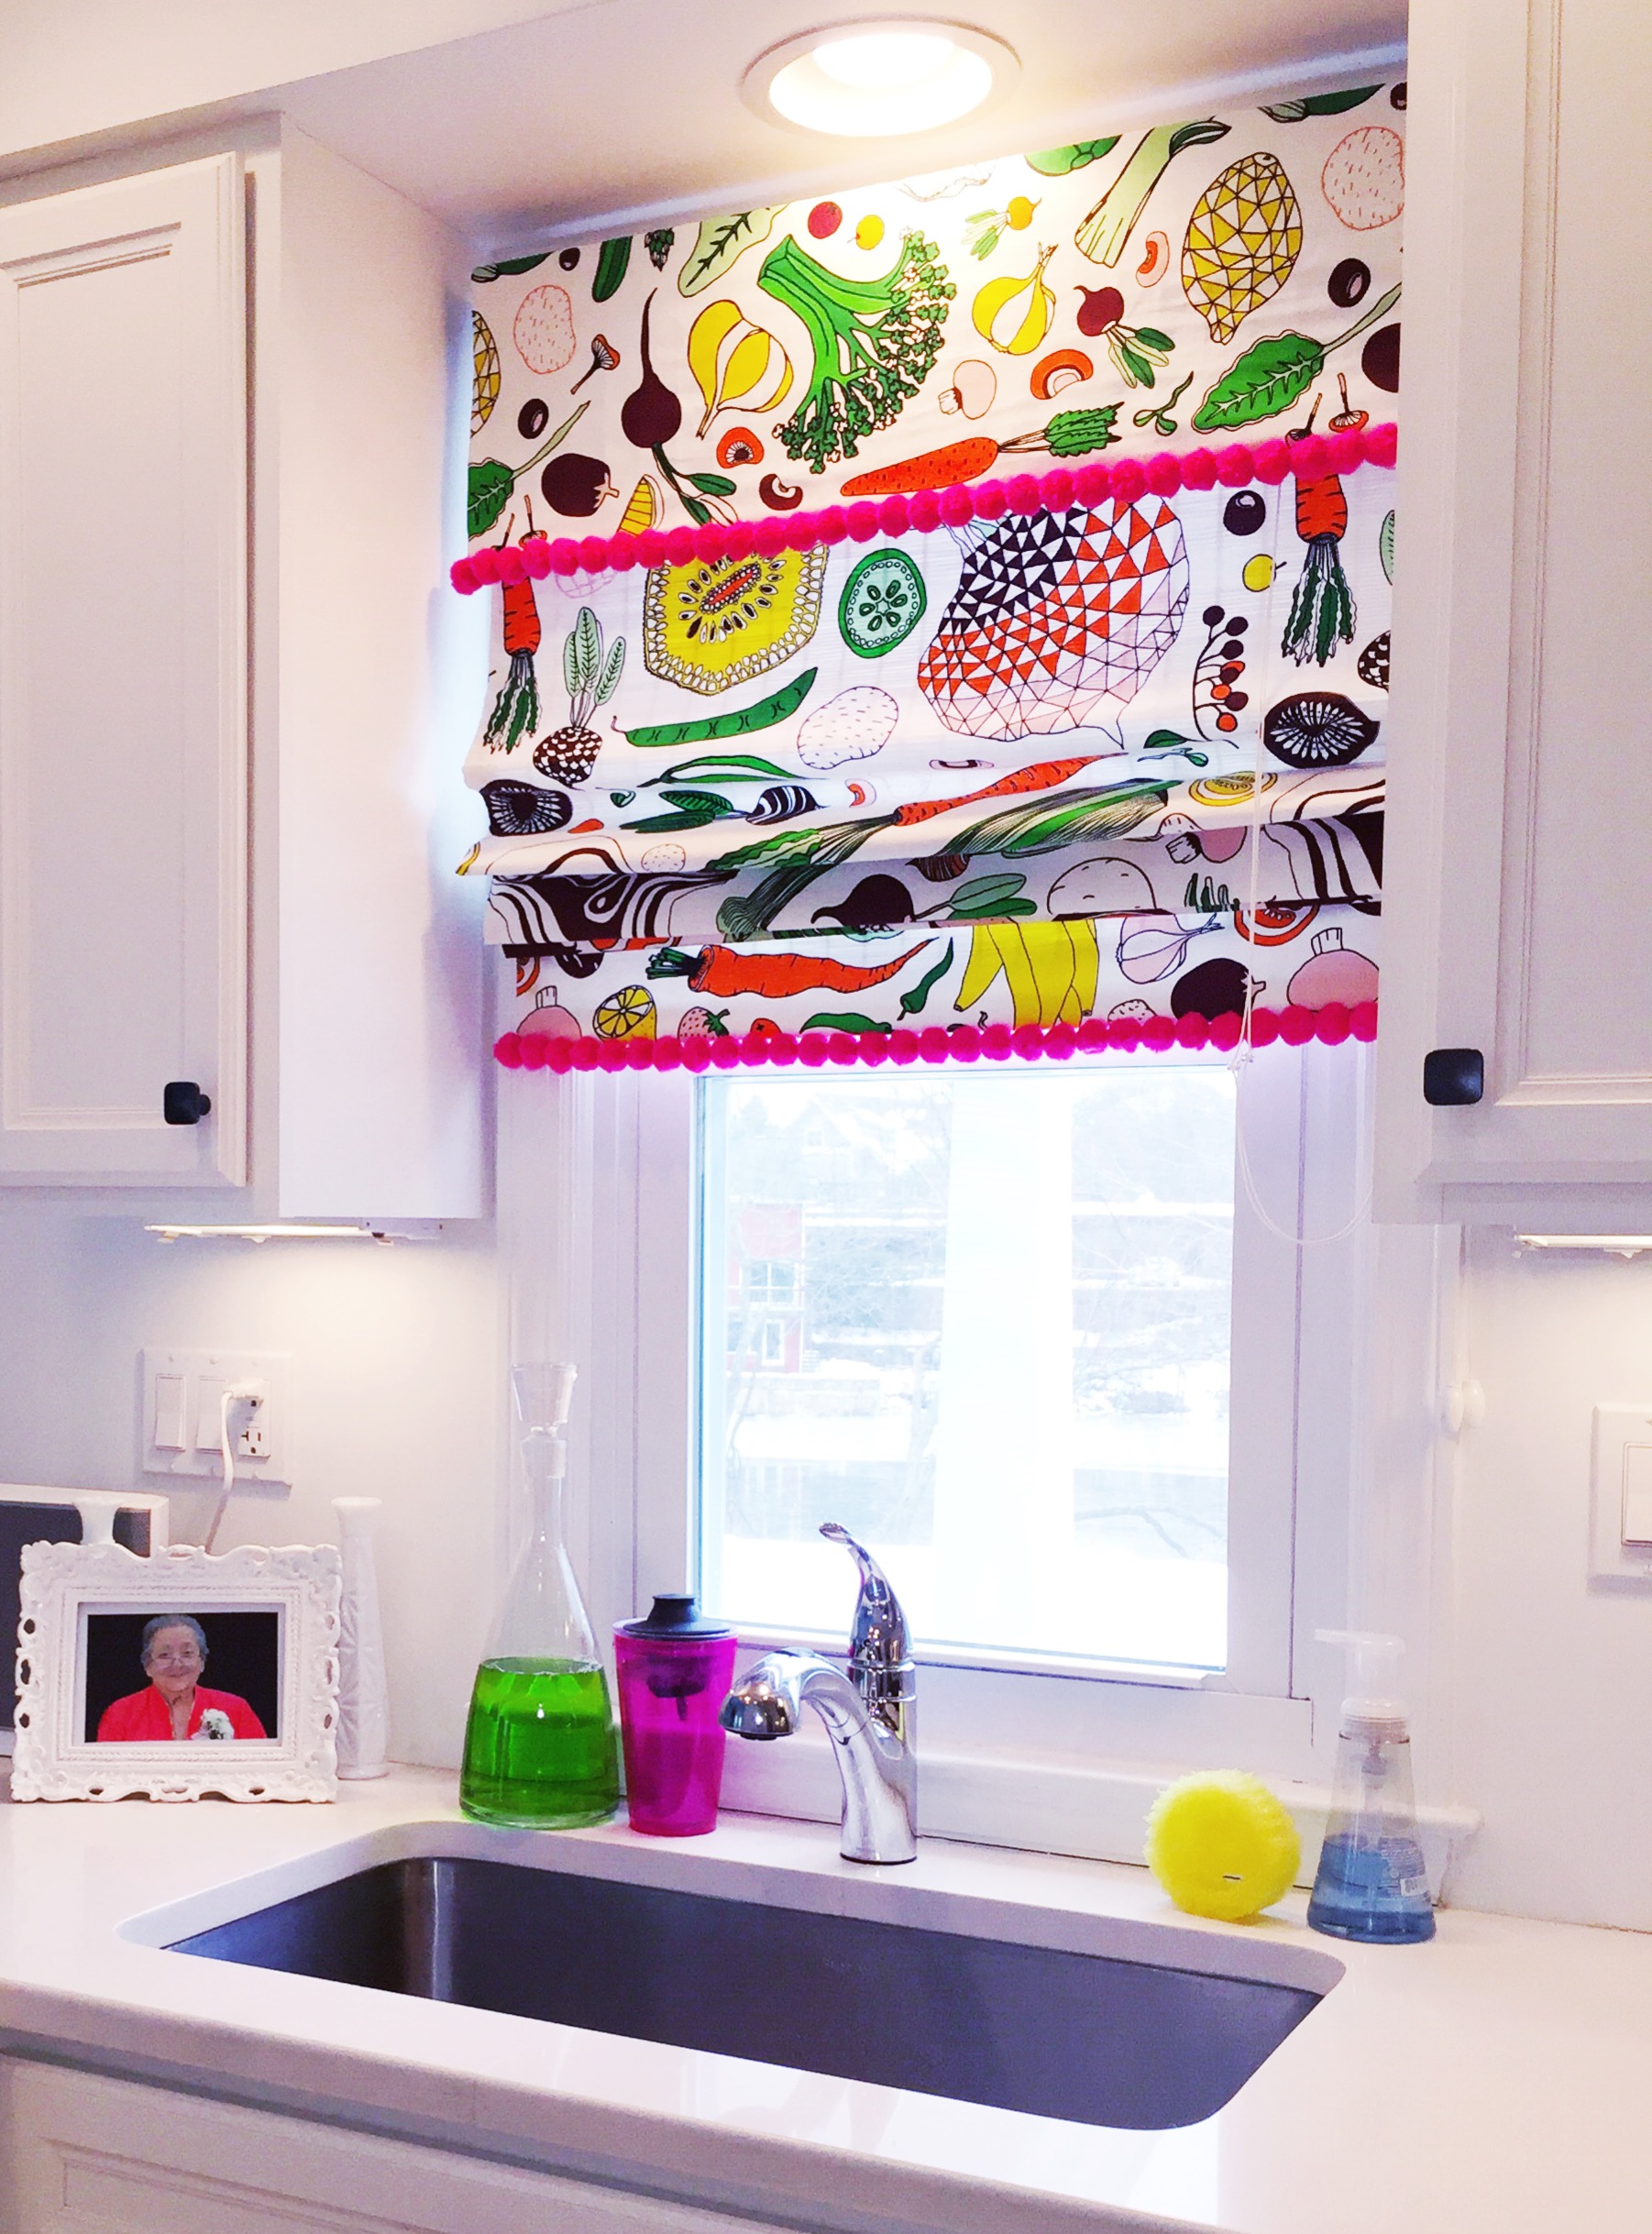
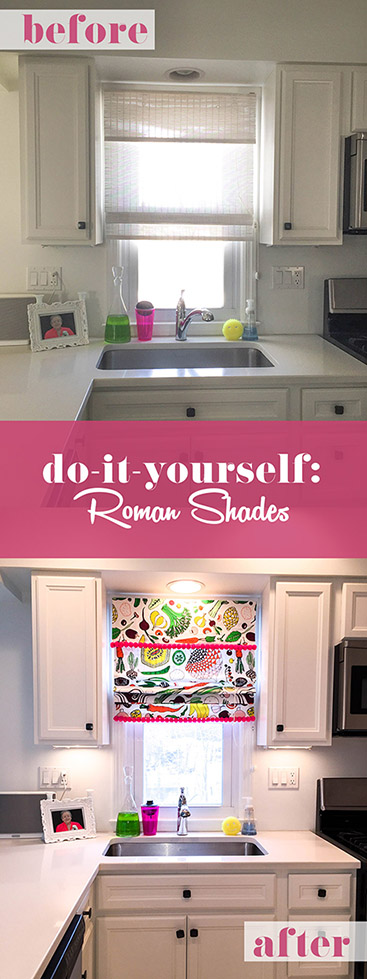
Our new house came equipped with white bamboo blinds on every. single. window. I appreciated the cohesiveness, but it wasn’t my style. I hung curtain rods and drapes on all the windows but two, one of which being the kitchen.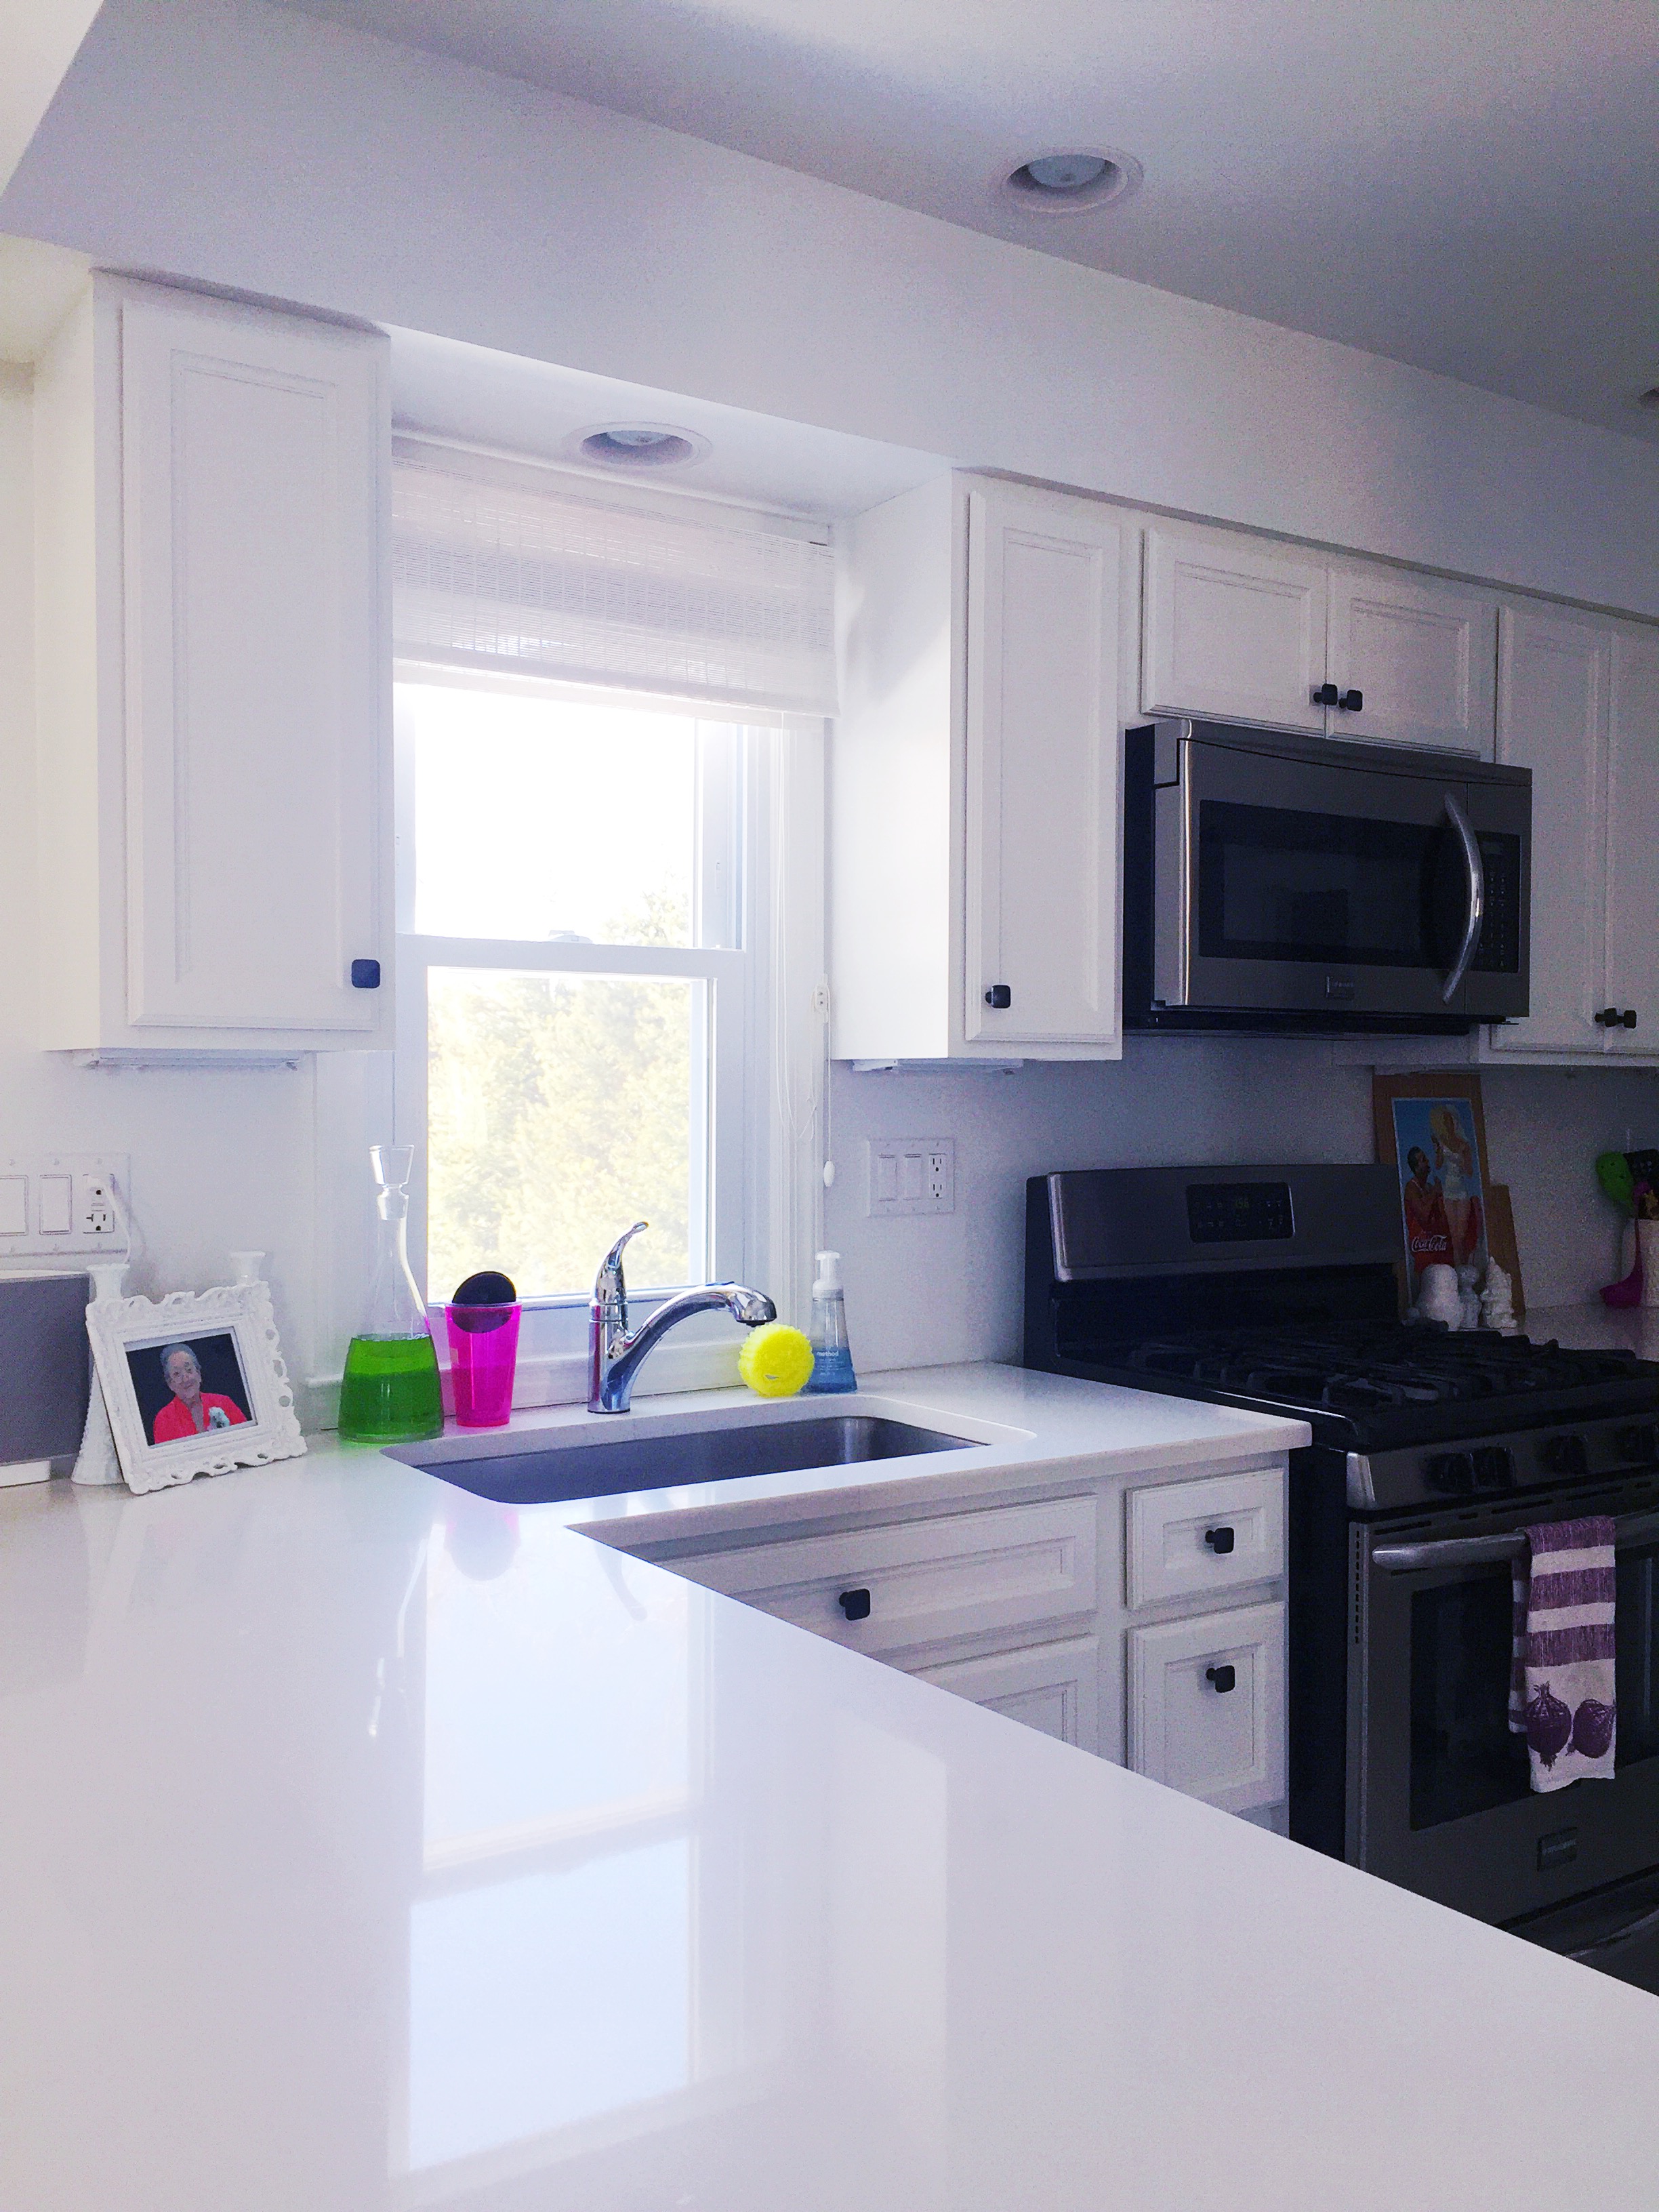
Pretty bland, eh?
I’ve looked around for a cute fruit or vegetable fabric since I decorated our first house, so when I saw this stuff:

at IKEA, I jumped at it and cut myself a yard and a half. Because I’ve been dreaming of a kitchen reminiscent of a Goofy cartoon since I was a kid.

Don’t judge, we all had weird childhood dreams. Mine were of decorating with kitsch, of course.
Though I originally intended to sew two panel curtains, I knew they’d just get splashed on from washing dishes and that the style that was already there was going to let in the most sunlight. So I decided to just transform them into faux roman shades.
Materials & Supplies:
- bamboo blinds
- fabric
- fabric scissors
- pliers
- staple gun
- iron
- starch
- spray adhesive
- wood glue
- optional: trim
Steps:
1. Iron the fabric. I used fabric starch to make sure it was extra flat.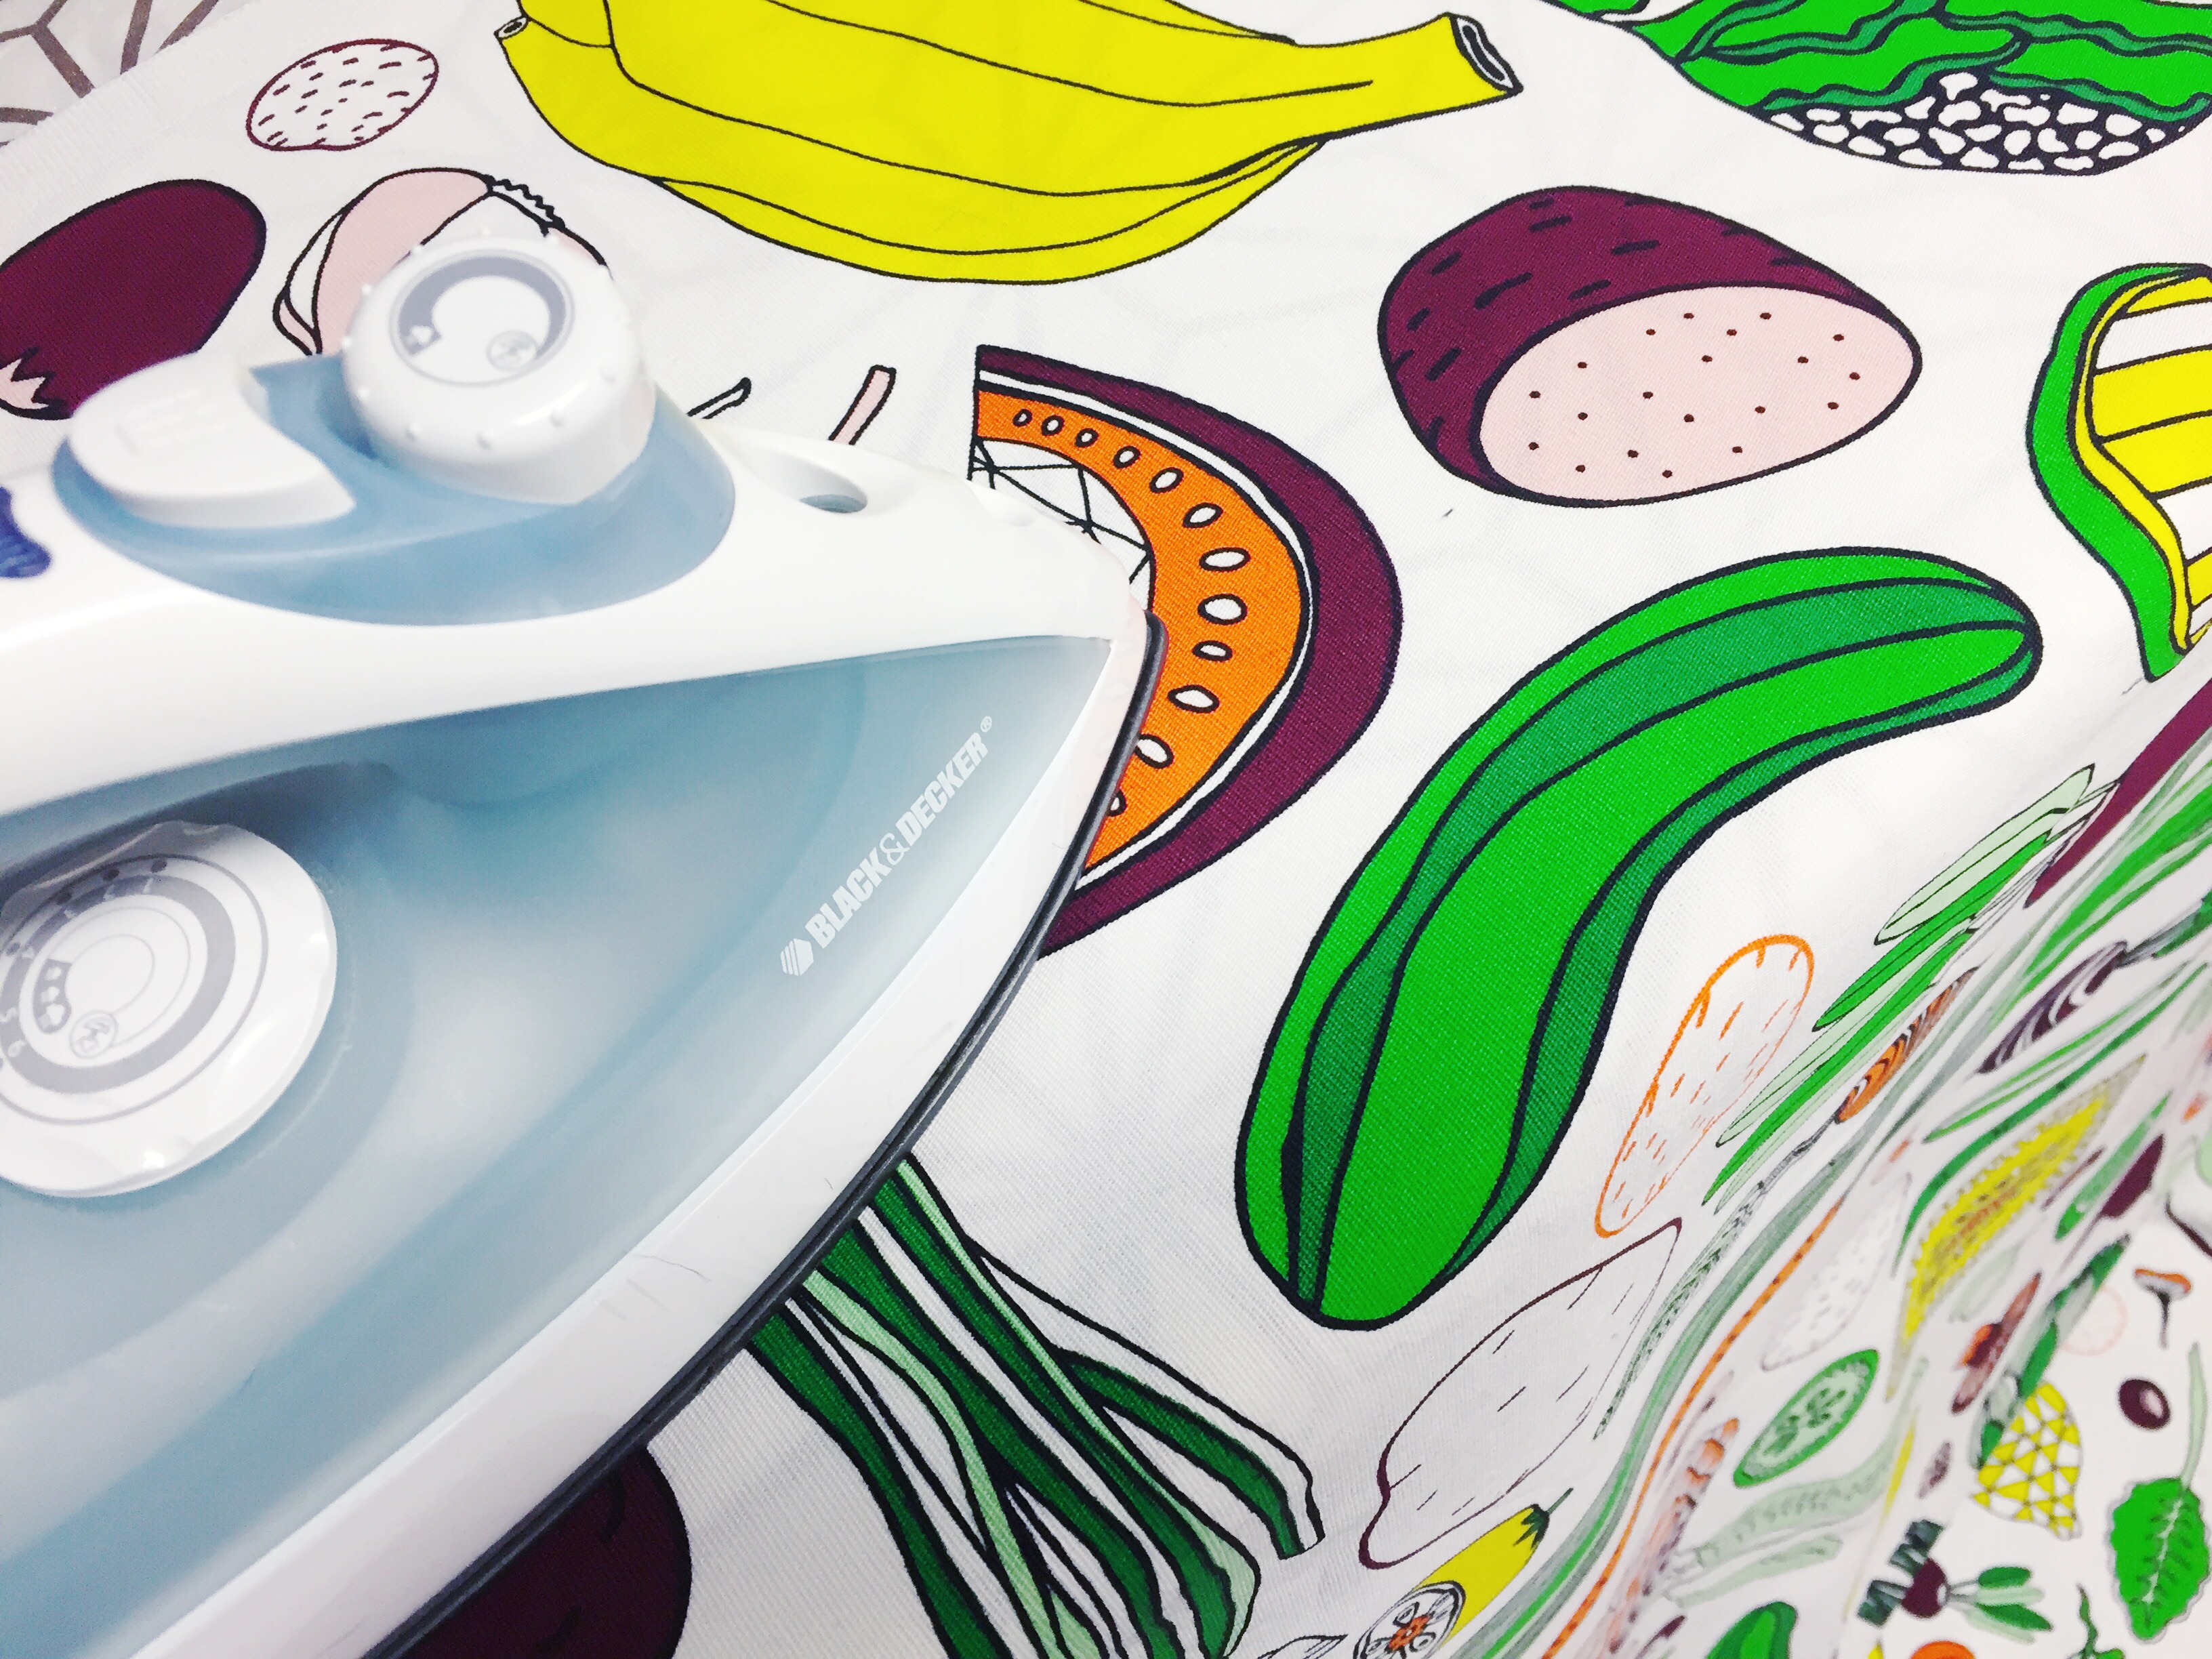
2. Pry off the staples along the top edge where the bamboo meets the piece of wood with the pulley system.
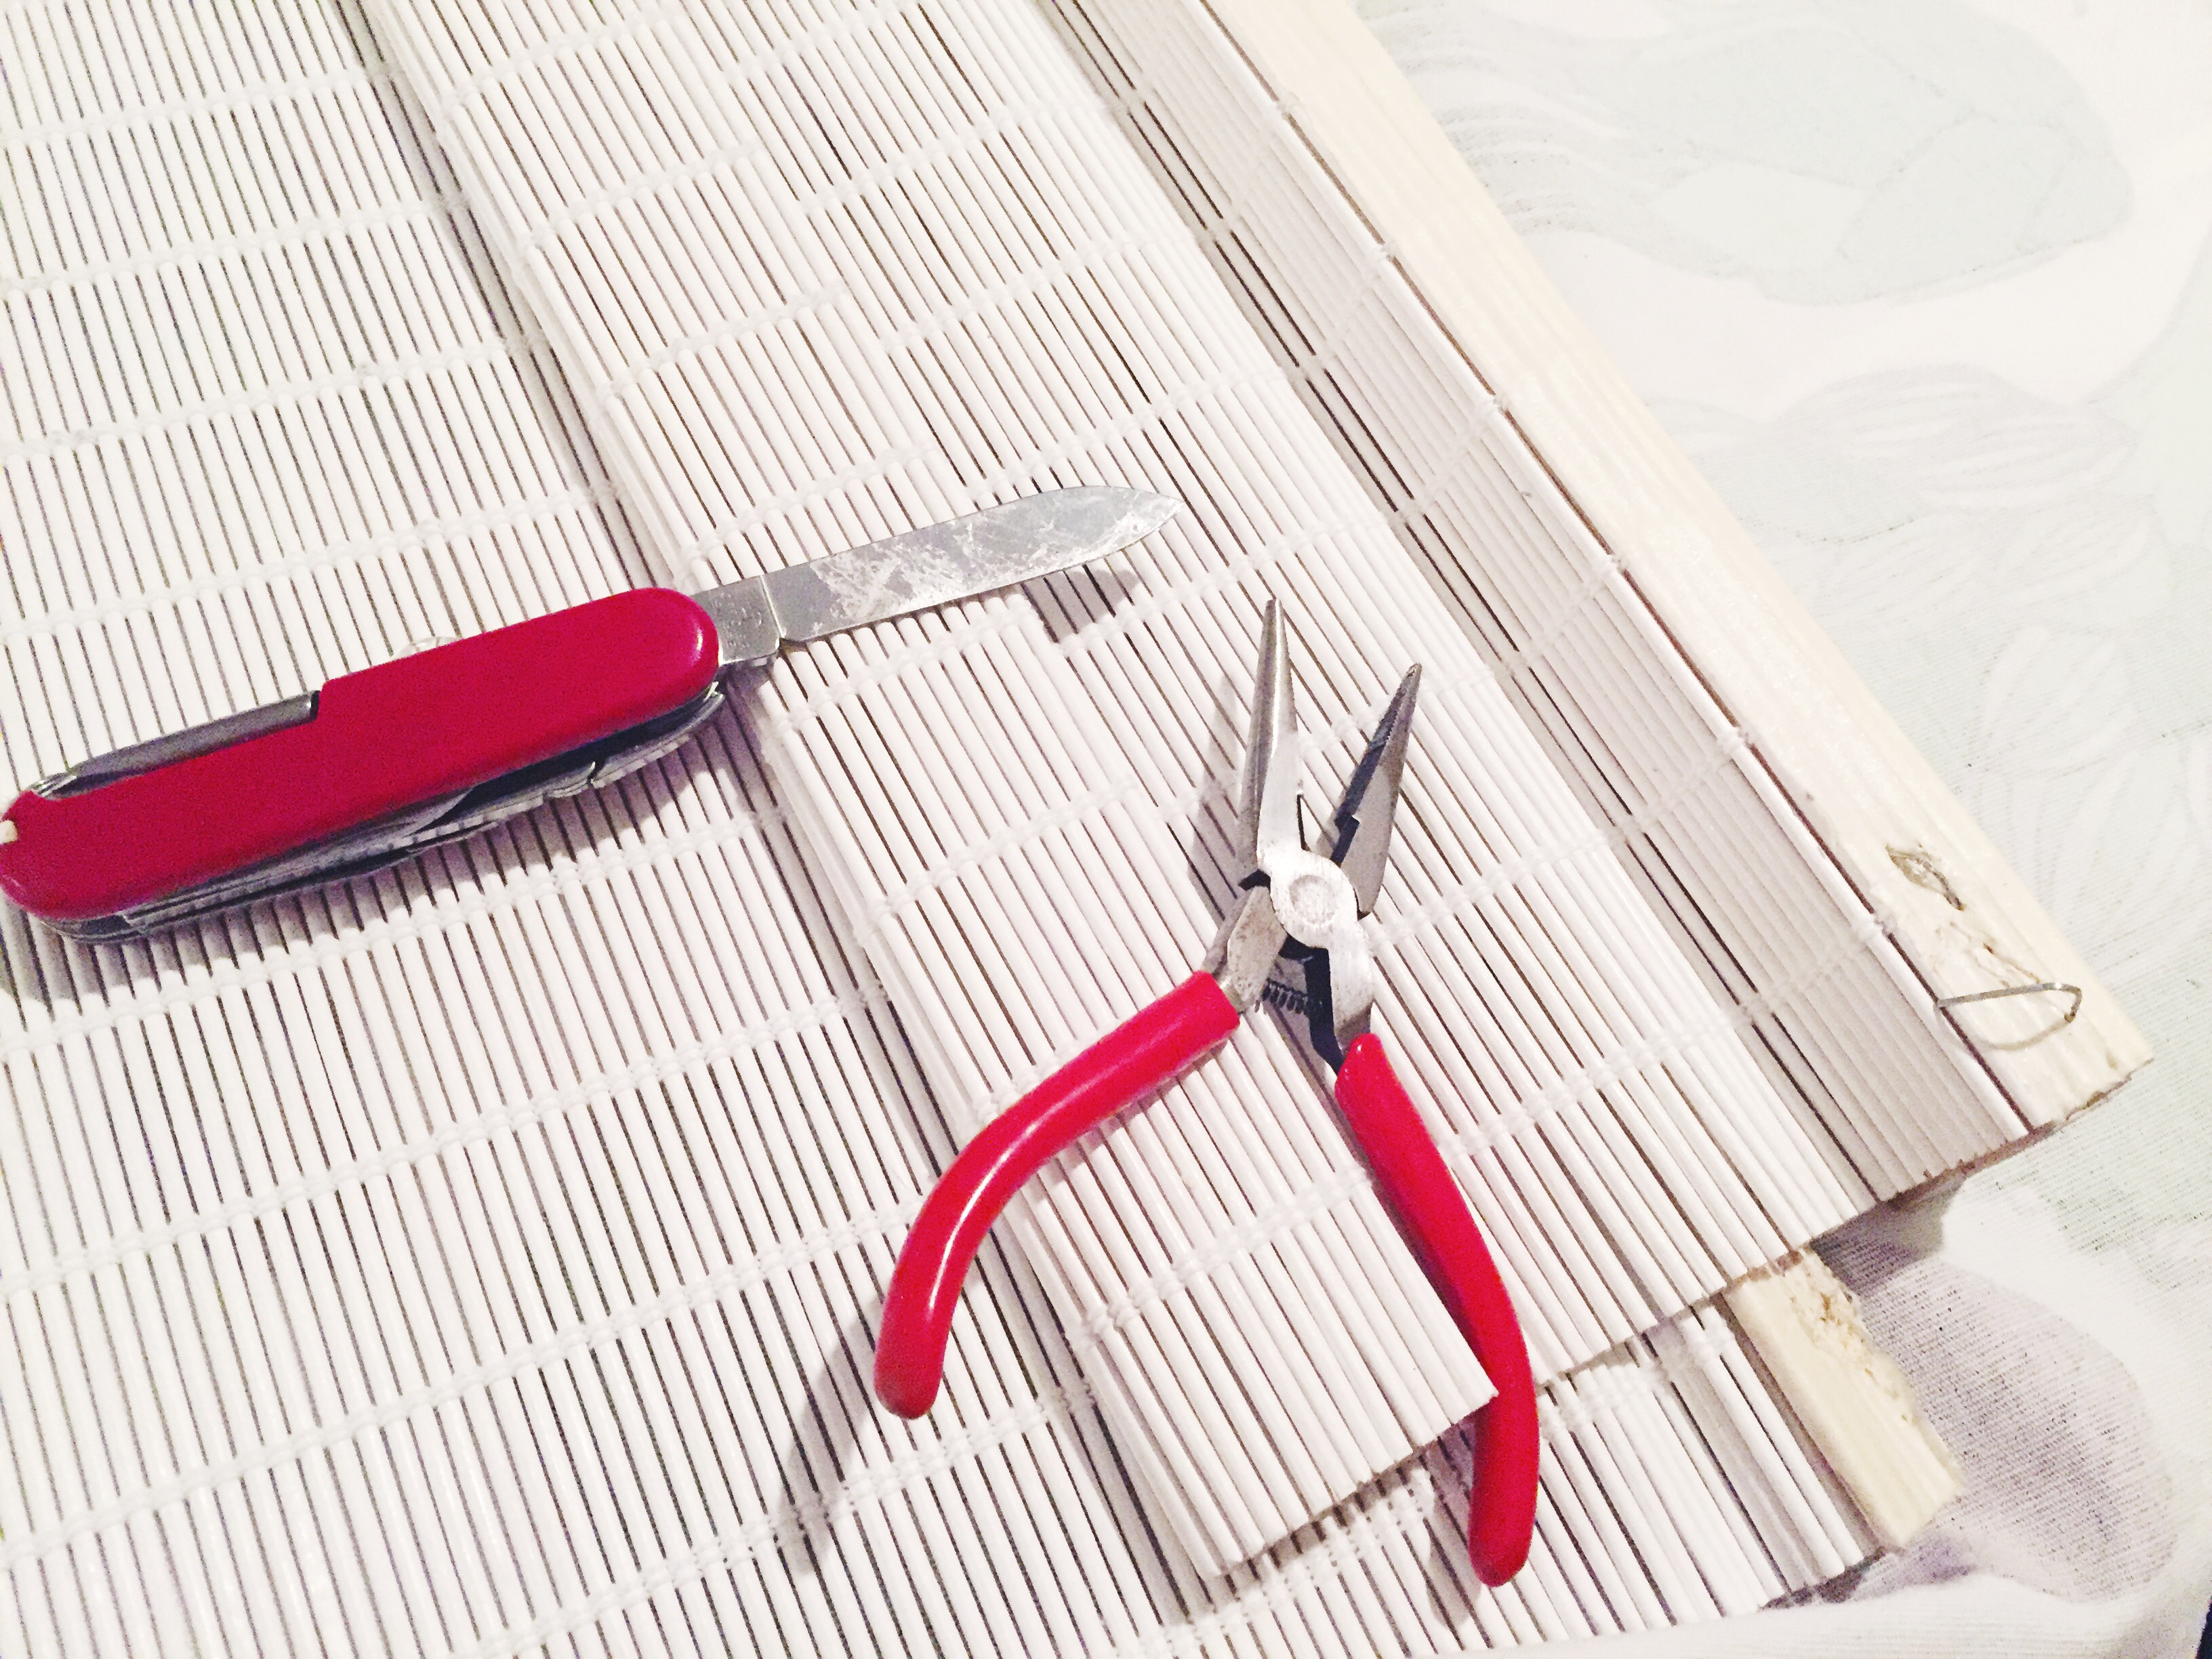
3. You’ll need only the amount of fabric that covers the front, plus one inch around each edge of the blinds. Use fabric scissors to cut the excess fabric. Mine also had a hole at the top where the string for the pulley system came through, so I cut a slit in the fabric to allow it to move as freely as before.
4.Spray easy tack adhesive on bamboo blinds, then press fabric firmly and evenly upon it.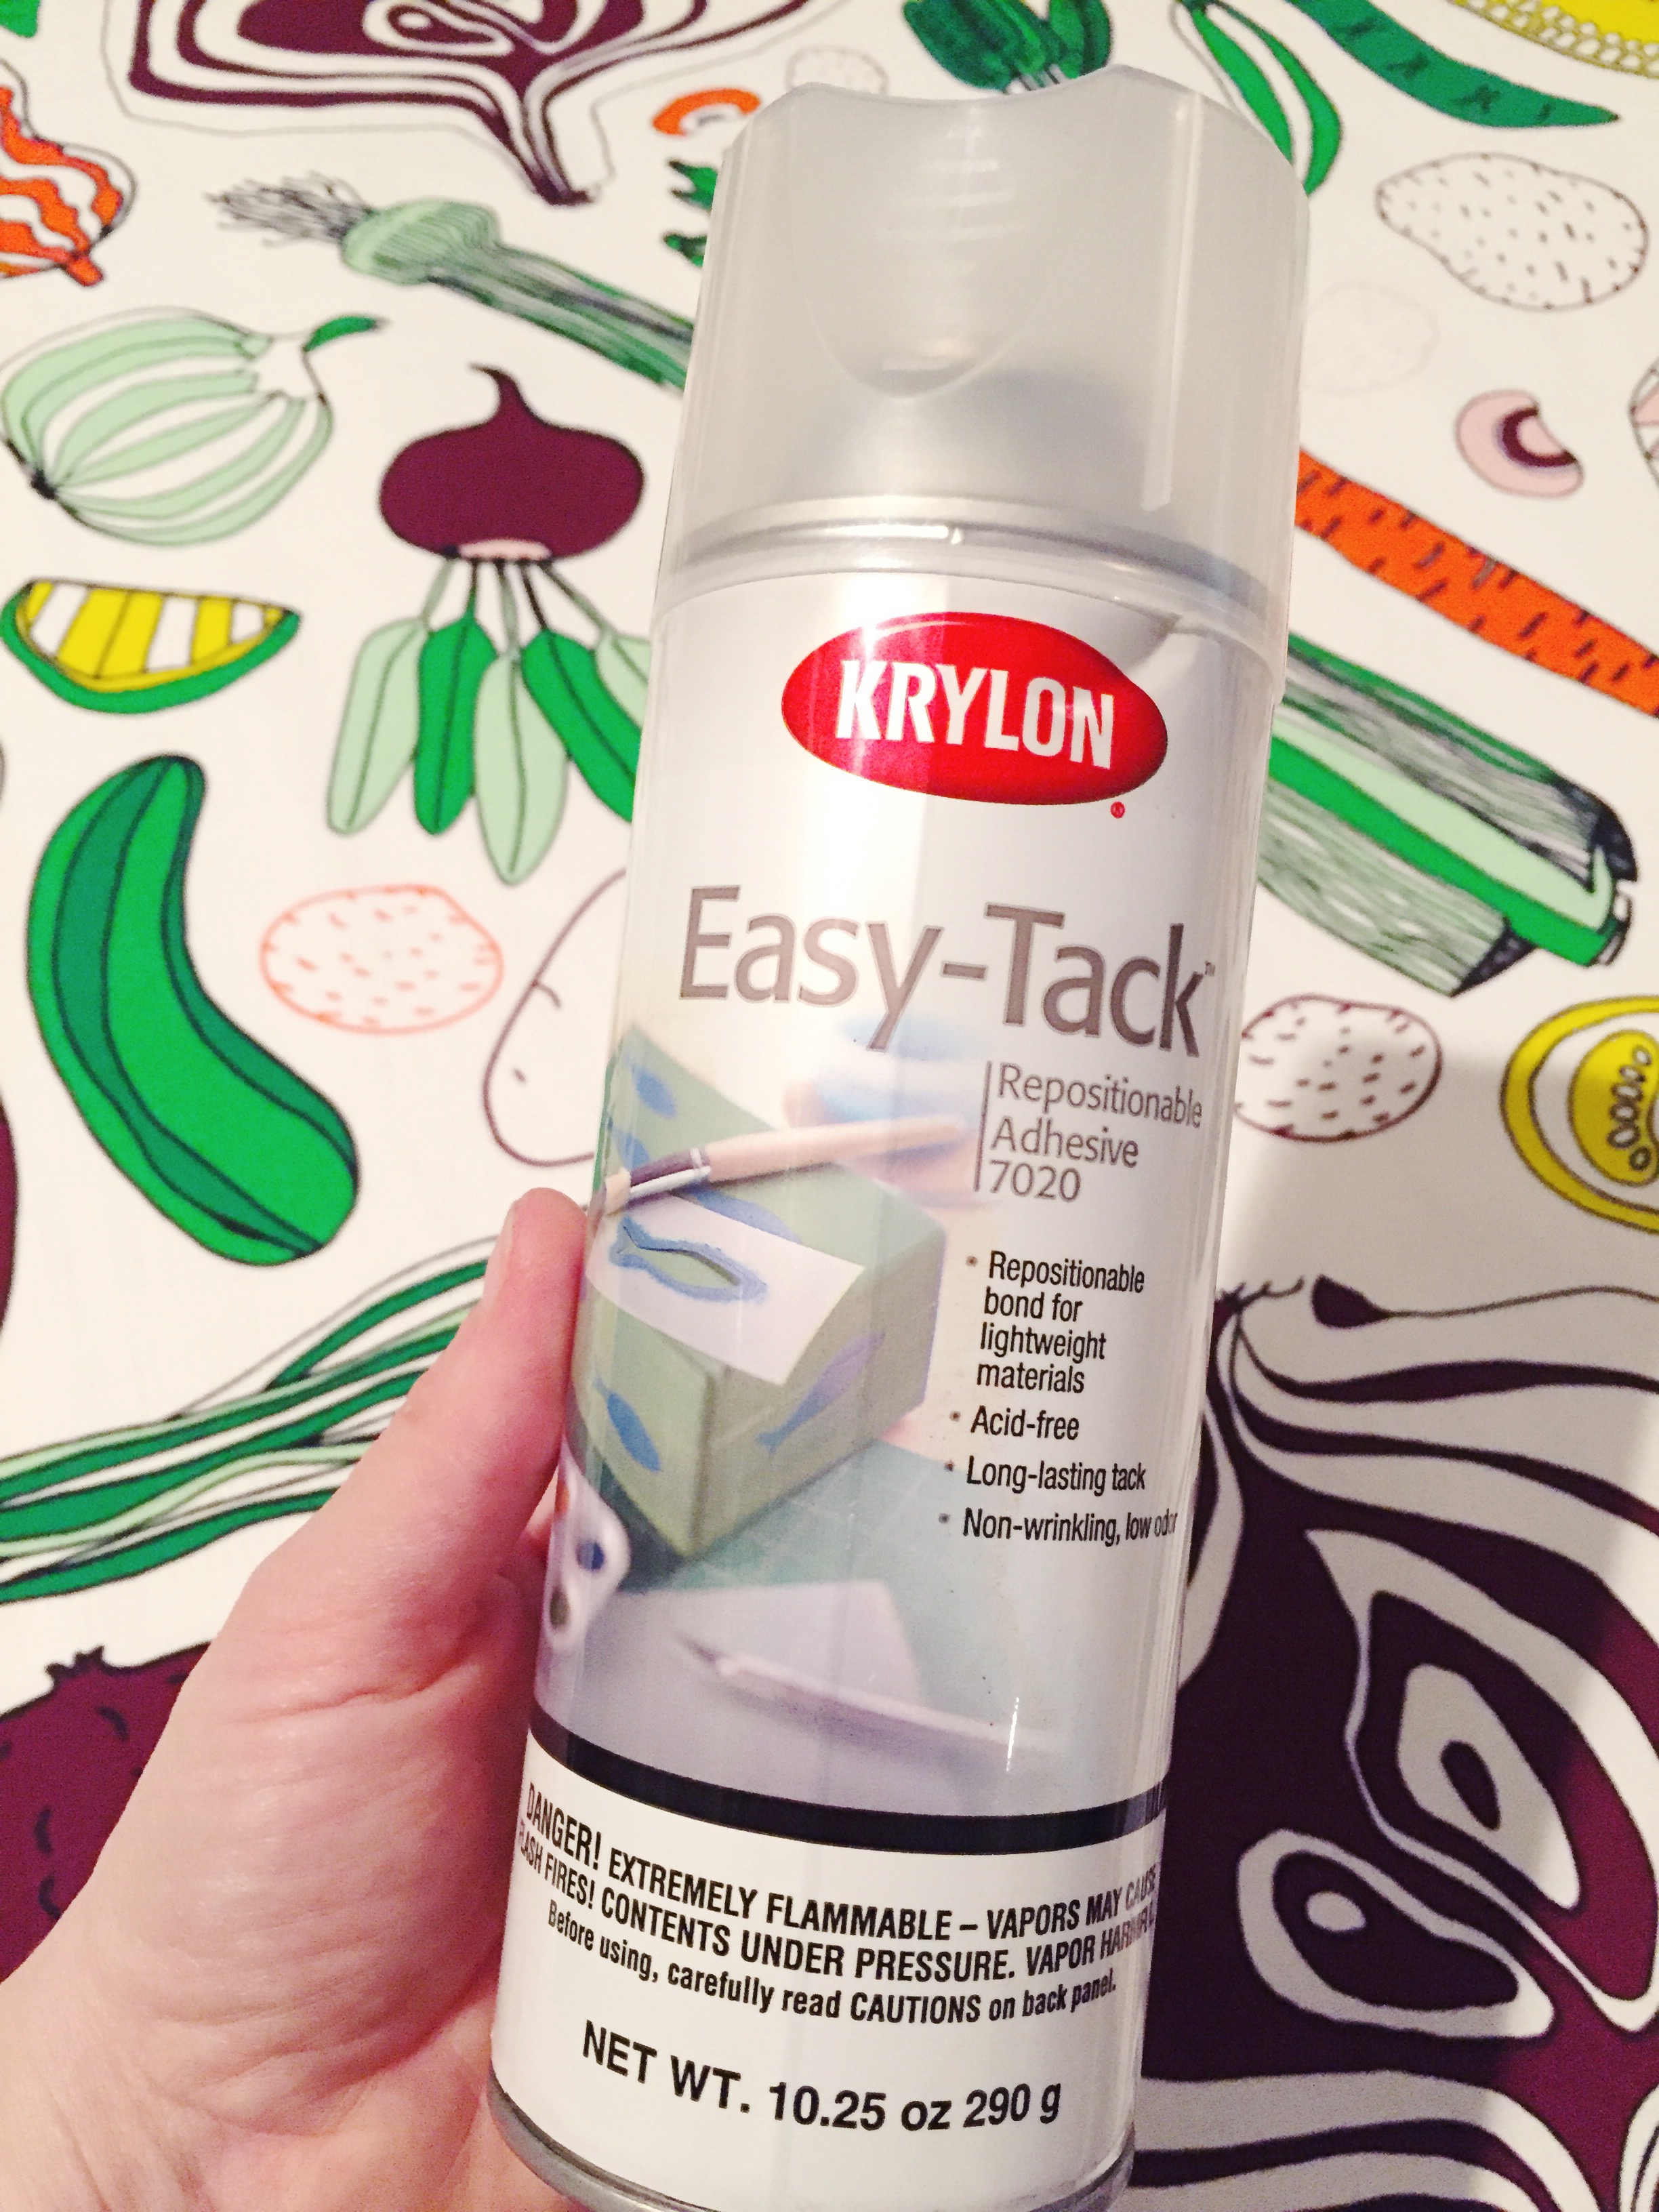
5. Fold over the inch of excess fabric, add glue, then apply pressure. I used books. 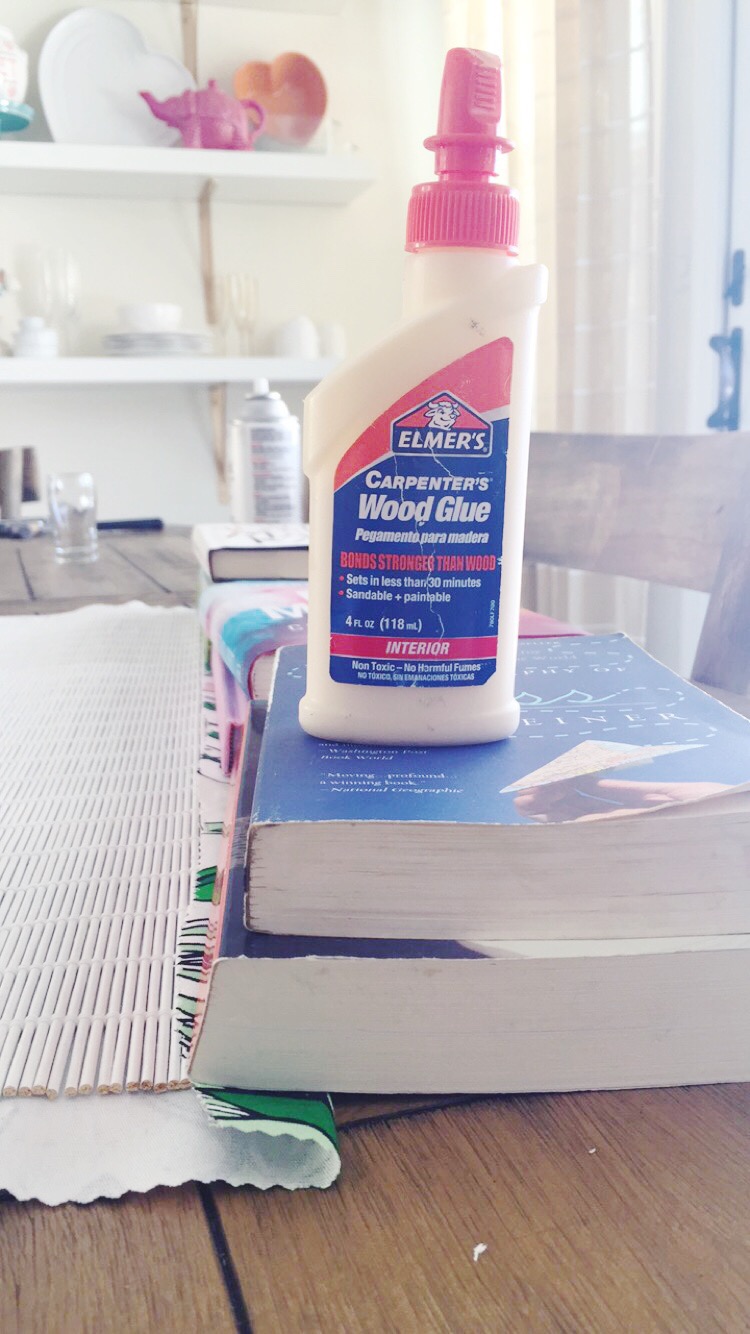 6. Repeat on all edges.
7. Use staple gun for corners and everywhere you removed staples in step 2.
8. Hang it back up!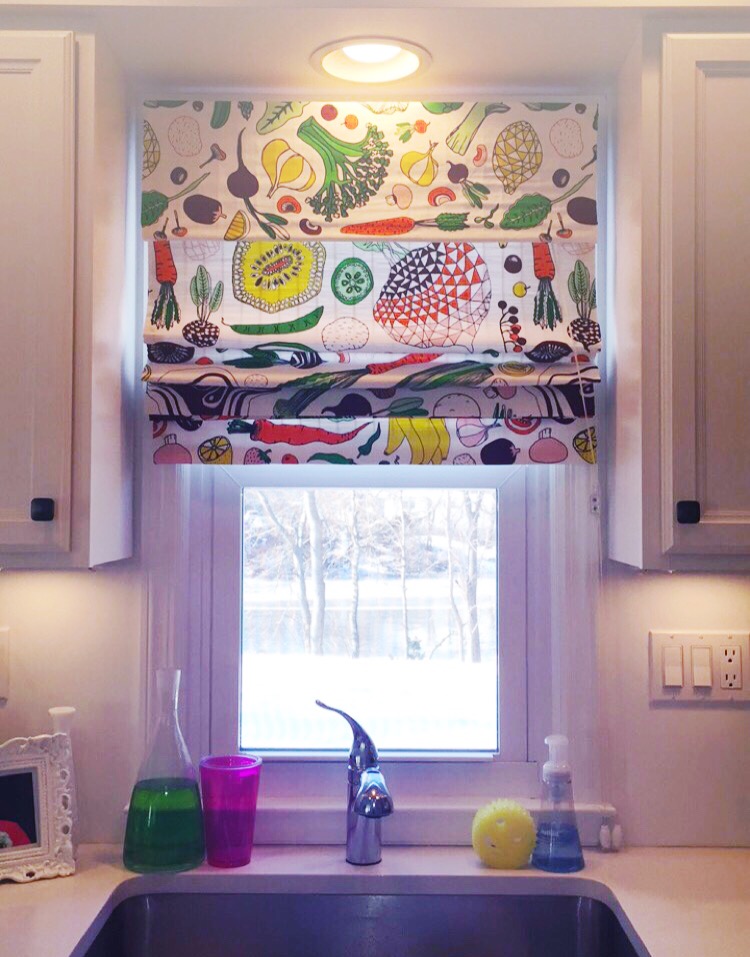
After this, I felt like it still needed something more fun…like pom fringe. Because I’m ridiculous.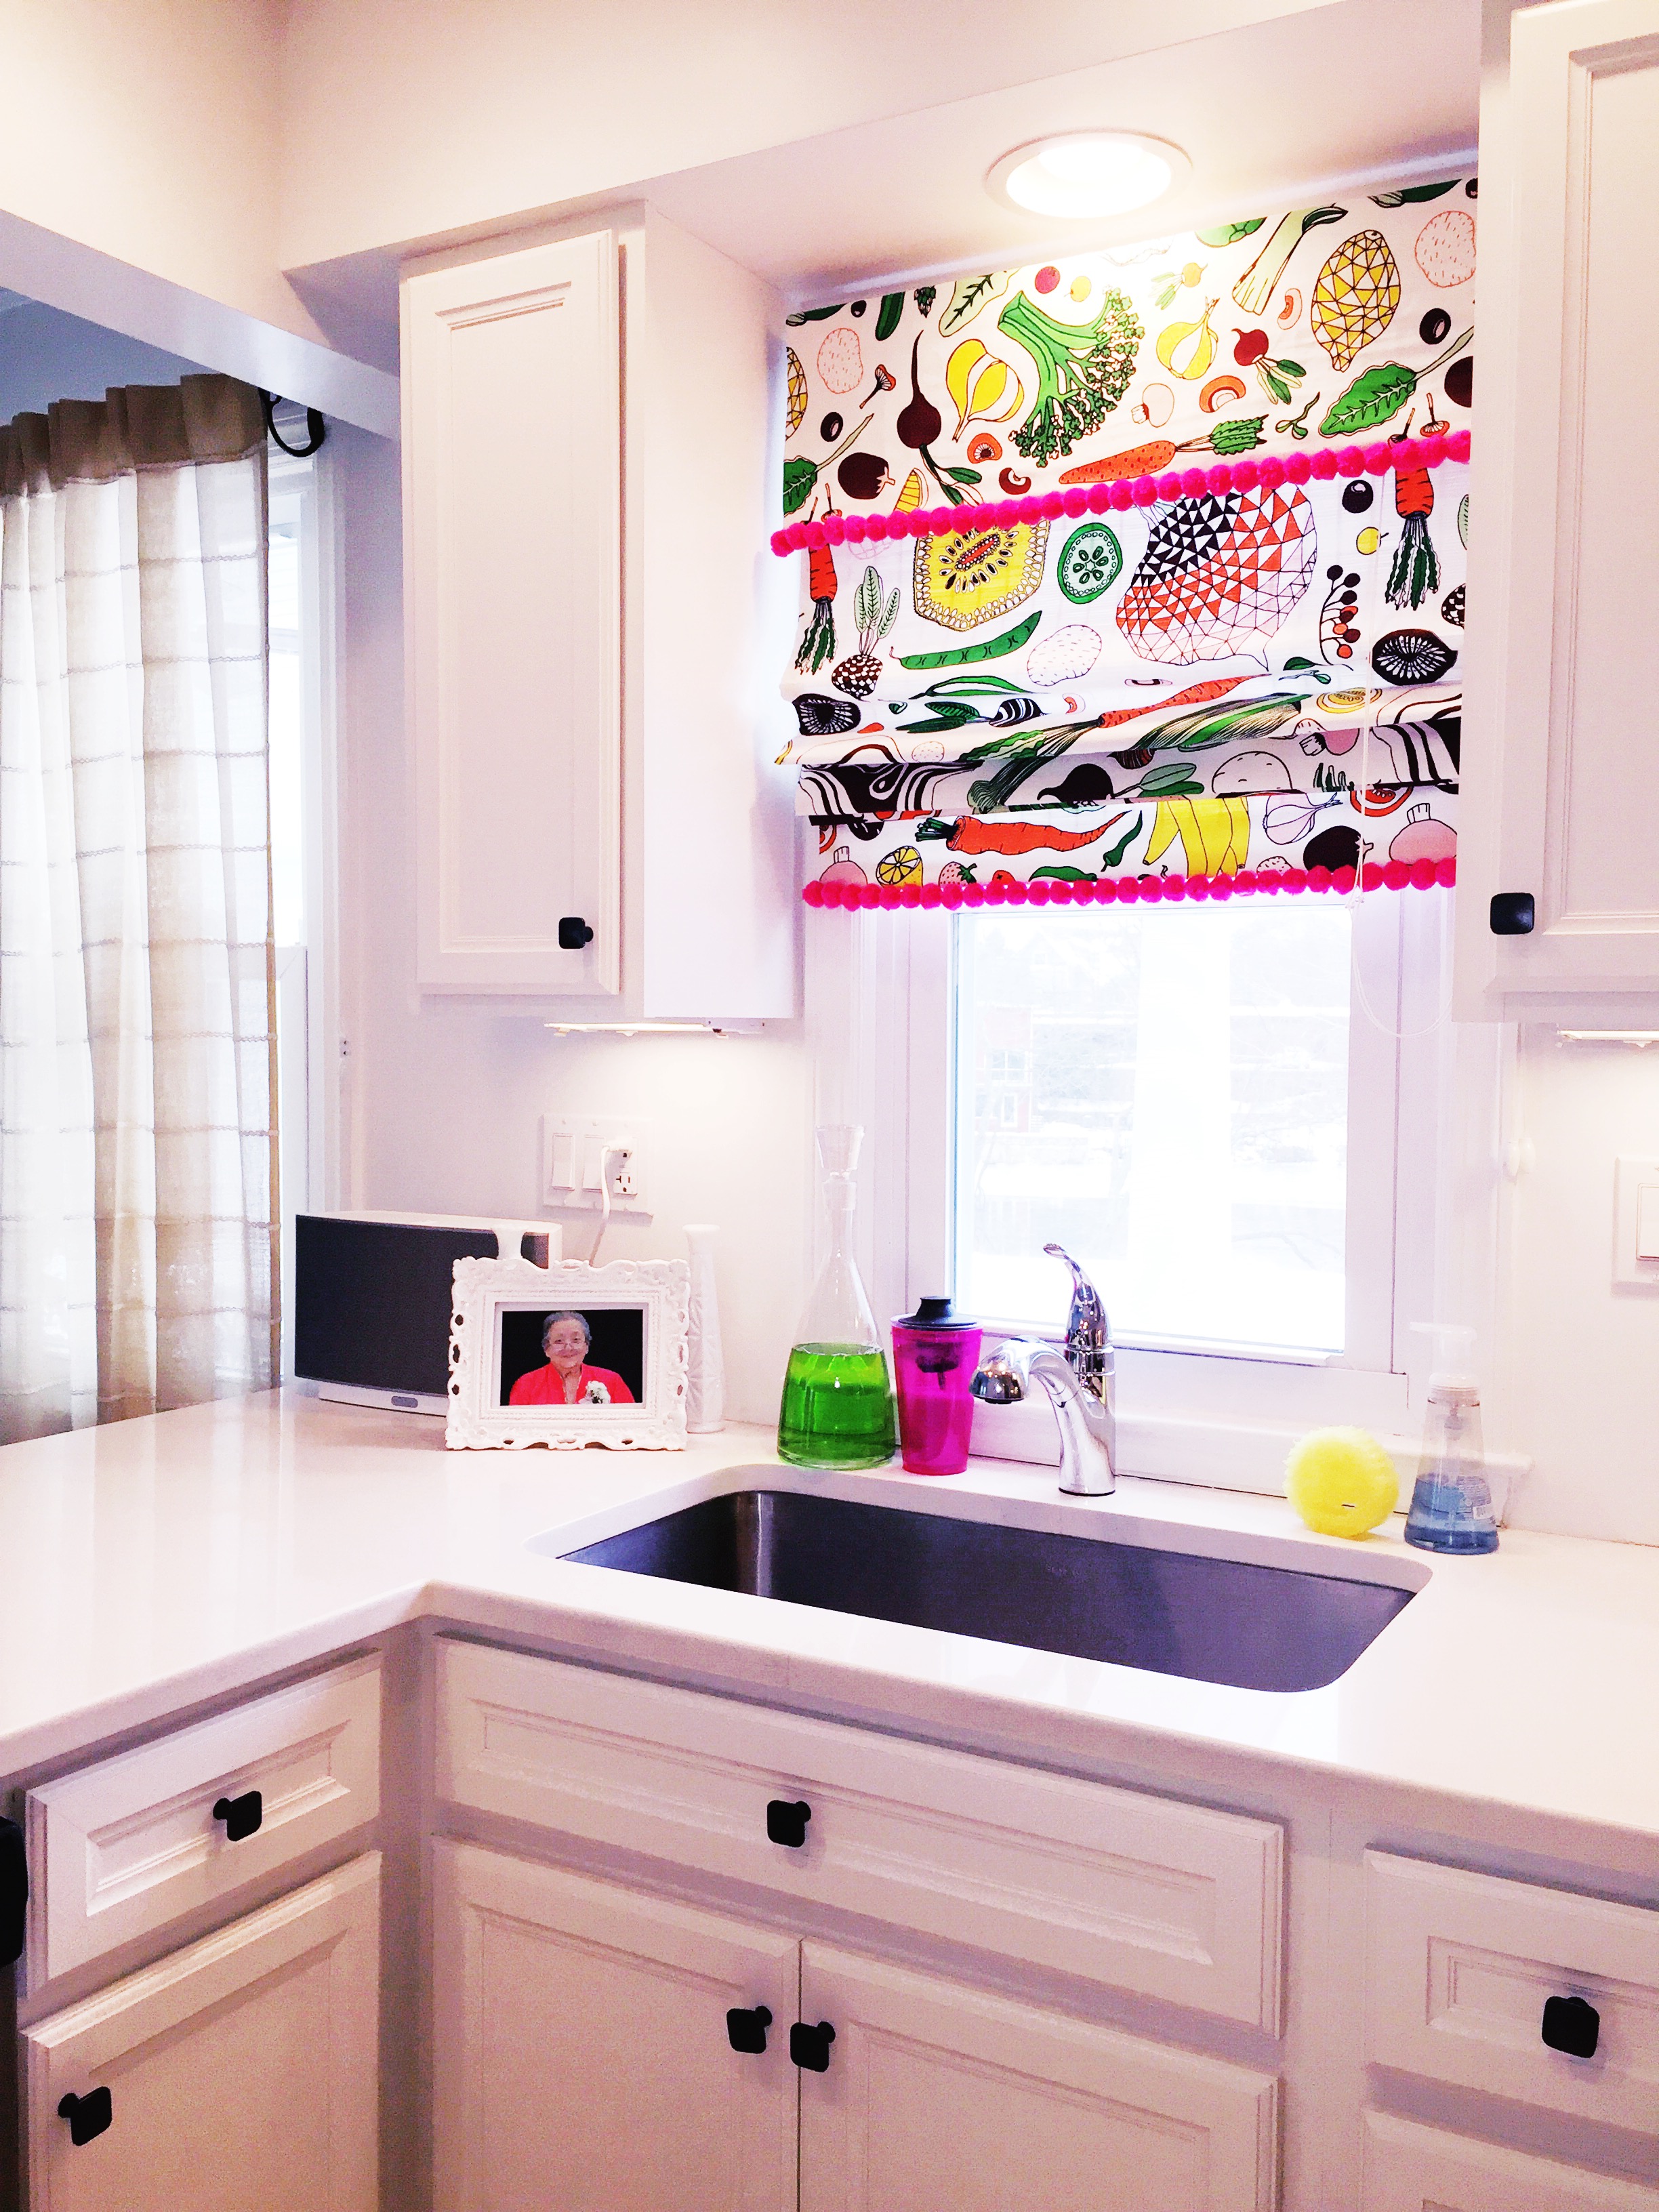
I love the way they turned out, they’re silly but so fun.
Very nice
So so cute!
Cute!!!
Thanks!
[…] give a quick update on some progress I’ve made. The only projects I did in here were turning those ugly bamboo blinds into roman shades and matting, framing, spending a lot of time measuring, and hanging these […]
I love this
Thanks!
I accidentally hit sent before I got to finish my statement… haha! What I was going to say is that I love how it adds a pop to your all white kitchen! It is a great touch!
Wonderful!!! Love this idea!!!
Thank you!
Such a great idea Kelsie!!!
Reblogged this on kelleysdiy and commented:
This is such a wonderful idea from ‘ TINY KELSIE’ I definitely am going to do this! Thank you for sharing~
I like this fabric and am drawn to 1950s kitchen kitsch myself. It is happy! Brilliant idea, Kelsie. ~Ginene
I’m all about being surrounded by happy! Thanks, Ginene 🙂
I love this and that material is so fun, the pink pom pom trim is the perfect touch.
Thank you so much! I grappled with the pom poms at first, thinking it was too silly. Then I remembered that I love silly! Thanks for reading 🙂
Awesome!
[…] on top of the mouldings above the window? Anyhow, this is the last one standing, not including the roman shades DIY. Will they stick around? Wait and […]
Hi Kelsie! My name is Anne and I’m with HouseLogic.com. Our visual team recently came across your DIY roman shades project, and we would love to ask your permission to use the image in an upcoming article on our website. Can you please send me an email? I would love to explain more. Thank you!
[…] If your bamboo blinds need an update, cover them with a fun fabric and transform them into Roman shades. Find complete instruction here. […]
[…] we moved in to this home, one of the first things I did was remove the bamboo blinds and add sheer curtains. It allowed for just enough privacy but made for a lot of natural light that […]
Very whimsical and cute! Thank you for posting