Spruce Up an Old Chair without Reupholstering it DIY
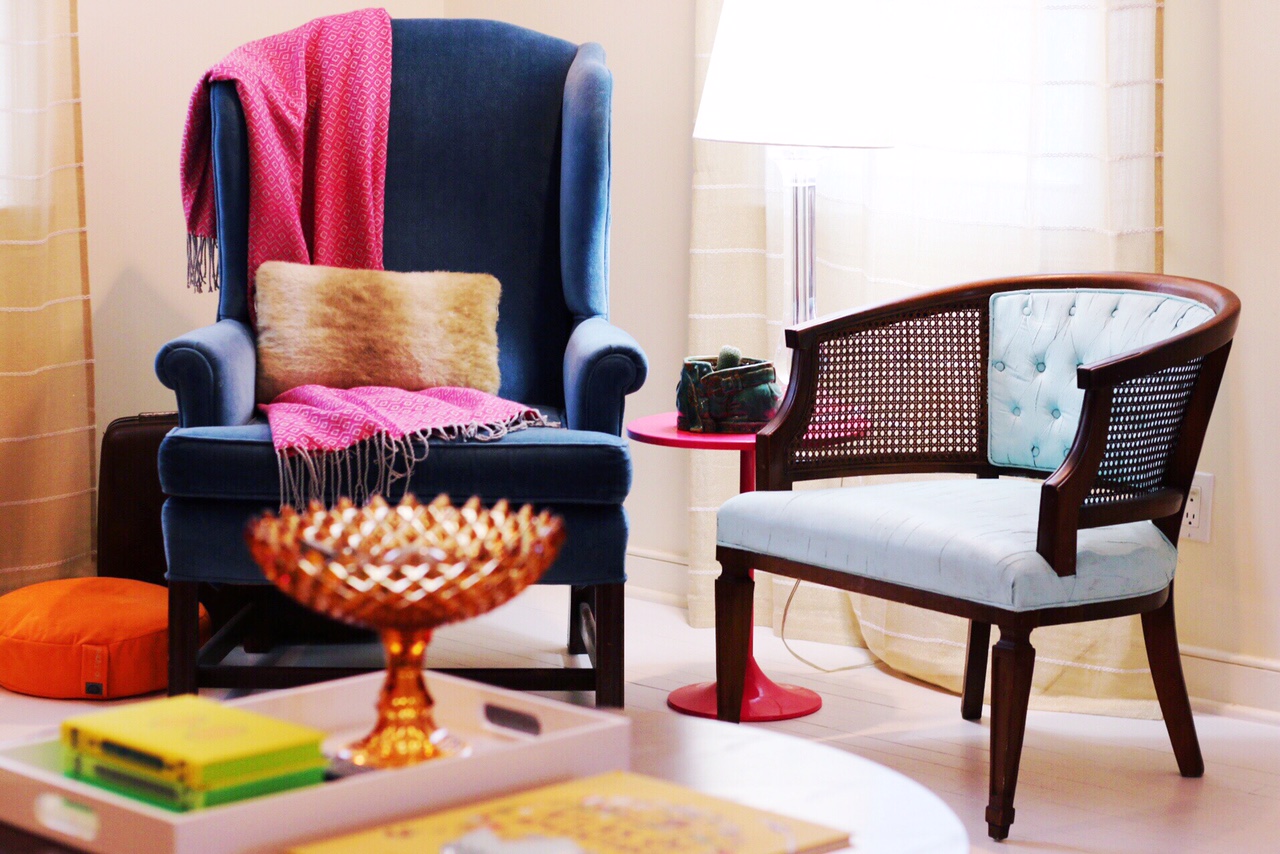
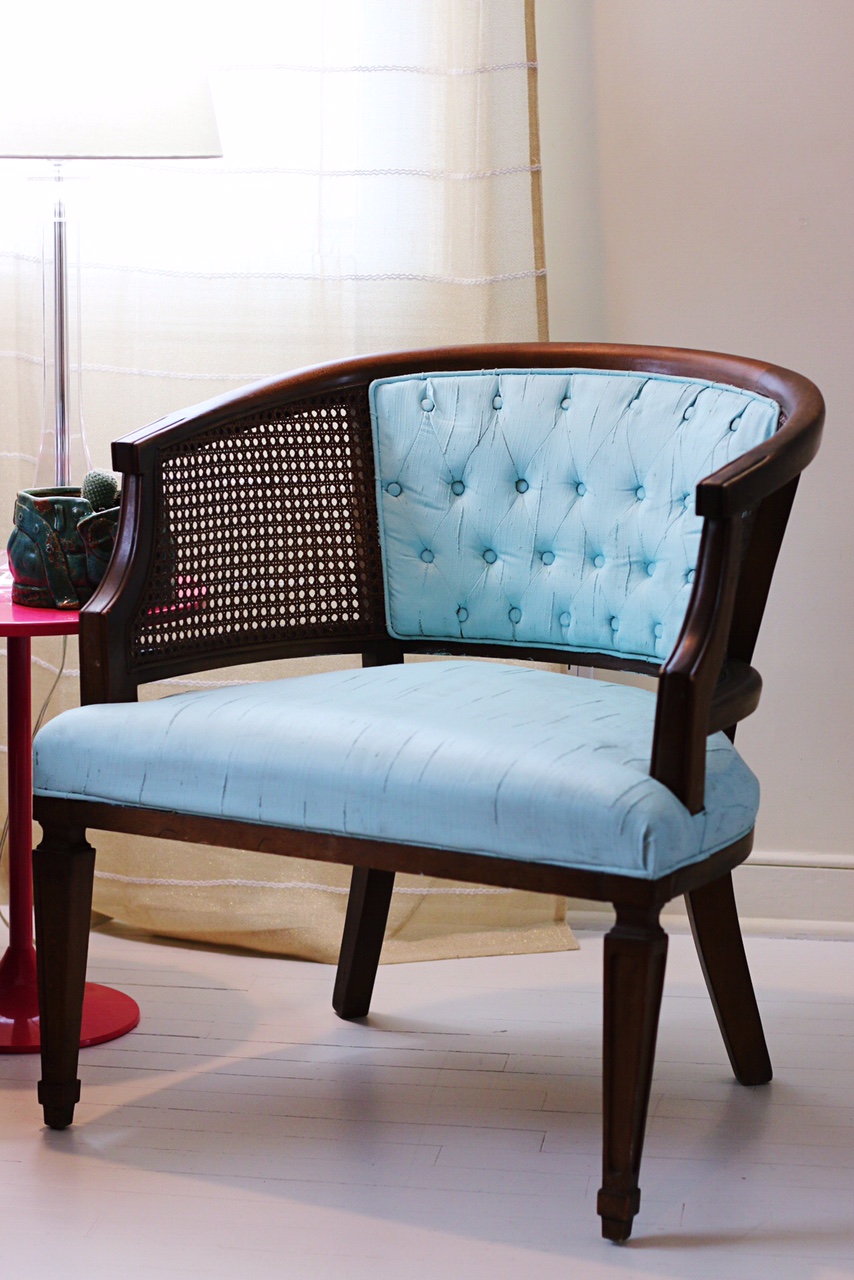
I got this chair from a friend as she was clearing out her grandfather’s house. I kept thinking “I’m going to reupholster this one day.”
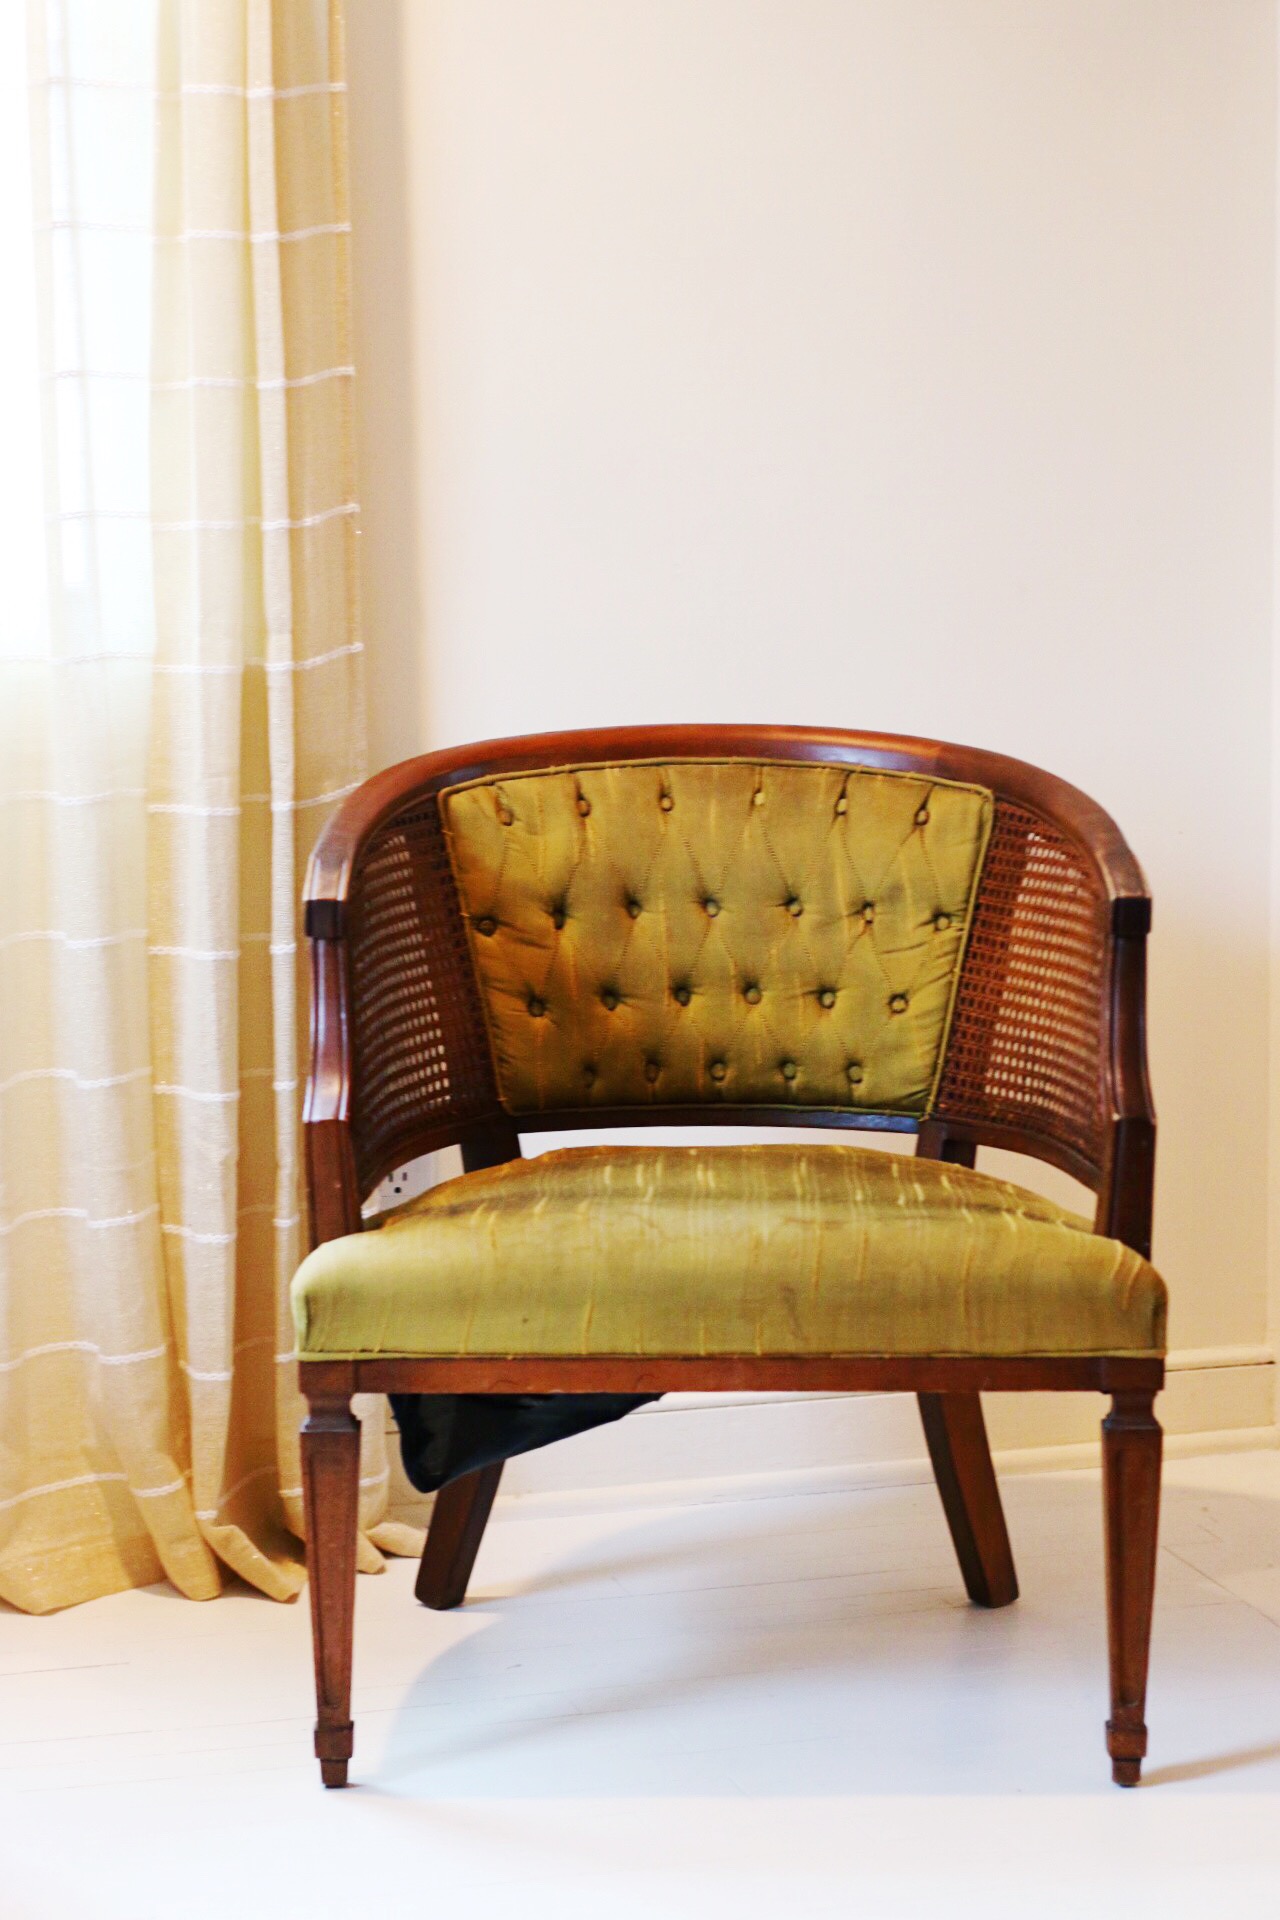
Spoiler alert: I wasn’t.
I’ve only reupholstered dining room chairs, which takes little to no skills whatsoever. This daunting guy over here had buttons & trim all over the place. I don’t even know how to use my sewing machine. The one I own. I’ve made many’a costumes, pillows, and quick fixes in the eight years I’ve owned it and never figured out how to work the machine. Shameful, I know.
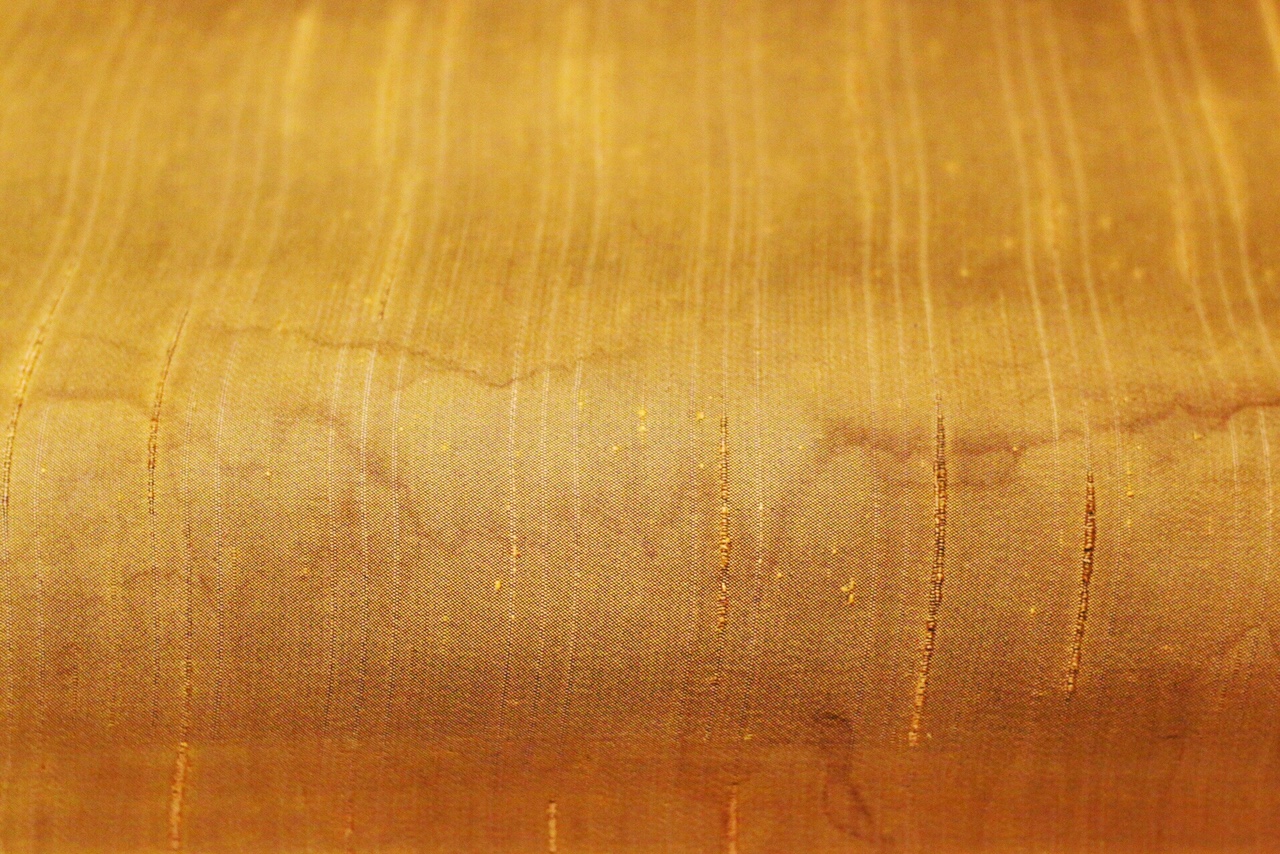
One day I decided I don’t want to reupholster this chair, and I don’t want to pay anyone else to do it, either, and I’m sick of looking at it in it’s current state. I then remembered seeing a post by Sugar & Cloth about painting an upholstered chair. Eureka!
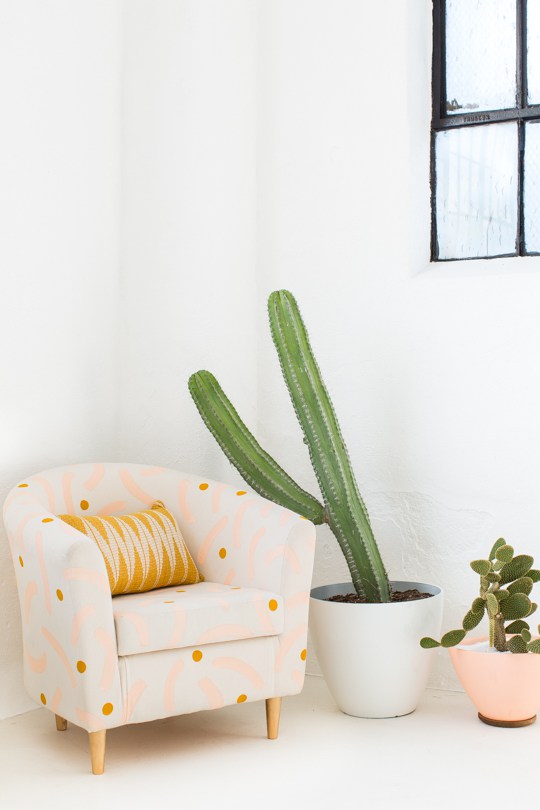
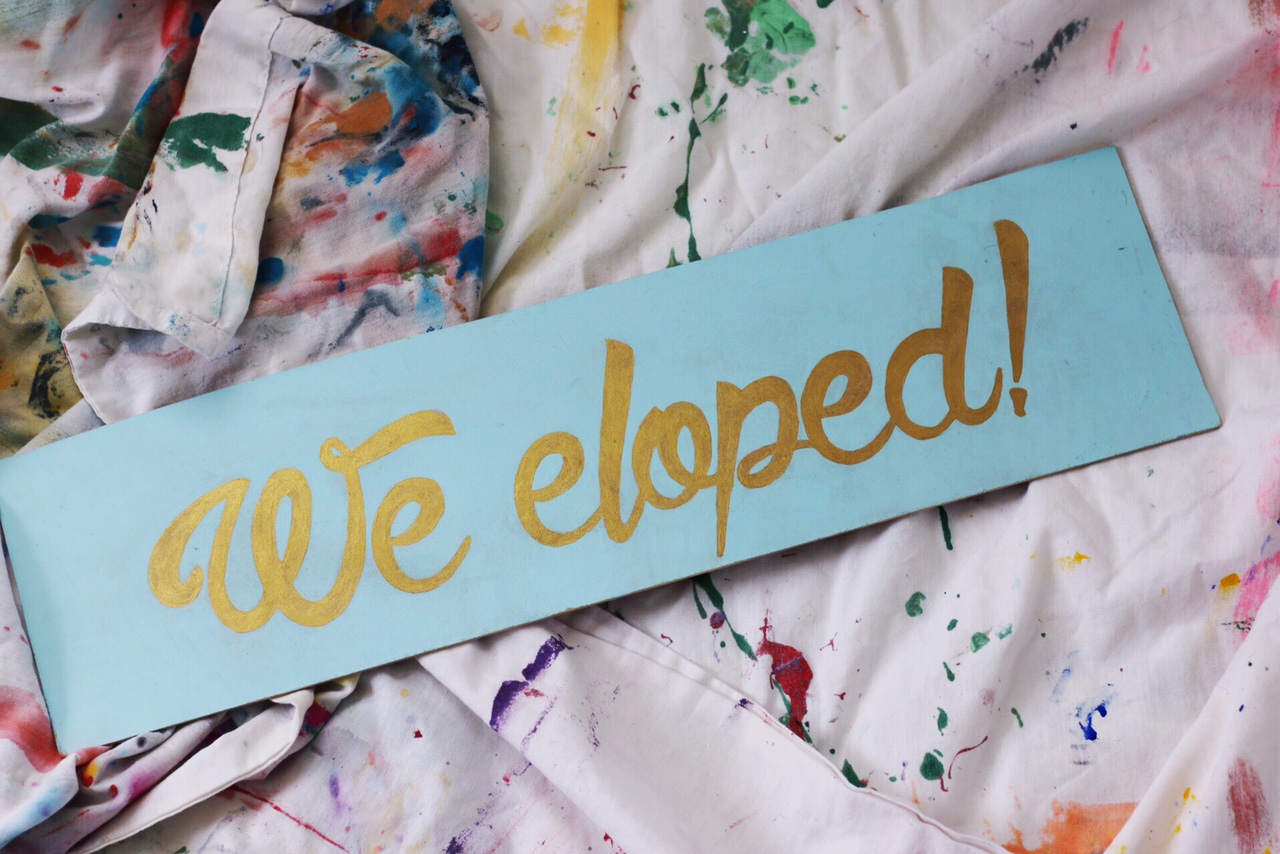
She used actual fabric paint, and not on the entirety of the seat. As I was doing more research, I found a textile medium that allows you to change acrylic paint into fabric paint.Which was good, because I already had way too much of this perfect blue paint from our elopement sign. You know, this one:
Materials:
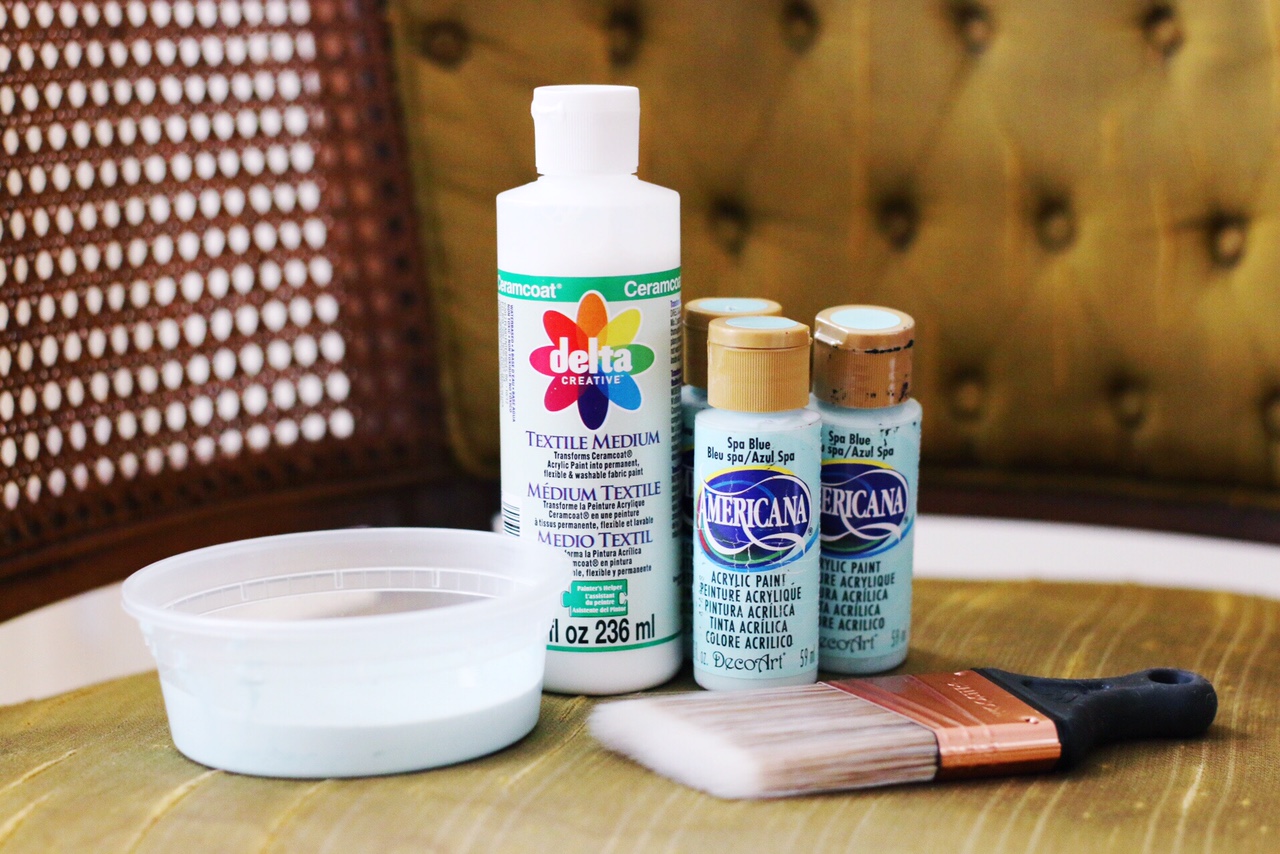
- Acrylic Paint. I used Americana brand in Spa Blue.
- Textile Medium
- Paint brushes in varying sizes – I’m obsessed with the bigger one (pictured) from Wooster that’s angled & has a rubbery handle.
- Not pictured: PAINTER’S TAPE!
Steps:
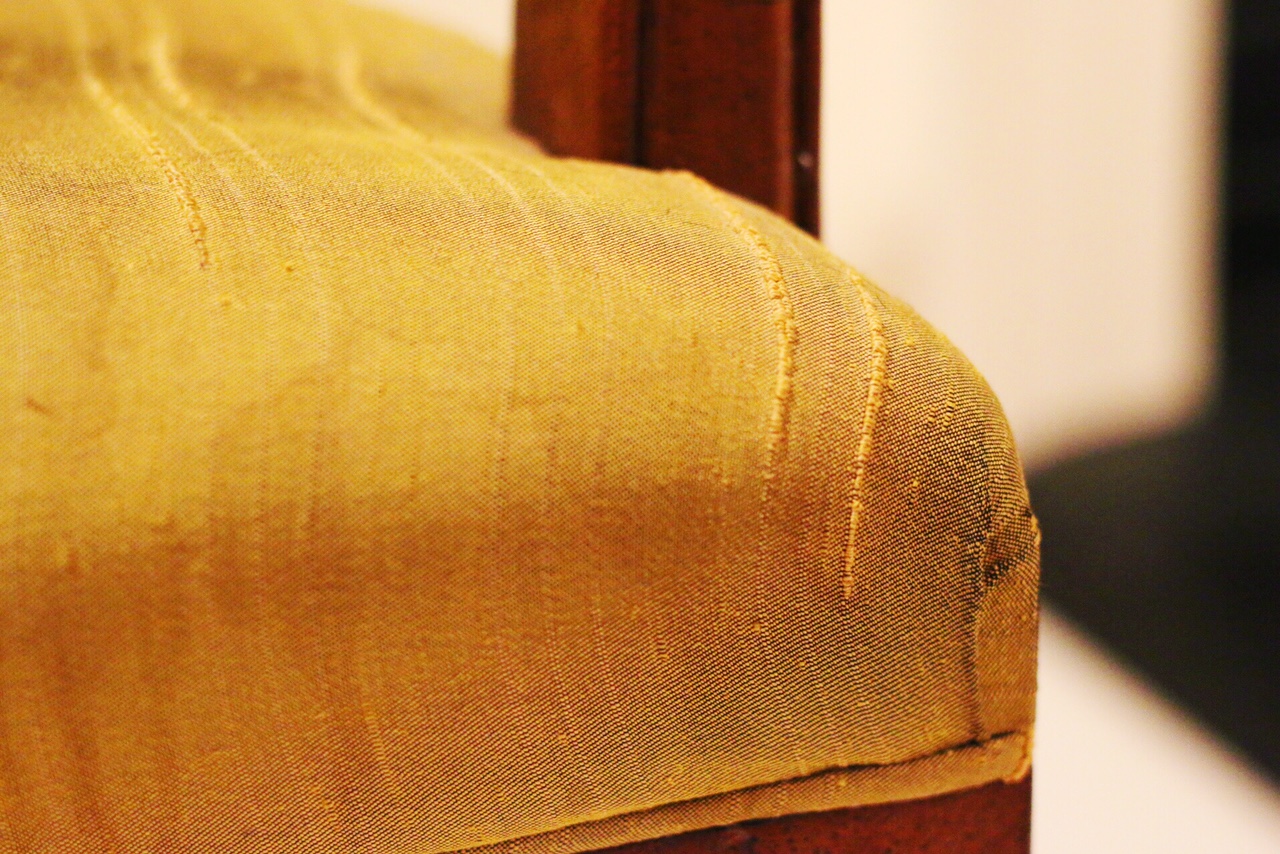
- Clean the upholstery. A lot. In my case, I had steamed cleaned this thing many times over, and also tried a chemical fabric cleaner. I’m pretty sure it was left on a covered patio for a couple of years, so it still looked like this:
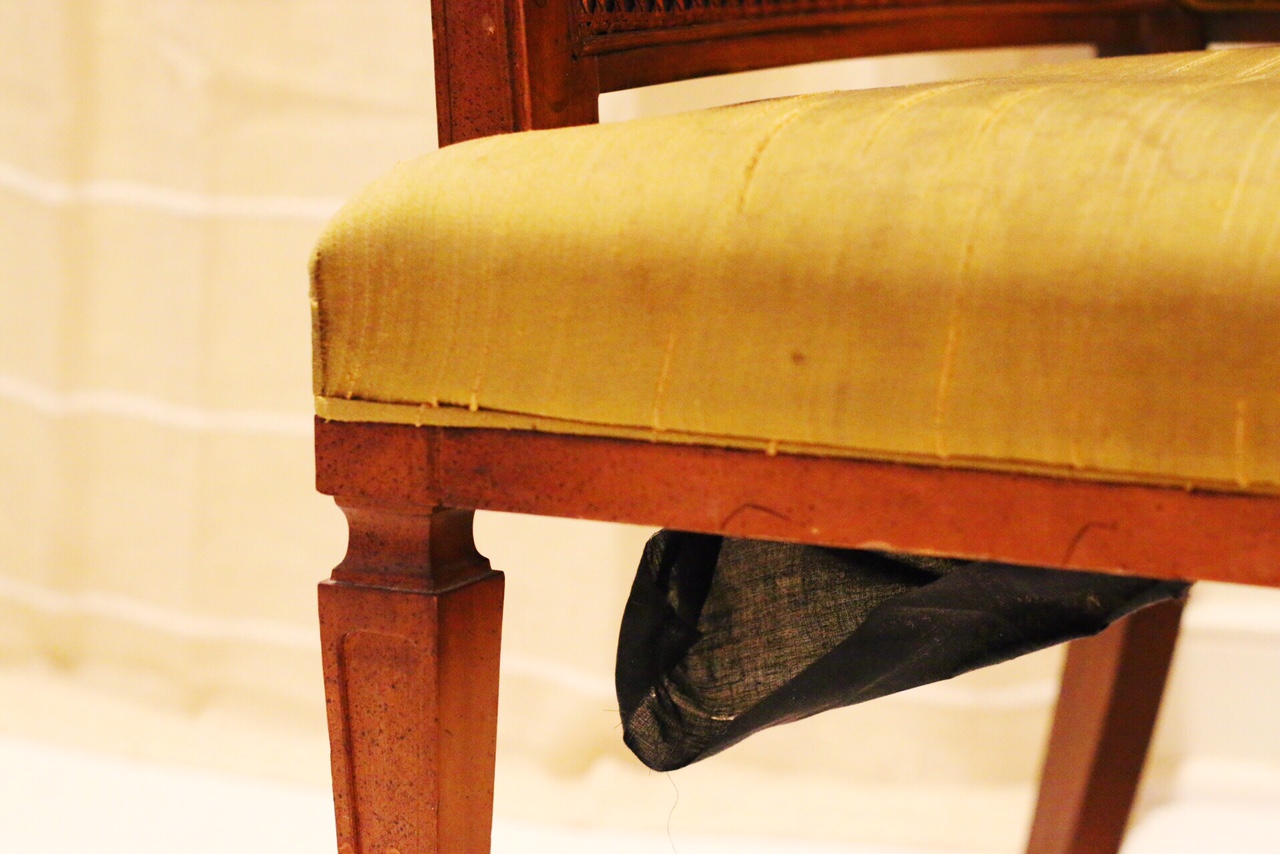
- Use painter’s tape to protect the wood. I always try to resist painting off at first, and realize it’ll be easier after wasting some time. Don’t be like me! Stick it in all the crannies so you can paint swiftly without worry.
- Mix one part textile medium with two parts paint. I used the 2 oz container of paint & filled it halfway with the medium to measure. It got some of the extra paint out of the bottle & made for less cleanup 🙂
- Paint away!
- After the paint is fully dried, iron on top of it to set the paint.
Info you might want to know:
- The fabric on the chair was already very stiff, and painting it didn’t help that. If you have a chair that is soft and comfortable, I’m not sure I would recommend this method. This chair was getting zero use before.
- As you can see, this was a quick fix that didn’t resolve textural issues. I don’t mind the imperfections on the fabric, but you may.
- I’m not done with this chair, I still need to rehabilitate the wood,
and fix a finicky spring. That’ll be a different blog post down the road!



!!!!! This looks SO GOOD!!! Hooray!
xox
Thanks! 😊
This is incredible! I didn’t even know fabric paint existed! The chair looks fabulous and I’m really impressed with your dedication to your projects!
Thank you! I’m dedicated to being cheap! Haha. It’s fun for me, too, but it’s much easier for me to shell out $10 for some fabric paint than $200 for the kind of chair I’d pick out brand new.
This is amazing! The chair looks brand new! I love it! 😍❤️👍🏻