How to Make a DIY Truffula Tree: Dr. Seuss’ The Lorax Halloween Costume
What have you been working on?
On Monday I wrapped up finishing touches on 1/2 of my commissioned paintings and got started on the second piece. I haven’t gotten the chance to share the completed work with my client, so I’ll save pics of that for another day.
I also jumped right in to NY Comic Con costume building. I’ve posted in the past about Comic Con 2021, New York Comic Con 2022 and NYCC 2023.
Yesterday was the event, so I’m excited to share with you my costume and favorites that I photographed, along with some thoughts from a conversation with Matt Groening & Patrick McDonnell. First, I’ll share with you how I made the Truffula Tree for my DIY Lorax costume.
DIY Truffula Tree
You may have noticed that the environment is important to me, be it my physical environment indoors or saving the planet through gardening. This year I decided I’d make the same statement with my Halloween Costume by going as Dr. Suess’ The Lorax.
& I knew my costume wouldn’t be complete without my very own Truffula. Making one was simple!
Materials:
- long stick
- sandpaper
- paint: yellow, black and pink
- large circular balloon
- newspaper
- mod podge
- paint brush
- pink feather boa with large feathers x2
- pink marabou feather boa x2
- fabric glue
- spray foam insulation
- safety equipment: goggles, gloves, mask
How to Make a DIY Truffula Tree from Dr. Suess’ The Lorax
DIY Truffula Tree Trunk
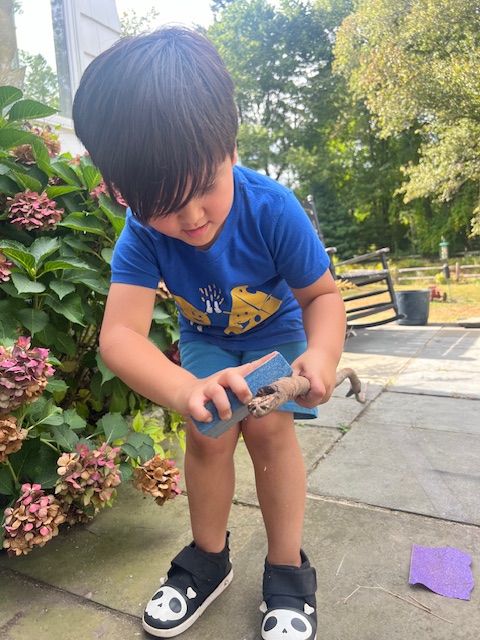
- Grab a stick from your backyard! The Lorax is quite small, so I picked one that would tower above me. The stick you choose should be the same height you’d like your completed project.
- Sand and wipe down the stick. You want to remove debris and prime the stick for painting.
- Paint the stick yellow, then add black squiggly stripes. I used leftover housepaint, acrylic can be used but its less efficient.
DIY Truffula Tree–the fluffy part
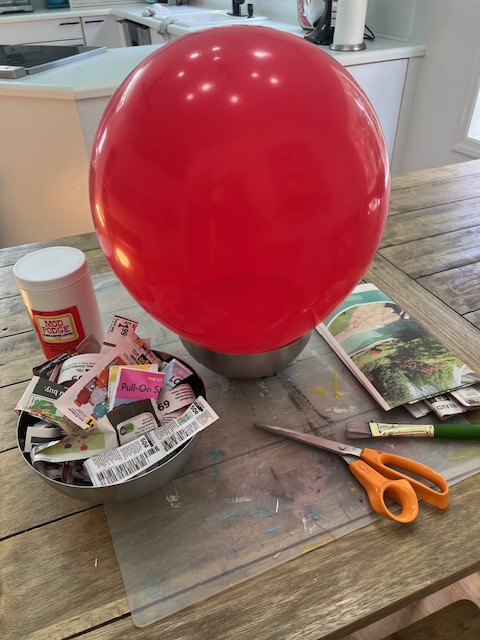
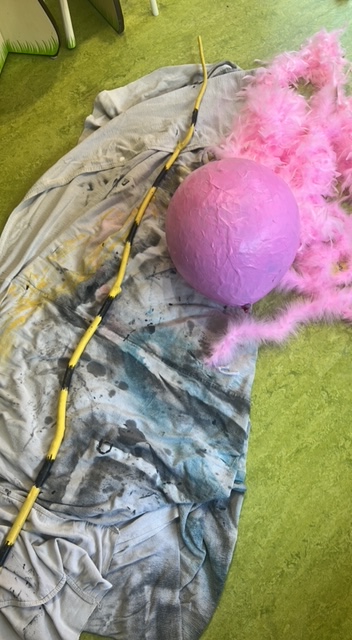
- Blow up a large circular balloon.
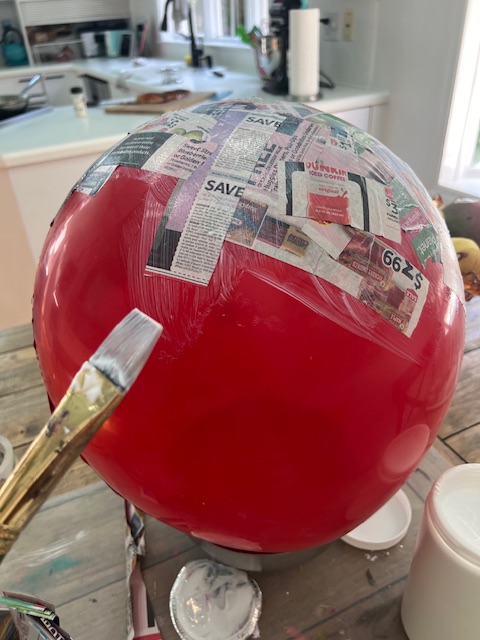
- Papier-mâché balloon using paintbrush, old newspaper, and mod podge. There should be a minimum of four layers of papier-mâché so that the circle will be rigid. Anything less and you’re likely to watch your sphere crumble. Leave the mouth of the balloon exposed.
- Let papier-mâché dry overnight
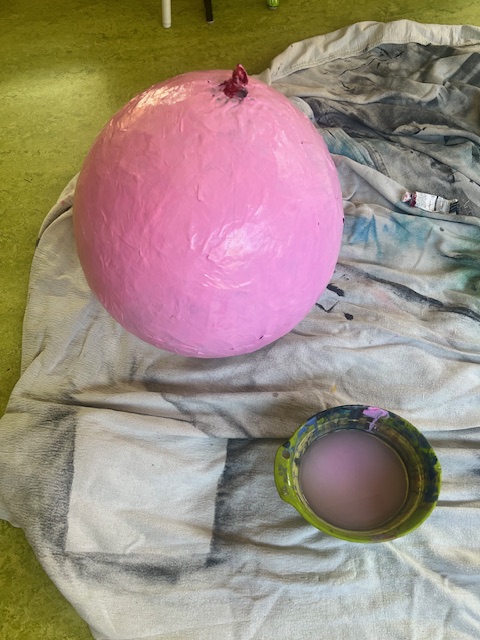
- Paint dry papier-mâché the same color pink as the boas. Let dry.
- Apply boas to circle base. I applied mine in a swirl formation, alternating the small and large boas, with a small amount of space between each. One feather boa and one marabou feather boa filled one side, and one of each covered the back side. Though you can’t distinctly see the swirl formation in the completed piece, I think the swirling formation lent to an essence that felt more truffula-like. I also crossed over the mouth part of the balloon to make that area more hidden once the tree was complete.
Attaching the Truffula Top to the Base
- Cut the mouth of the balloon and wait for it to deflate. IF you glued enough layers of papier-mâché, it won’t deflate along with the balloon.
- Wear safety equipment to spray some foam insulation into the sphere. DO NOT FILL. The spray foam should only ever be 1/2 of what is needed to fill a gap, and you need less because you just want it to hold on. Get enough in there for the stick to sink in to, put ‘er in, then spray around the gap between where the stick meets the sphere.
- Set up the tree with objects so it is able to dry in the precise position you would like your finished project. Let cure overnight.
- VIOLA! Your Truffula Tree is complete.
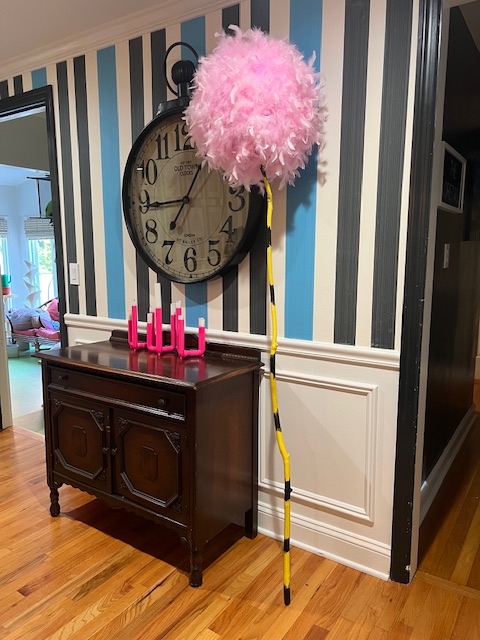
More on New York Comic Con 2024 to come.
[…] I shared about my DIY Truffula tree. Today, take a peek at my Lorax costume, my favorite costumes from the event, and messages from a […]