DIY Hula Hoop Circle Weave Tutorial
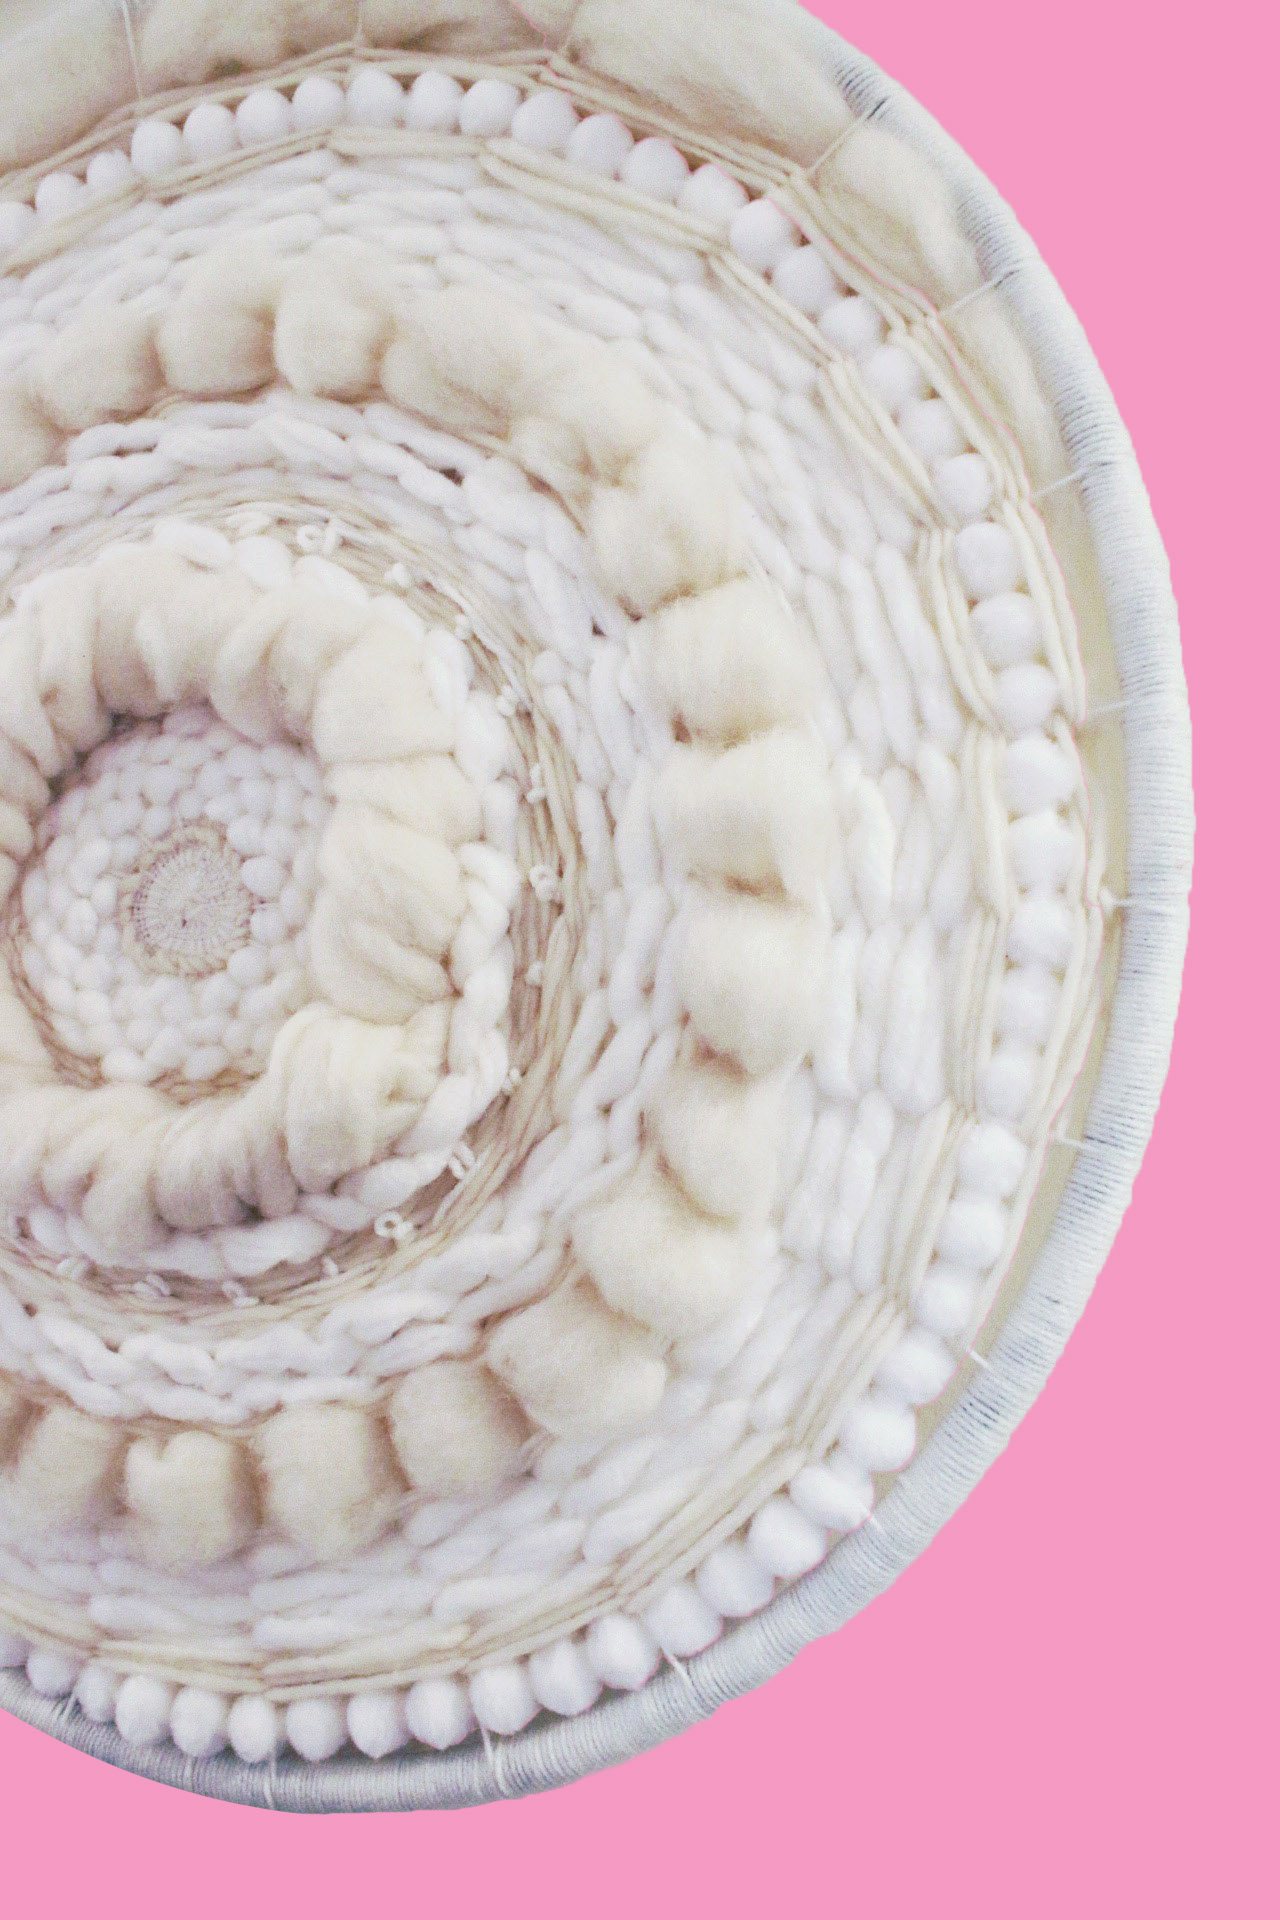
This is one of my favorite things I’ve made.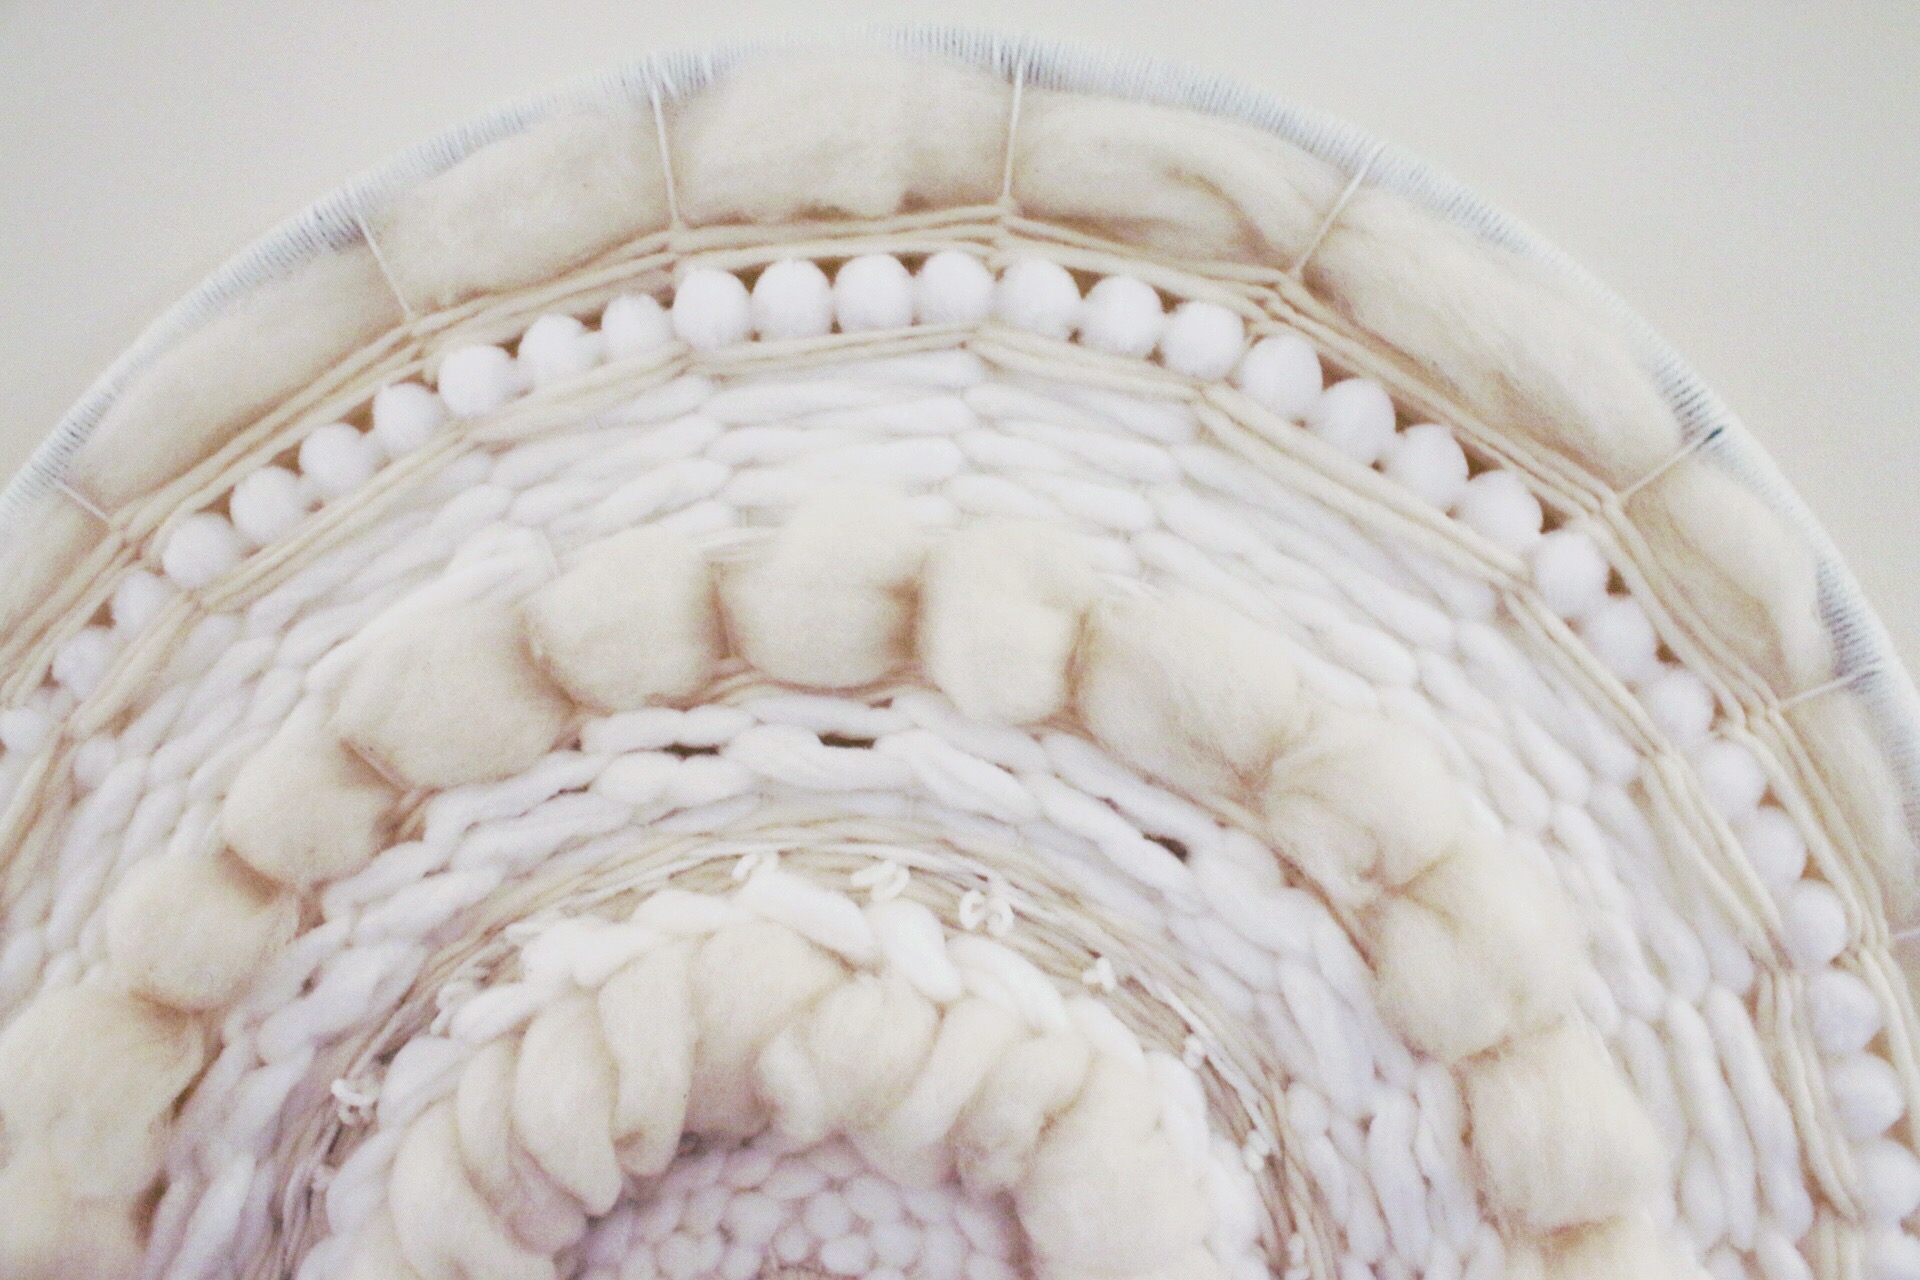
Have you seen Meghan Shimek‘s woven art? I wasn’t really on board with the whole wall weaving trend until I saw her work. She uses wool and alpaca roving to make the trend her own: elevating it to a larger scale, with fuller texture and more emotion.
More photos of Shimek’s work can be found here.
Her work inspired this project.
Though I’ve staked out where I can find the local alpaca farmers, I haven’t yet gone to a place nearby that has large stocks of wool or alpaca roving. I did find small quantities at Michael’s. Be forewarned, my local store didn’t have the roving, I had to head a couple of towns northeast, where they had a small selection. I would recommend getting roving from an Etsy shop, where you’re sure to find it hand dyed to any color you could want, or for the impatient type, (like me), you can get some multicolored roving or bulk white roving through Amazon Prime.
I decided for this weaving, I’d start with a mixture of yarn and roving.
Tools:
- Hula Hoop
- Yarn , Yarn, and more Yarn in differing thicknesses
- 2 bags of white bulk Roving
- Pom Pom Garland
- Warp thread or even more yarn
- Weaving needle or a pipecleaner
- Scissors
- A touch of hot glue
- T-I-M-E.
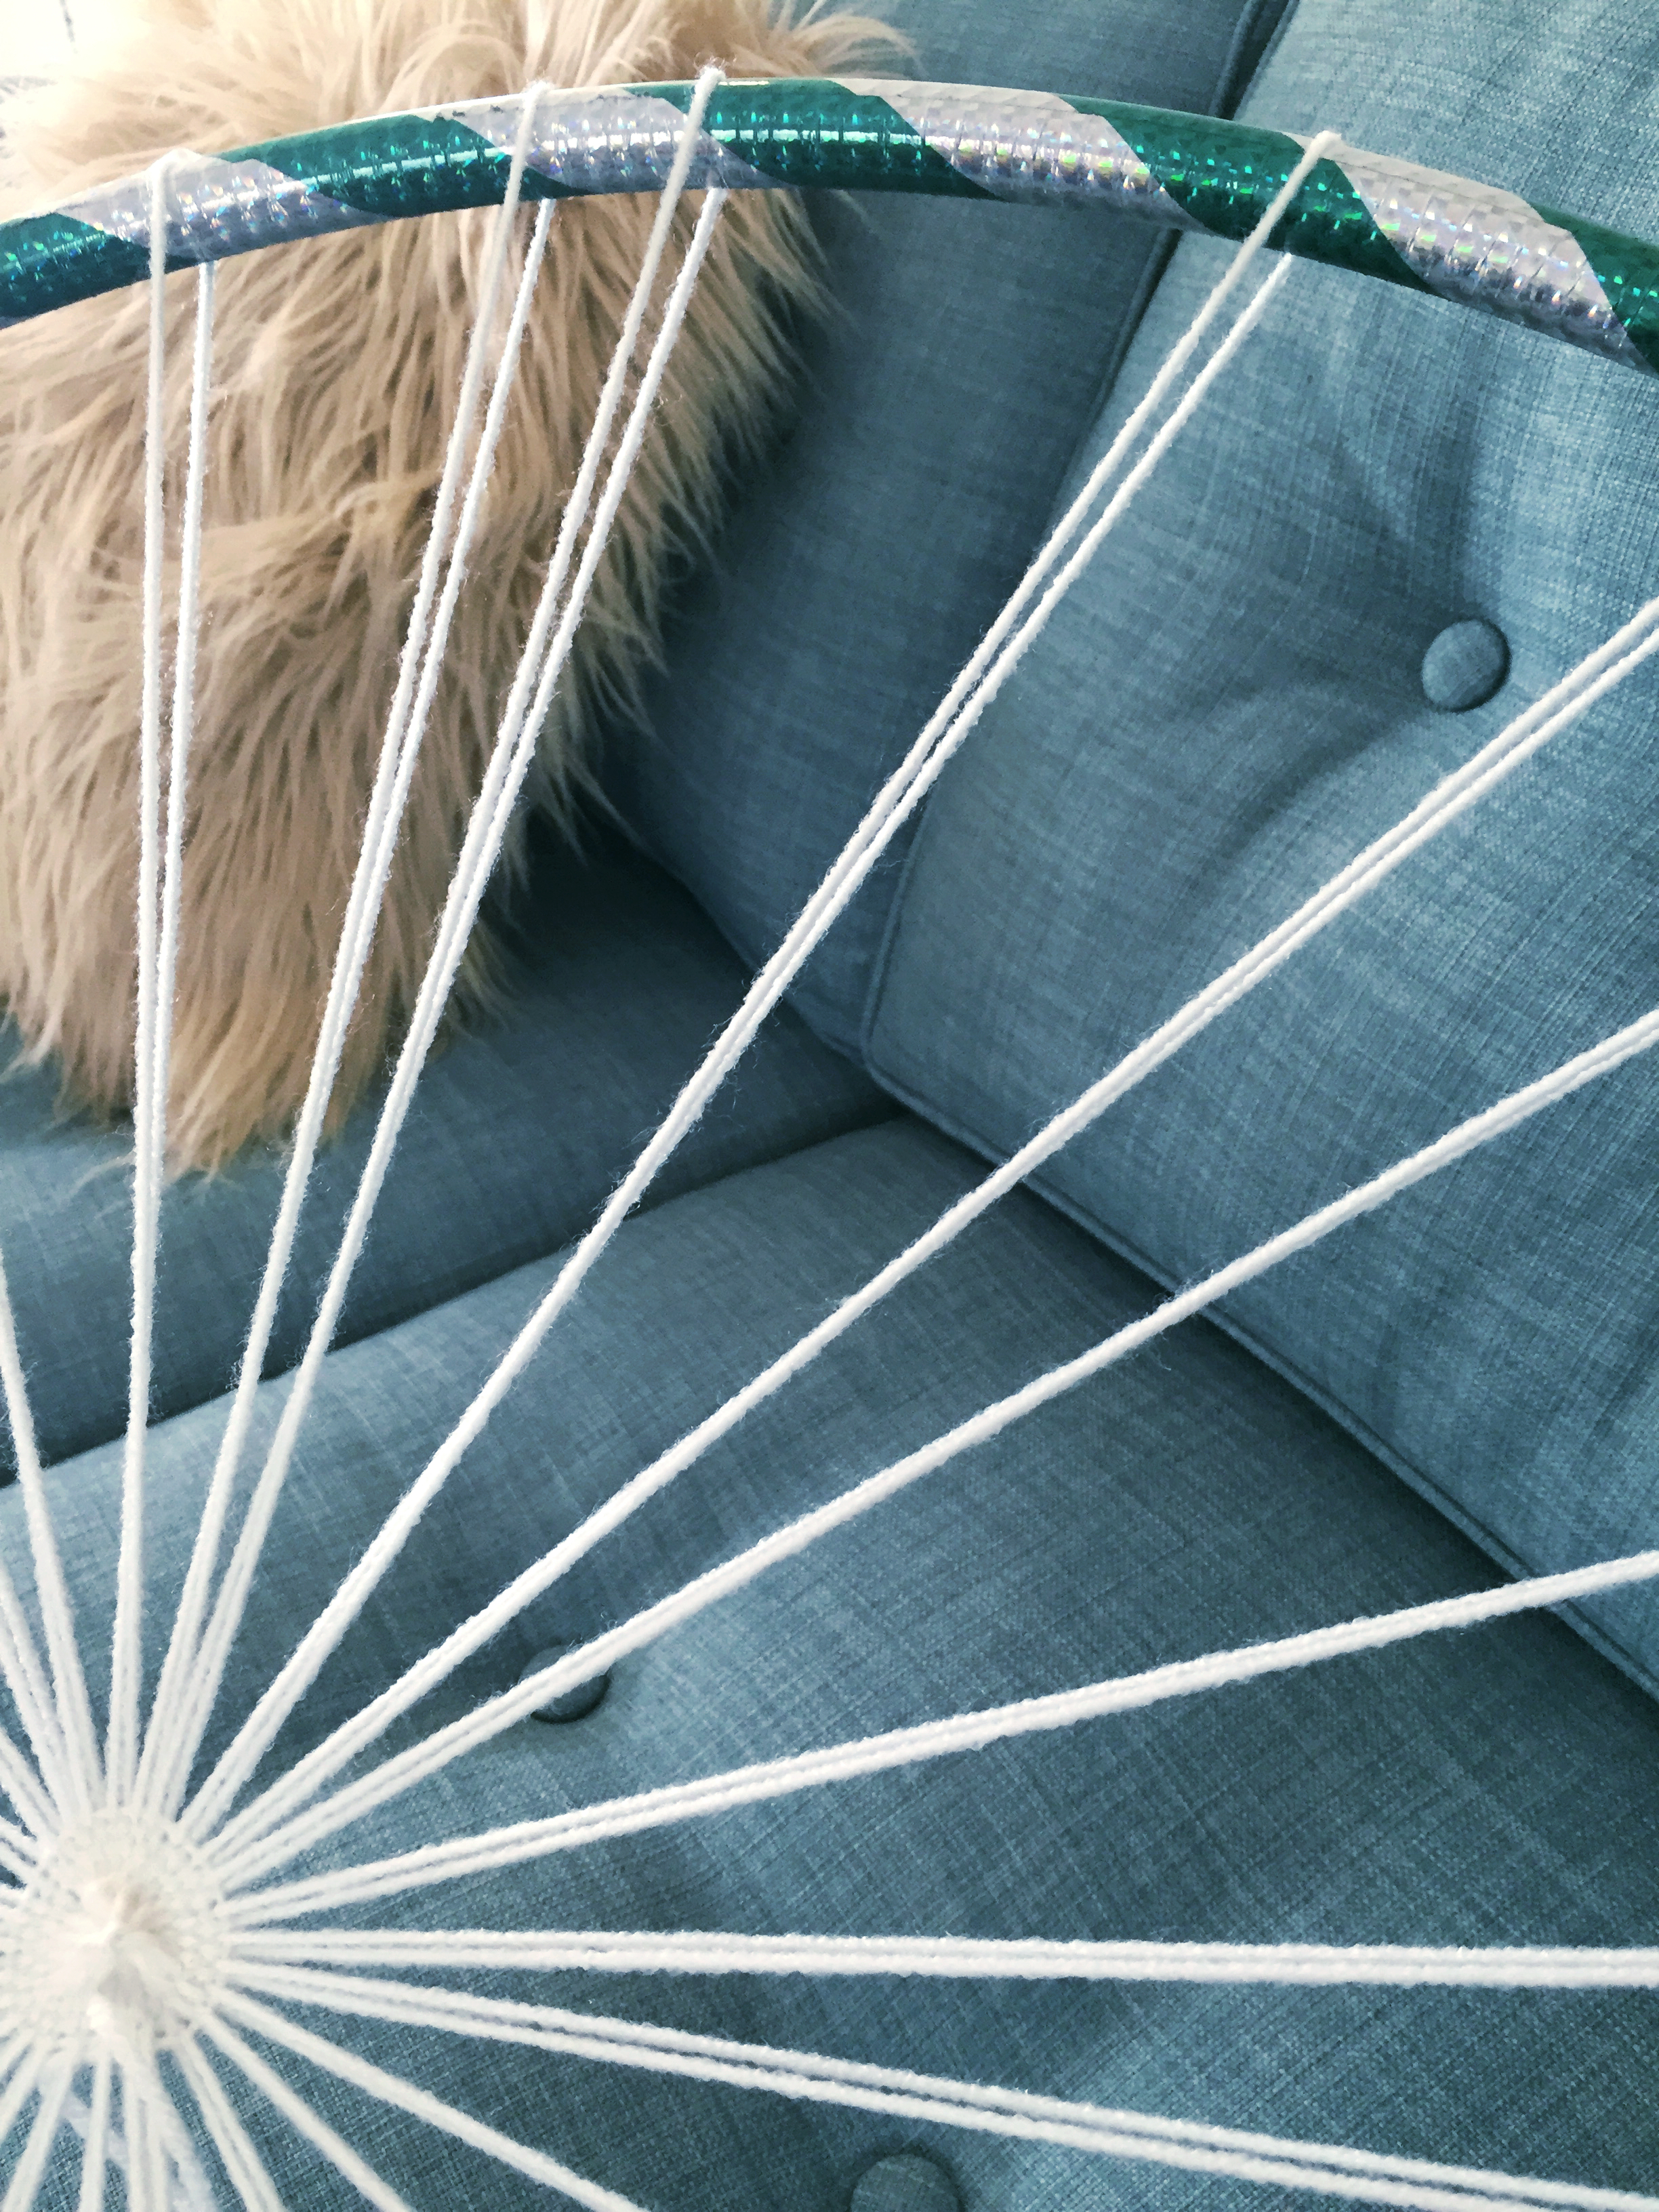
- Tie the end of your warp thread, or the thread you intend on using as tension to weave the other yarns and roving through. I opted for the cheapest white yarn I could find (link above) as my warp thread.
- Pull the yarn through the center, and around the opposite edge of the hoop.
—-Wait. Disclosure time.—-
I had never ever made a weave before. The closest thing I’ve done is knit (I can only make scarves, not good ones either, and I learned how 11 years ago) and sew (I’m so scared of a sewing machine that I hand sew more than is normal (which is ever. Americans that aren’t Amish don’t hand sew. What is wrong with me?).
What I’m getting at is that I found this REALLY great online resource for weaving. Seriously, don’t even bother looking through the internet for anyone better. I did the work for you, Kate of theweavingloom.com is queen of this stuff.
Phew. Now that I’ve got THAT off of my chest. Back to the steps.
3. Follow theweavingloom.com’s example on How to use an Embroidery Hoop as a Loom for setting up the hula hoop.
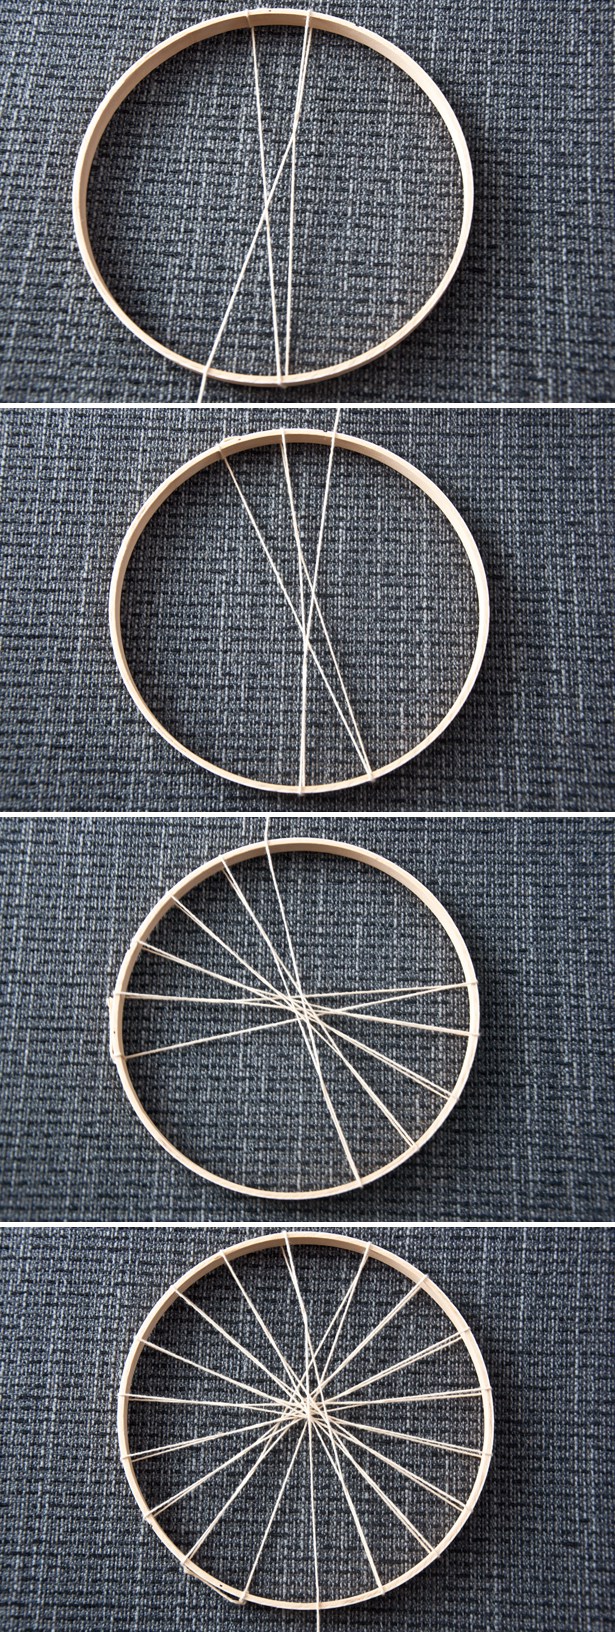
4. Tie off the thread where it meets back up at the beginning, cut off excess.
5. Wrap center area with same thread, tie tightly, cut. Repeat until you have one center spot with many same size triangles coming out.
6. Tape every four or so warp threads to your “loom.” Otherwise they’ll move everywhere and it’ll make you wacky.
7. Begin weaving the center with your thinnest yarn, with a plain weave. This is the smallest area on the loom, and using big stuff right away can make it look pretty messy. It’s also where you’ll need that weaving needle the most. I didn’t have that foresight, but I did have a pipe cleaner. I’m ingenious like that. And also, very humble.
I found that after a while of weaving, the center pieces I had tied off got loose. I went ahead and pulled them out–the tight structure of the weave wasn’t going to let anything go anywhere.
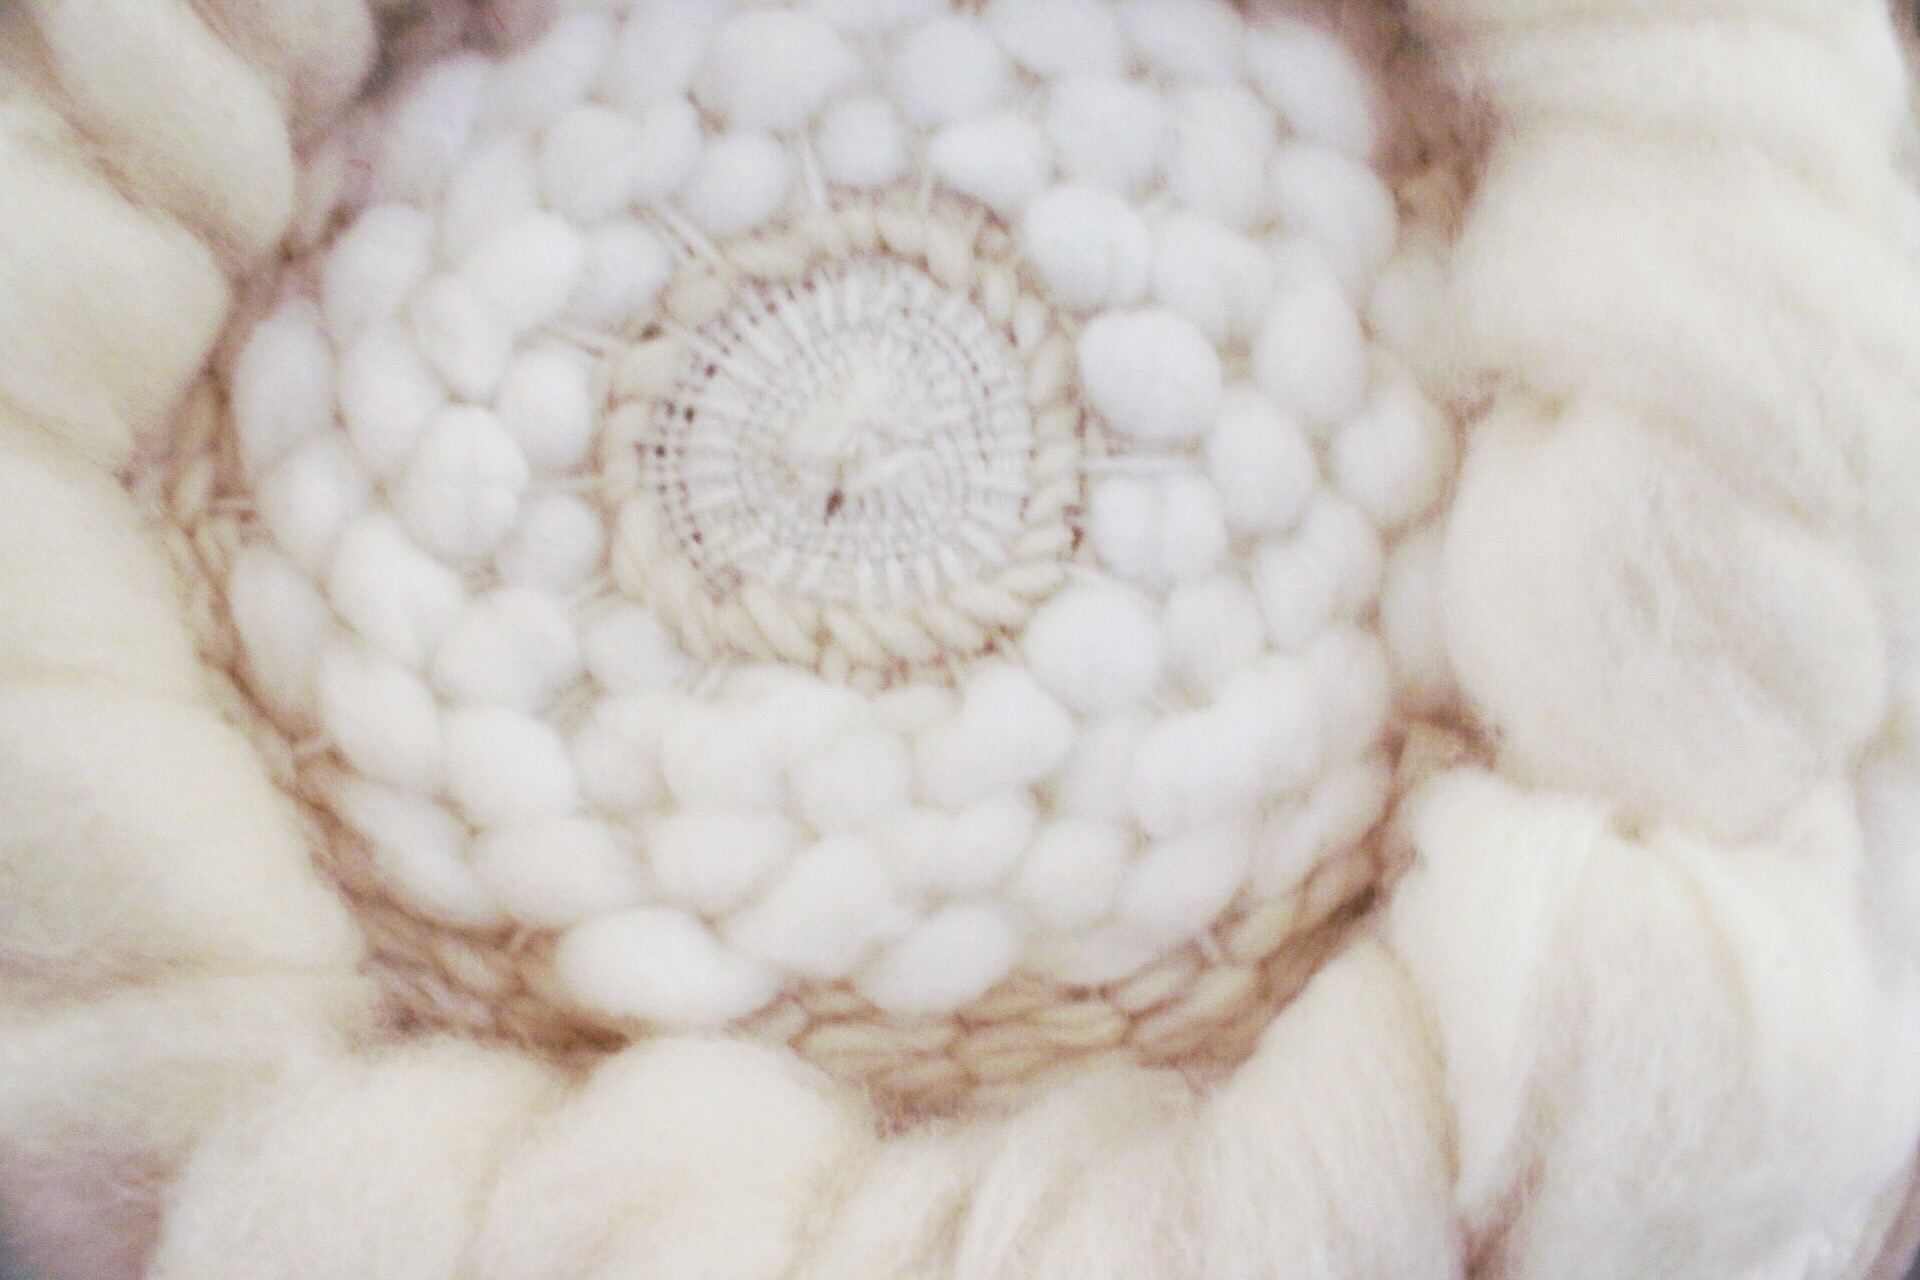
8. Weave your little heart out!
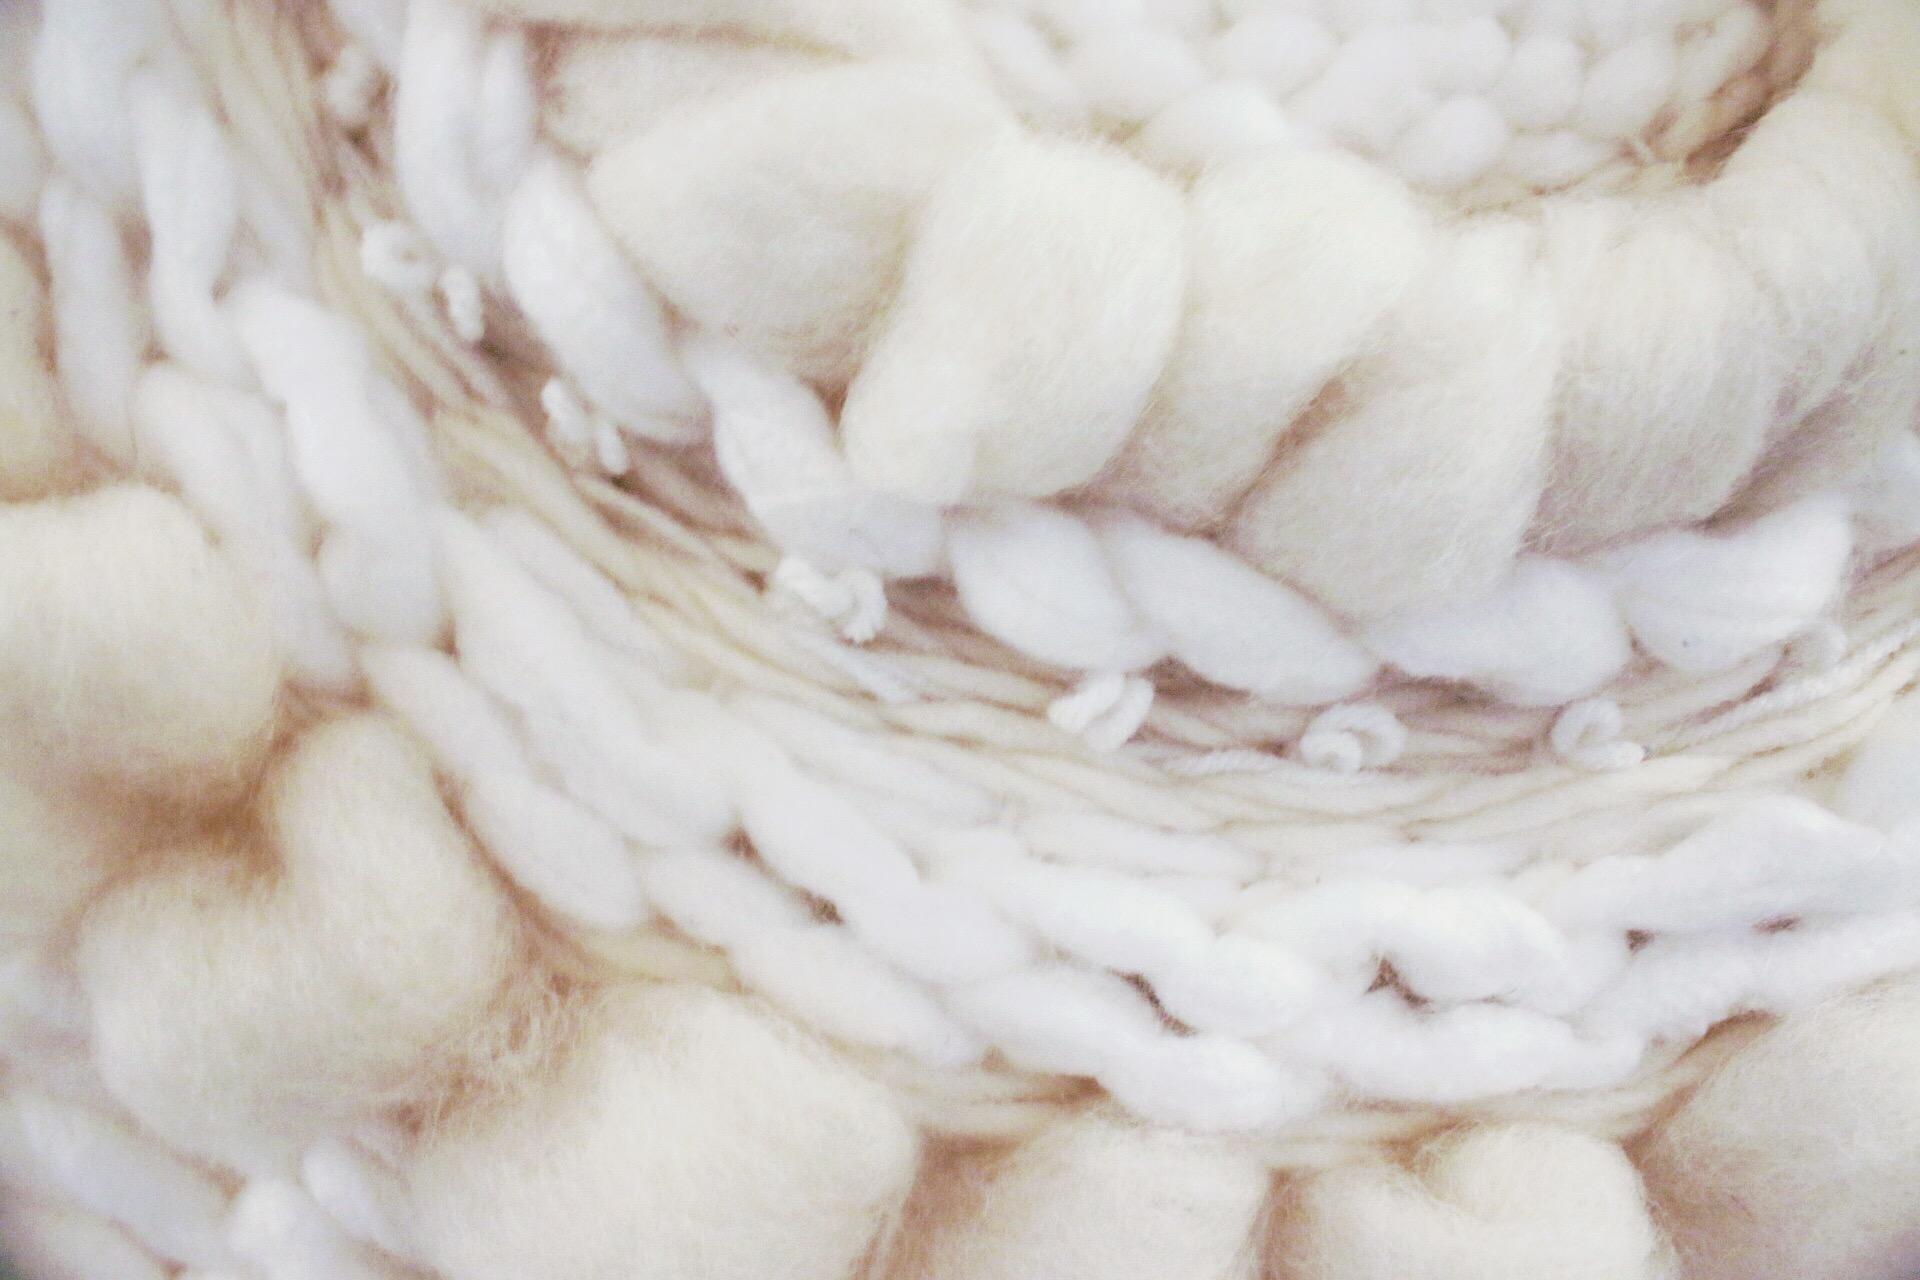
I used theweavingloom.com’s tutorials for plain weave, Soumak braid weave, Soumak chain weave, how to change yarns on a circle loom, how to weave roving, about two lines of loop weave, and twill weave.
Closer toward the end of my work, I decided that I wanted it to be more dynamic in texture, so I added a line of white pom pom garland.
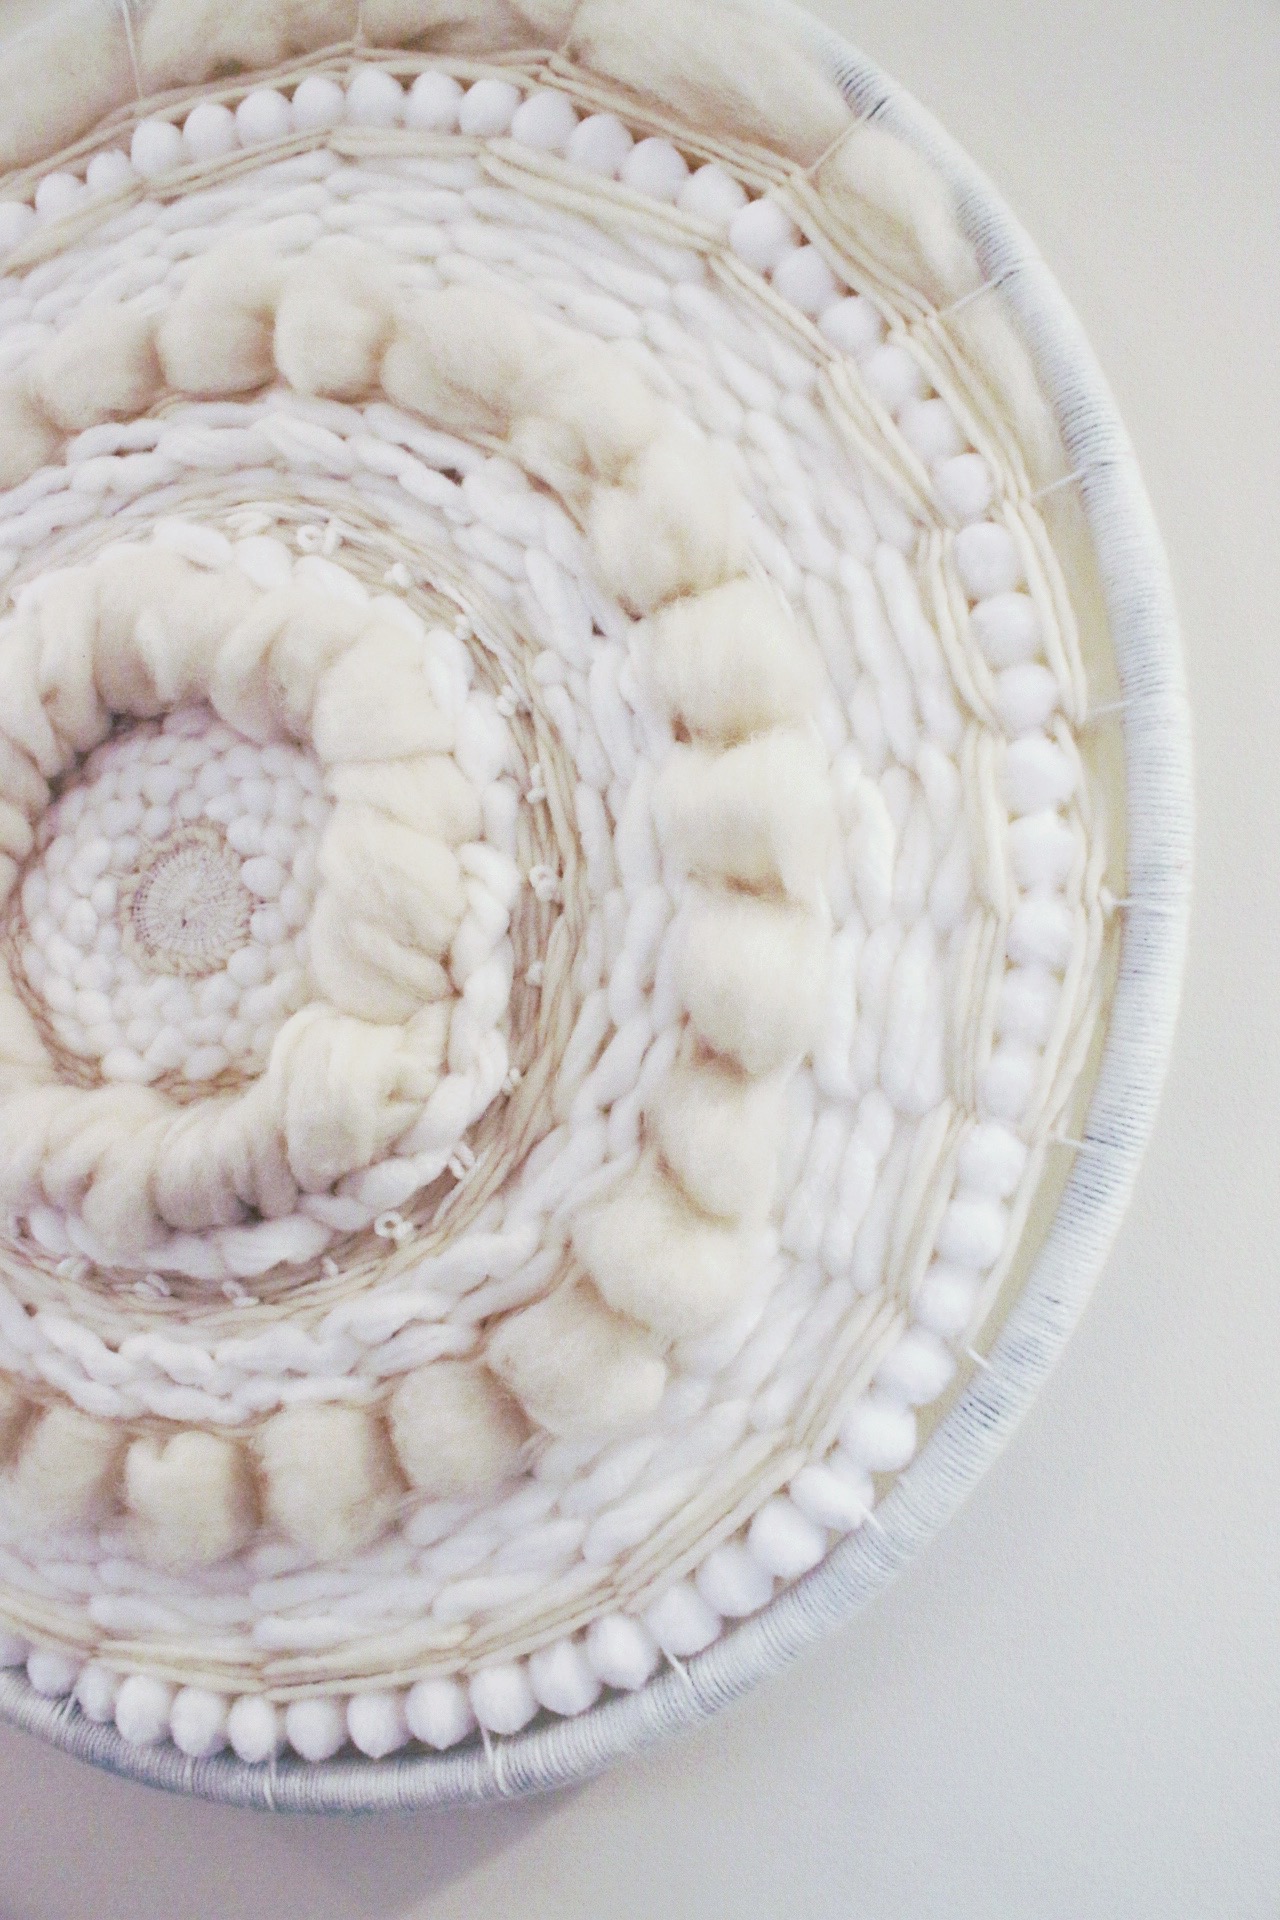
9. Finish off your weave by getting as much yarn off the ball as you can, and wrapping it very tightly between the warp threads, starting about 2 inches from the end of the yarn. I would always wrap it a couple more times between the warp that I thought I needed to, to make sure I didn’t accidentally end up with some gaps.
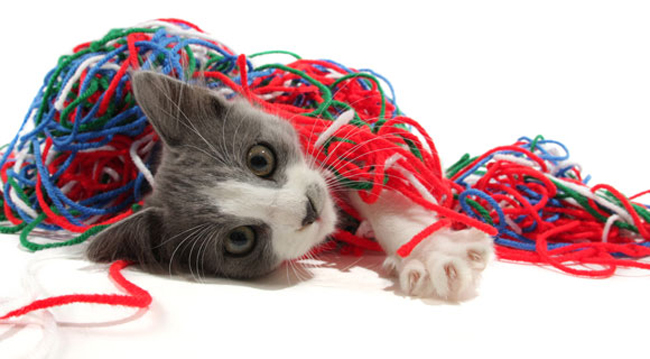
Pro Tip: keep the excess yarn in a neat ball as you wrap it around the hoop. I had a huge mess on my hands before I got the hang of it. In fact, I looked a lot like this:
When I would run out of yarn, I’d just leave about 2 inches on the end, then start up again with the same amount loose. If you’re wrapping it tightly, it won’t unravel.
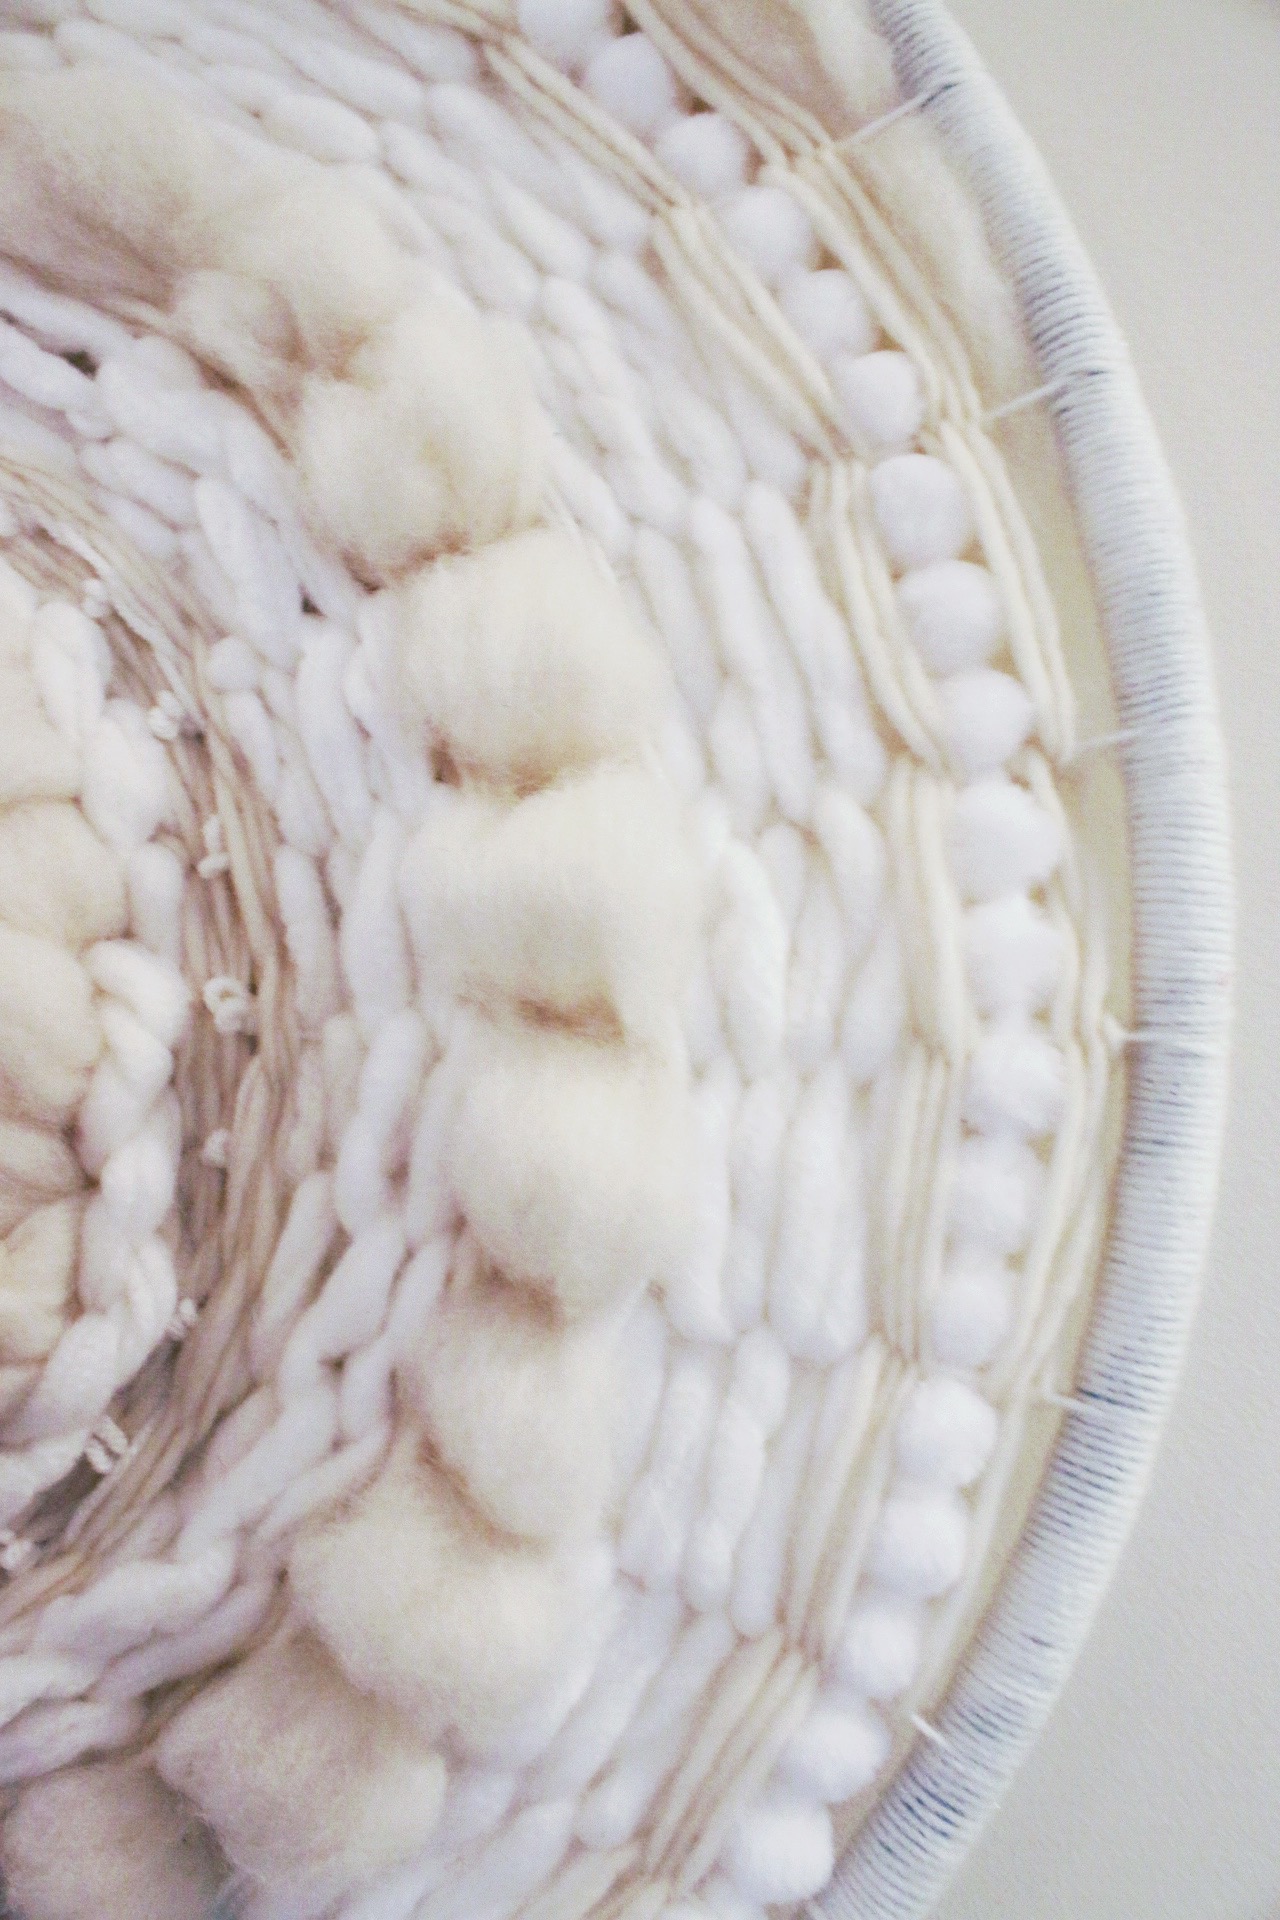
10. Make sure that the ends of the yarn are on the backside, tie them off, and add a drop of hot glue to make sure it’ll stay put.
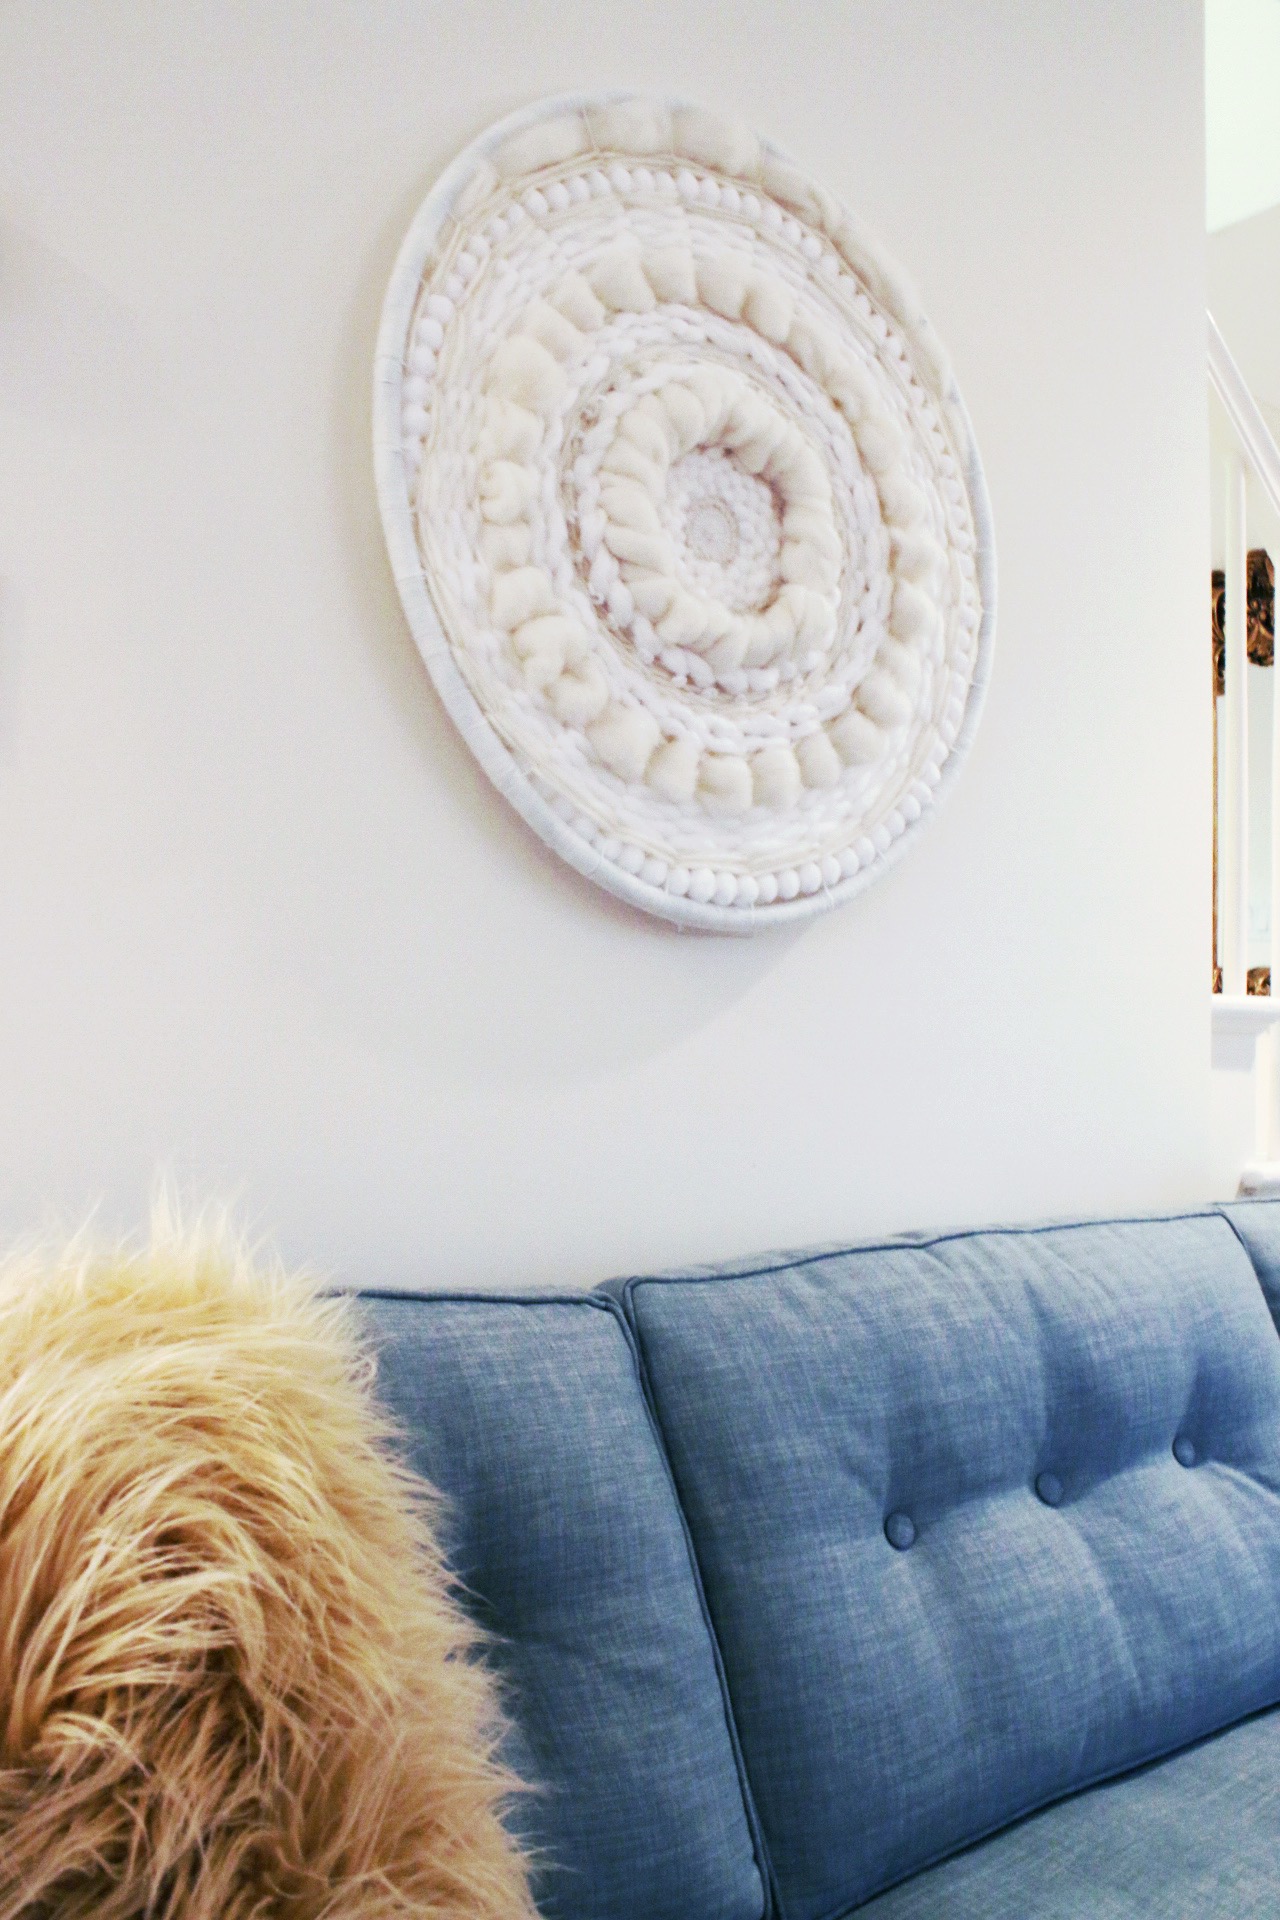
11. Having Roving on the last edge of the weave allowed for me to hang it without seeing the hardware. After it was hung, I puffed out the roving a bit to cover up the hanger. It was hung with a monkey hook, this is the set I own.
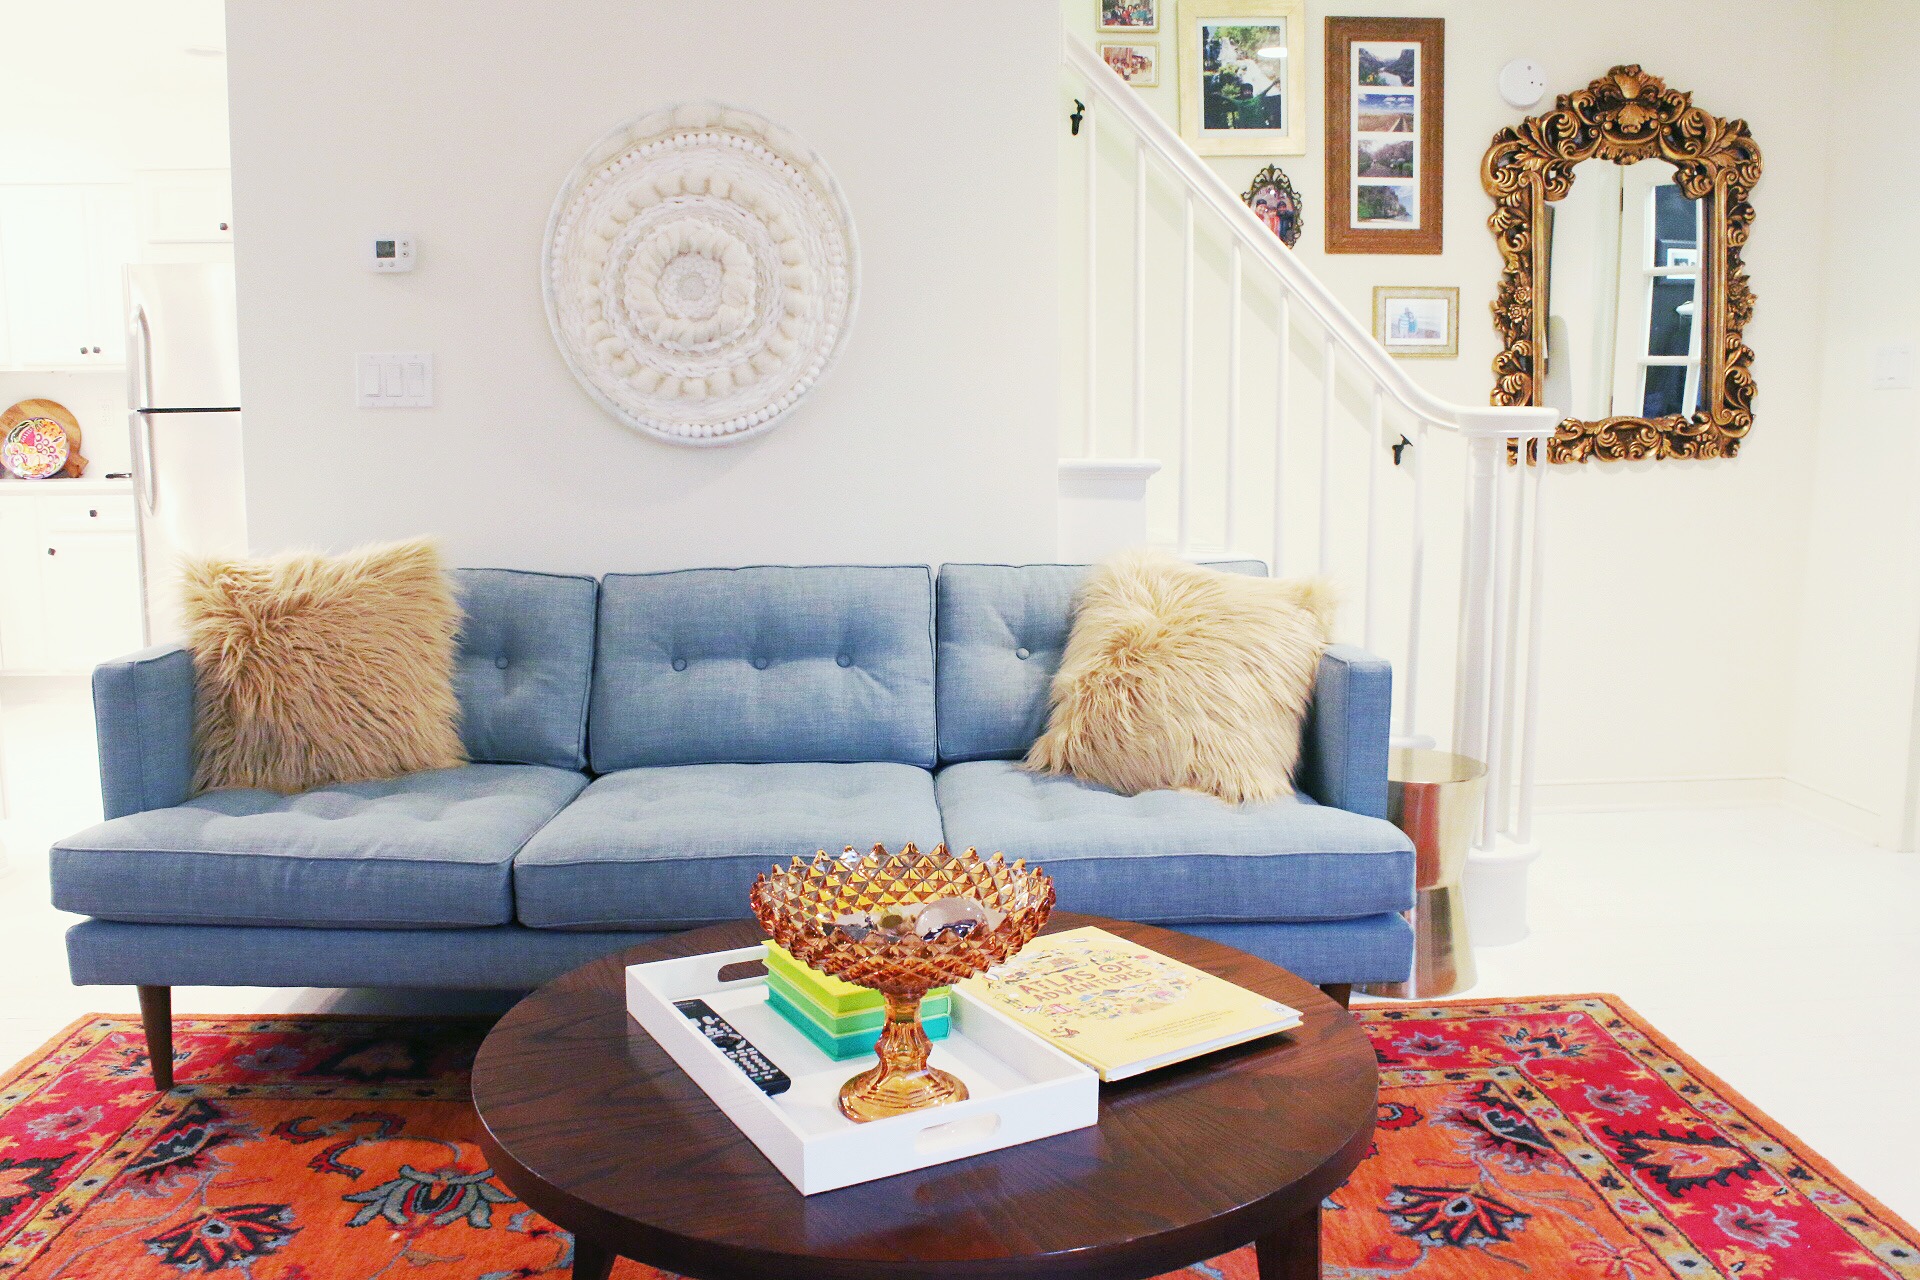
I’ve gotten a few things done since the project plans were written, right? More to come!
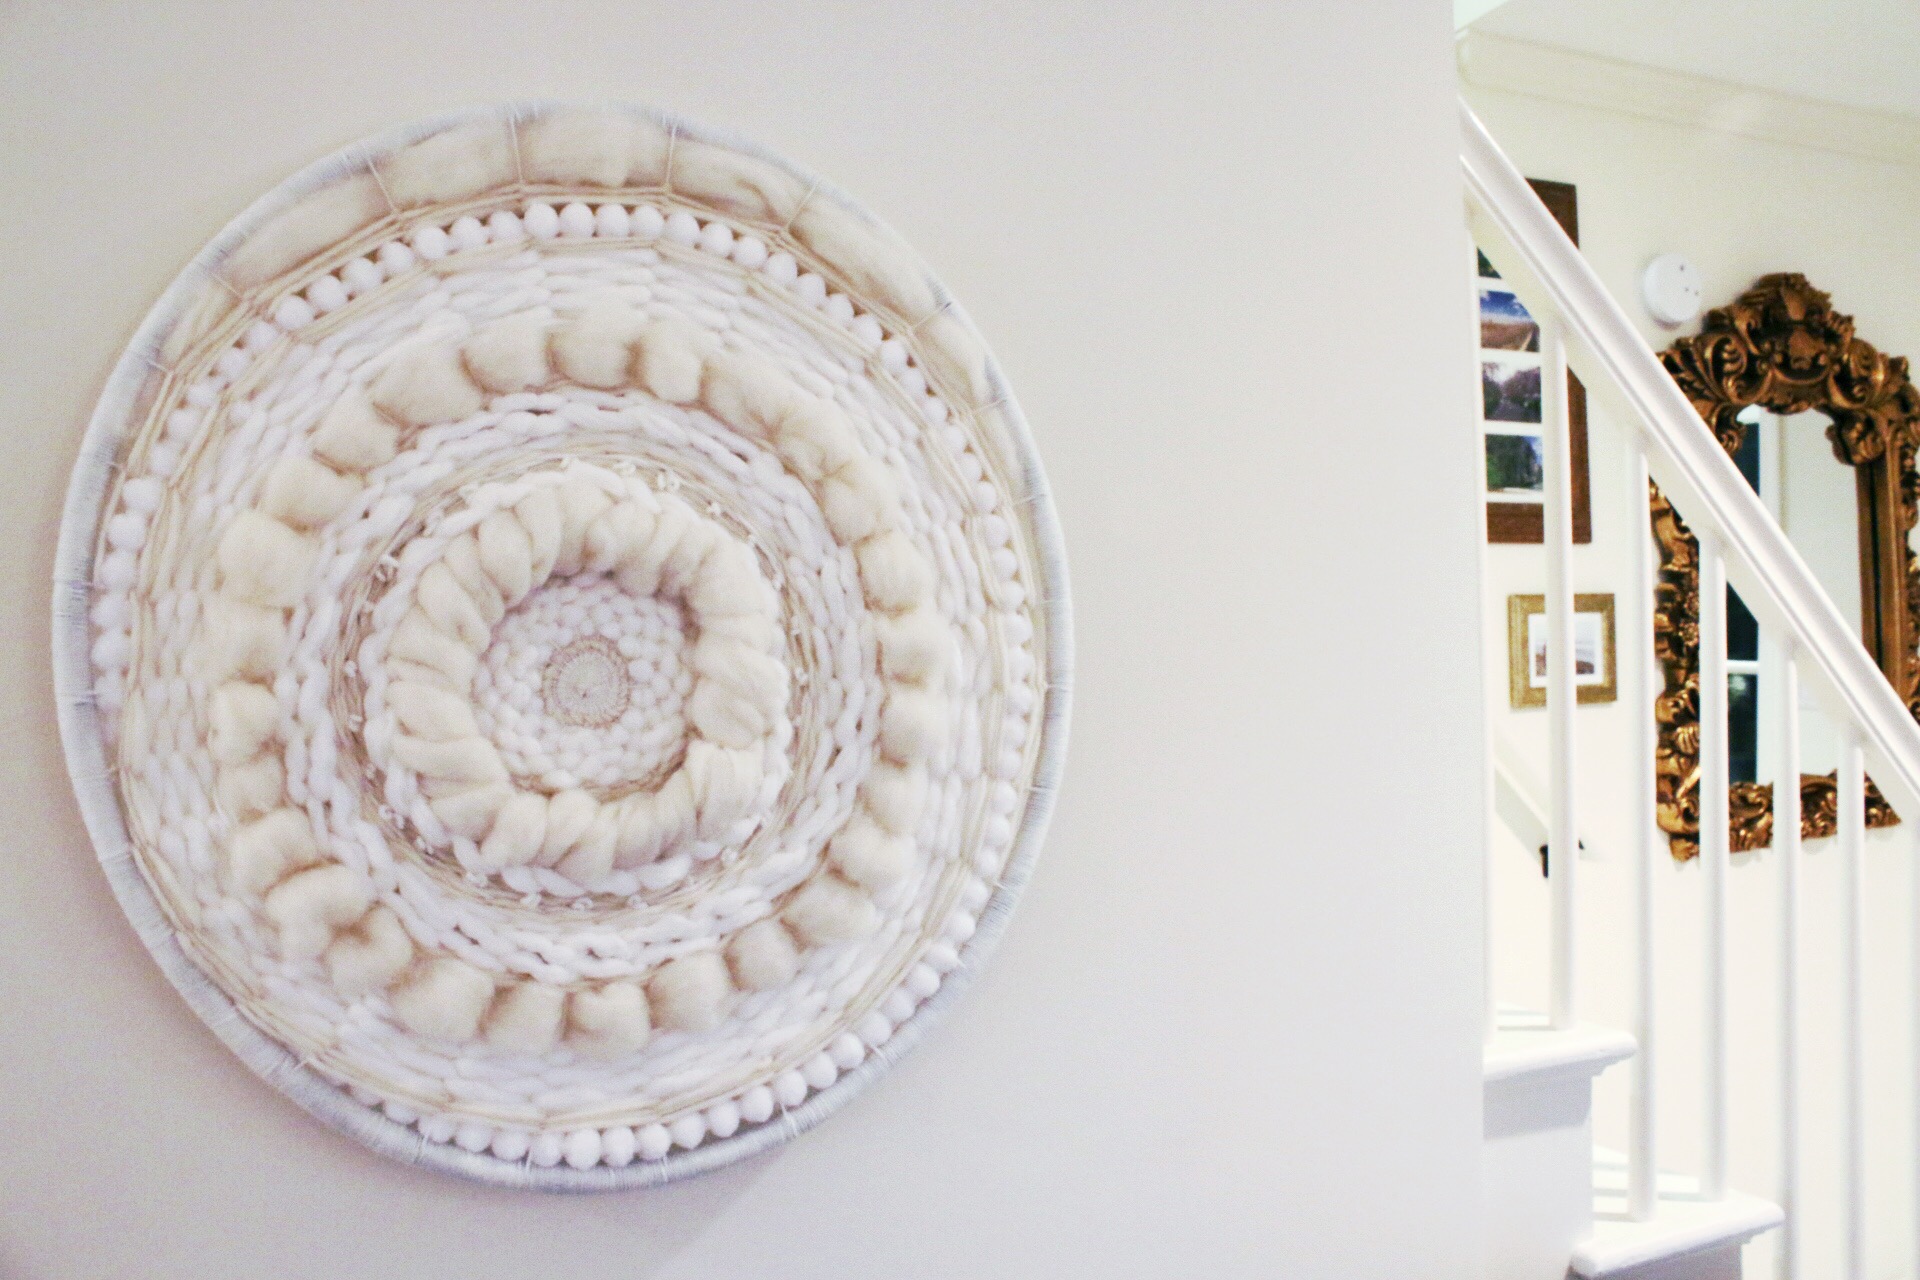
A few hiccups (there are always hiccups):
- If you want the weaving to be perfectly symmetrical, measure to the center before you tie that knot. I realized pretty quickly that my weaving was going to be a “little off,” but I knew I would prefer the visual interest that it would add. Ok, that kind of reads like “It’s not a bug, it’s a feature.” But I really do like it!
- Next time, I’m going to an alpaca farm. Not only are they my favorite animal in the whole world, but I’m certain I would have gotten a higher quality product at a great price point. Apparently not even the most perfect creature can stop me from hermit tendencies when there’s less than ideal weather.
- When I first decided on a hula hoop being the biggest hoop I could think of to weave on, I was disappointed at the price of the hoops online. I imagine it’s costly to ship such a large item. Right now is the time of year to go out there and buy your hula hoop! I got mine at Michael’s.
- I may start the project with a spray painted hula hoop, so it will looked finished without wrapping it next time. It was the most tedious part of the process, and I think it could look better without it.
- This isn’t a quick project. Make sure you set some time aside and you don’t have a lot of chores or a hungry family looming over you. (See what I did there? WEAVING PUNS.)
I really like this project, and I’m thinking about making more. If you’re not the DIY type, is this something you would buy? Let me know in the comments.


Hi there! Nice to meet you. Thanks for stopping by my site and please come back soon. I really like how you cover different topics on yours. I love your enthusiasm! It’s contagious very nice site.
What an awesome thing to say! I just followed your blog, so I’ll be looking forward to your future posts as well.
Nice to meet you 🙂
Thank you, I always welcome new blogging friends and love to have input or feedback as I’m new to blogging. Your site looks so professional I’m sure I could learn some things from you.
You’re too sweet! I blogged for businesses for a little over a year but I also have so much to learn about personal and lifestyle blogging. If you have any questions, I’ll be happy to answer!
Wonderful, thank you!
This is so heavenly!!! What a fantastic project! I can’t believe it’s your first time weaving, this seriously looks pro.
xox
Thank you! I’m beaming. It just goes to show how simple the project is, anyone could give it a try.
Hi Kelsie, I can’t believe this is your first weave, it’s so good! And what a great idea to use a hola-hoop to make it a huge weave, I love it! Thanks for all your nice comments and sharing my tutorials.
Thank YOU for being such a great resource for newbie weavers like me! It’s great that you have so much information in one place. Thanks for reading my blog 🙂
Wow! Gorgeous! Excellent job! And I love that you include tips on what you learned. 🙂
This is fabulous! And I love the variety of textures
[…] the blog post about making woven art with a hula hoop? I had that piece hanging above my couch for all of these months, but there was one thing that was […]
[…] may remember my post about using a hula hoop for a grand scale weaving and how I finished it off. The flowered tapestry is one I bought from Peru, soon to be hung […]
[…] Only tying knots. For the center part, it took about an hour and little to no thought. When I made the circular weave and expanded it to make large scale woven art, I was surprised how many people commended me for […]
[…] a wider shot of the living room. In it you can see the weaving that I created with a hula hoop. Going through these pictures is making me so […]
[…] I used scrap fabric from a previous costume for that part, and leftover materials from my DIY circle weave from a hula hoop to create the tentacles. The only items purchased new for these costumes were battery powered fairy […]
[…] years later, my large scale circular woven art with a hula hoop is still a popular post. If you’re a longtime reader, you may remember it from my old midcentury […]