DIY Large Circular Yin Yang Weaving Wall Art
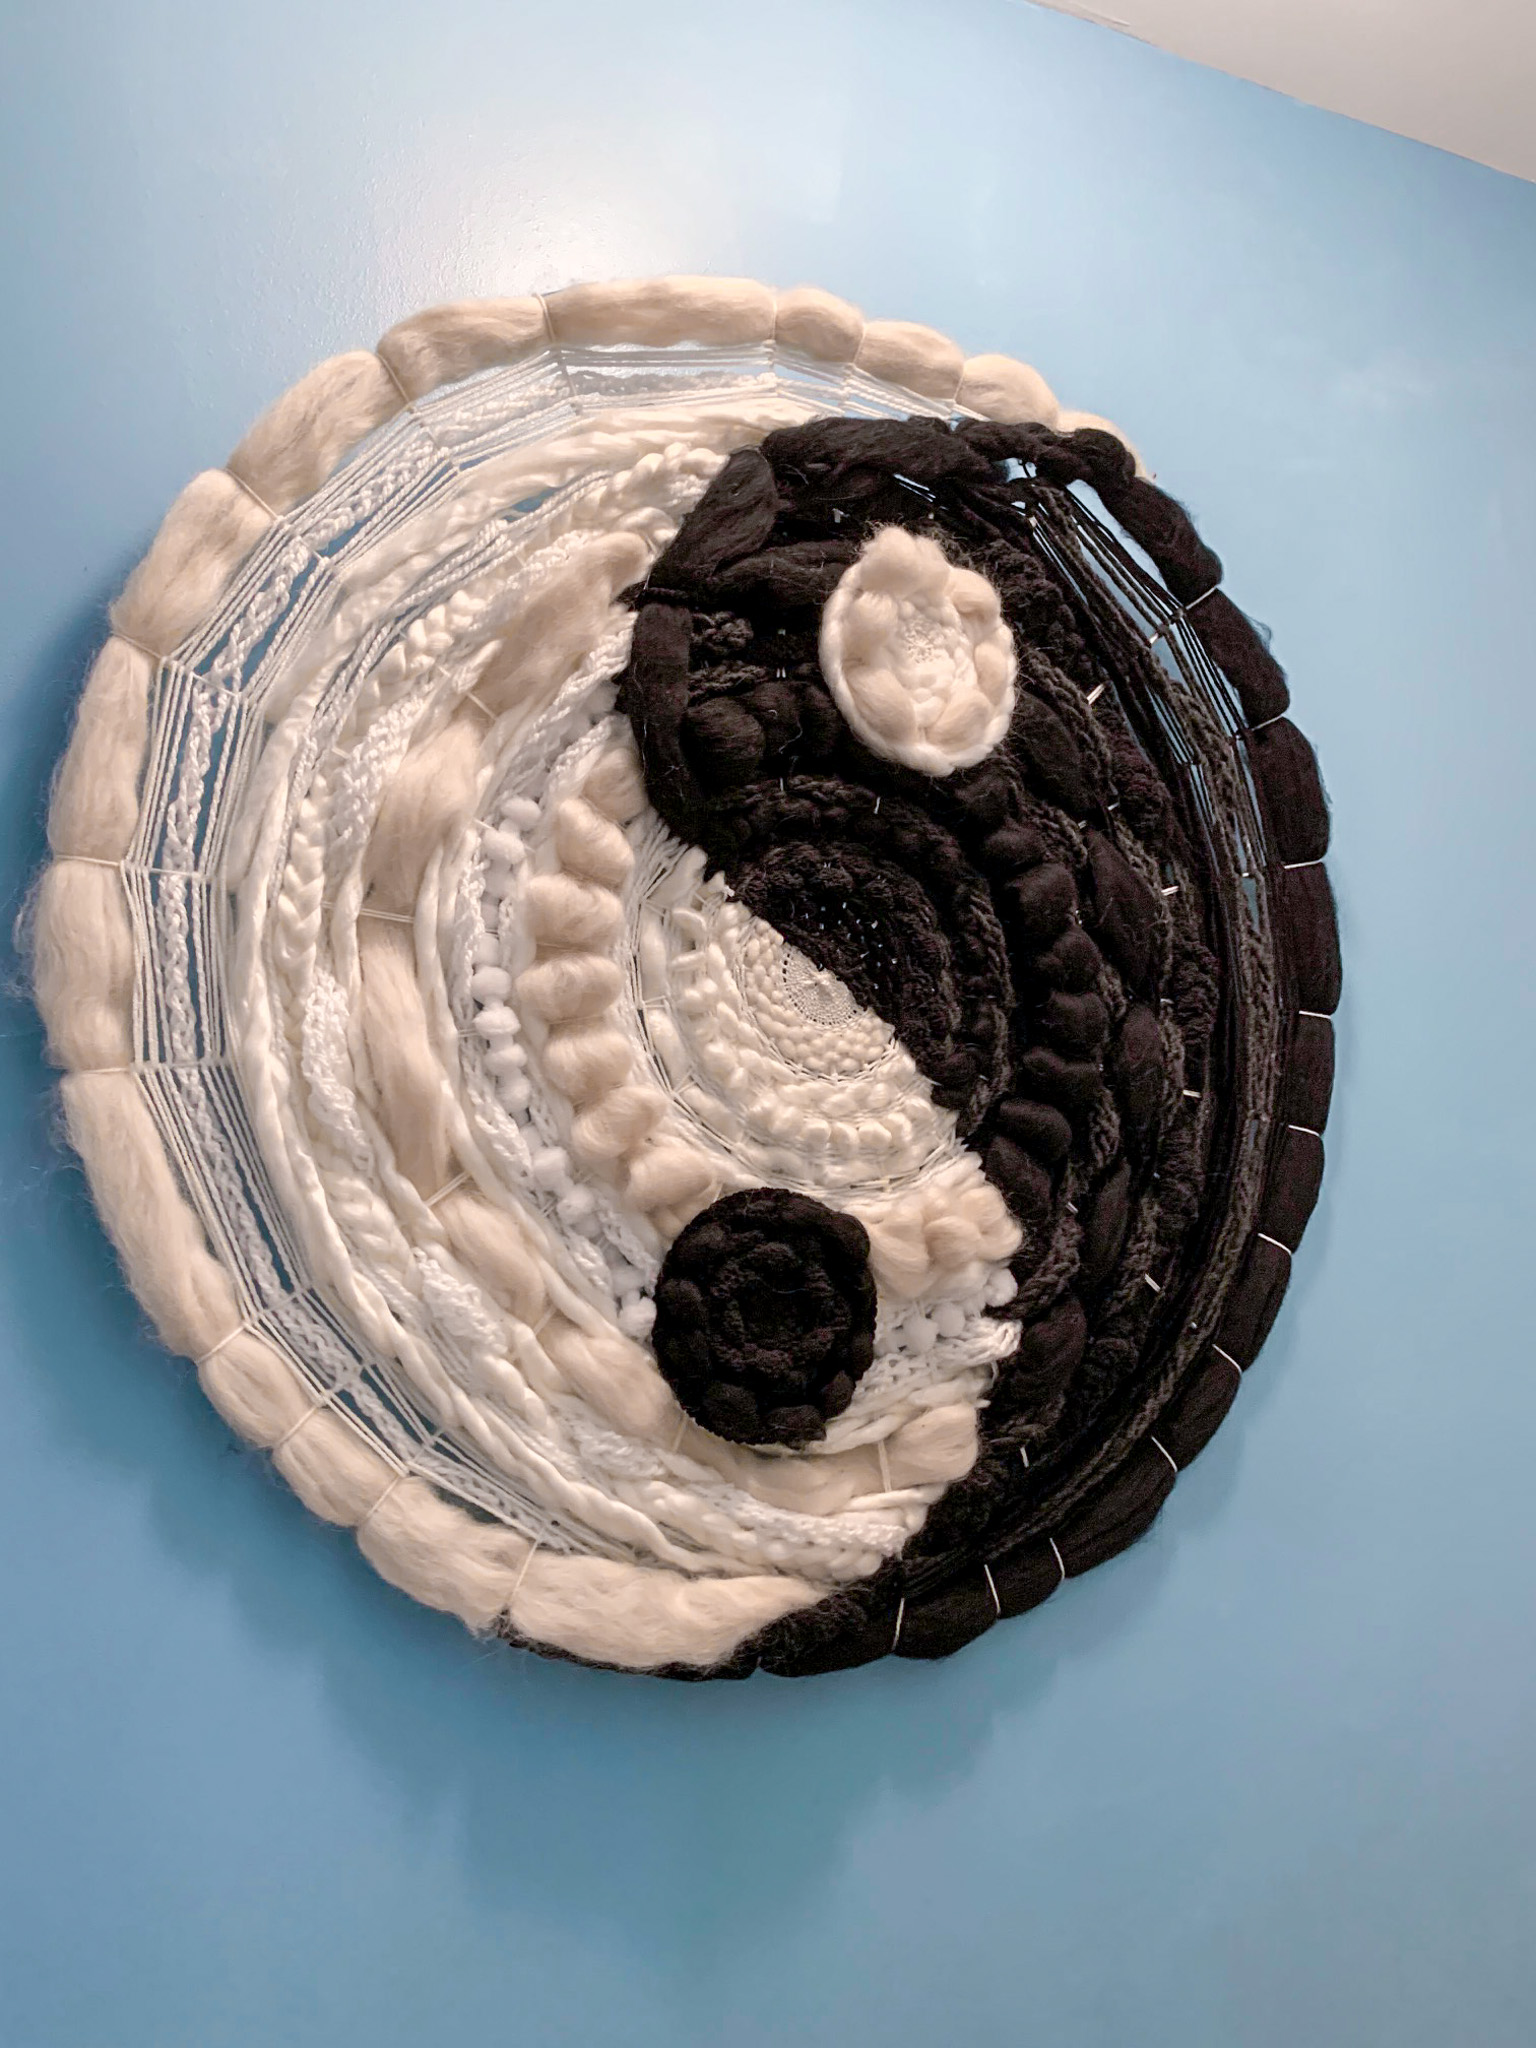
Several years later, my large scale circular woven art with a hula hoop is still a popular post. If you’re a longtime reader, you may remember it from my old midcentury modern inspired living room or when I added framed it out. Now it hangs in my master bath.
But I also have another large scale circular weaving! This one didn’t involve a hula hoop—hula hoops are limiting to work with because they’re only available to purchase in stores seasonally and they only come in a few sizes.
A Yin Yang?
Yin Yangs came back into fashion when the 90’s and Y2K blasted into the future, but it’s not a trend I followed blindly. I made this a few years ago because as the symbol reemerged, I got to thinking about the image and its meaning.
My Marriage
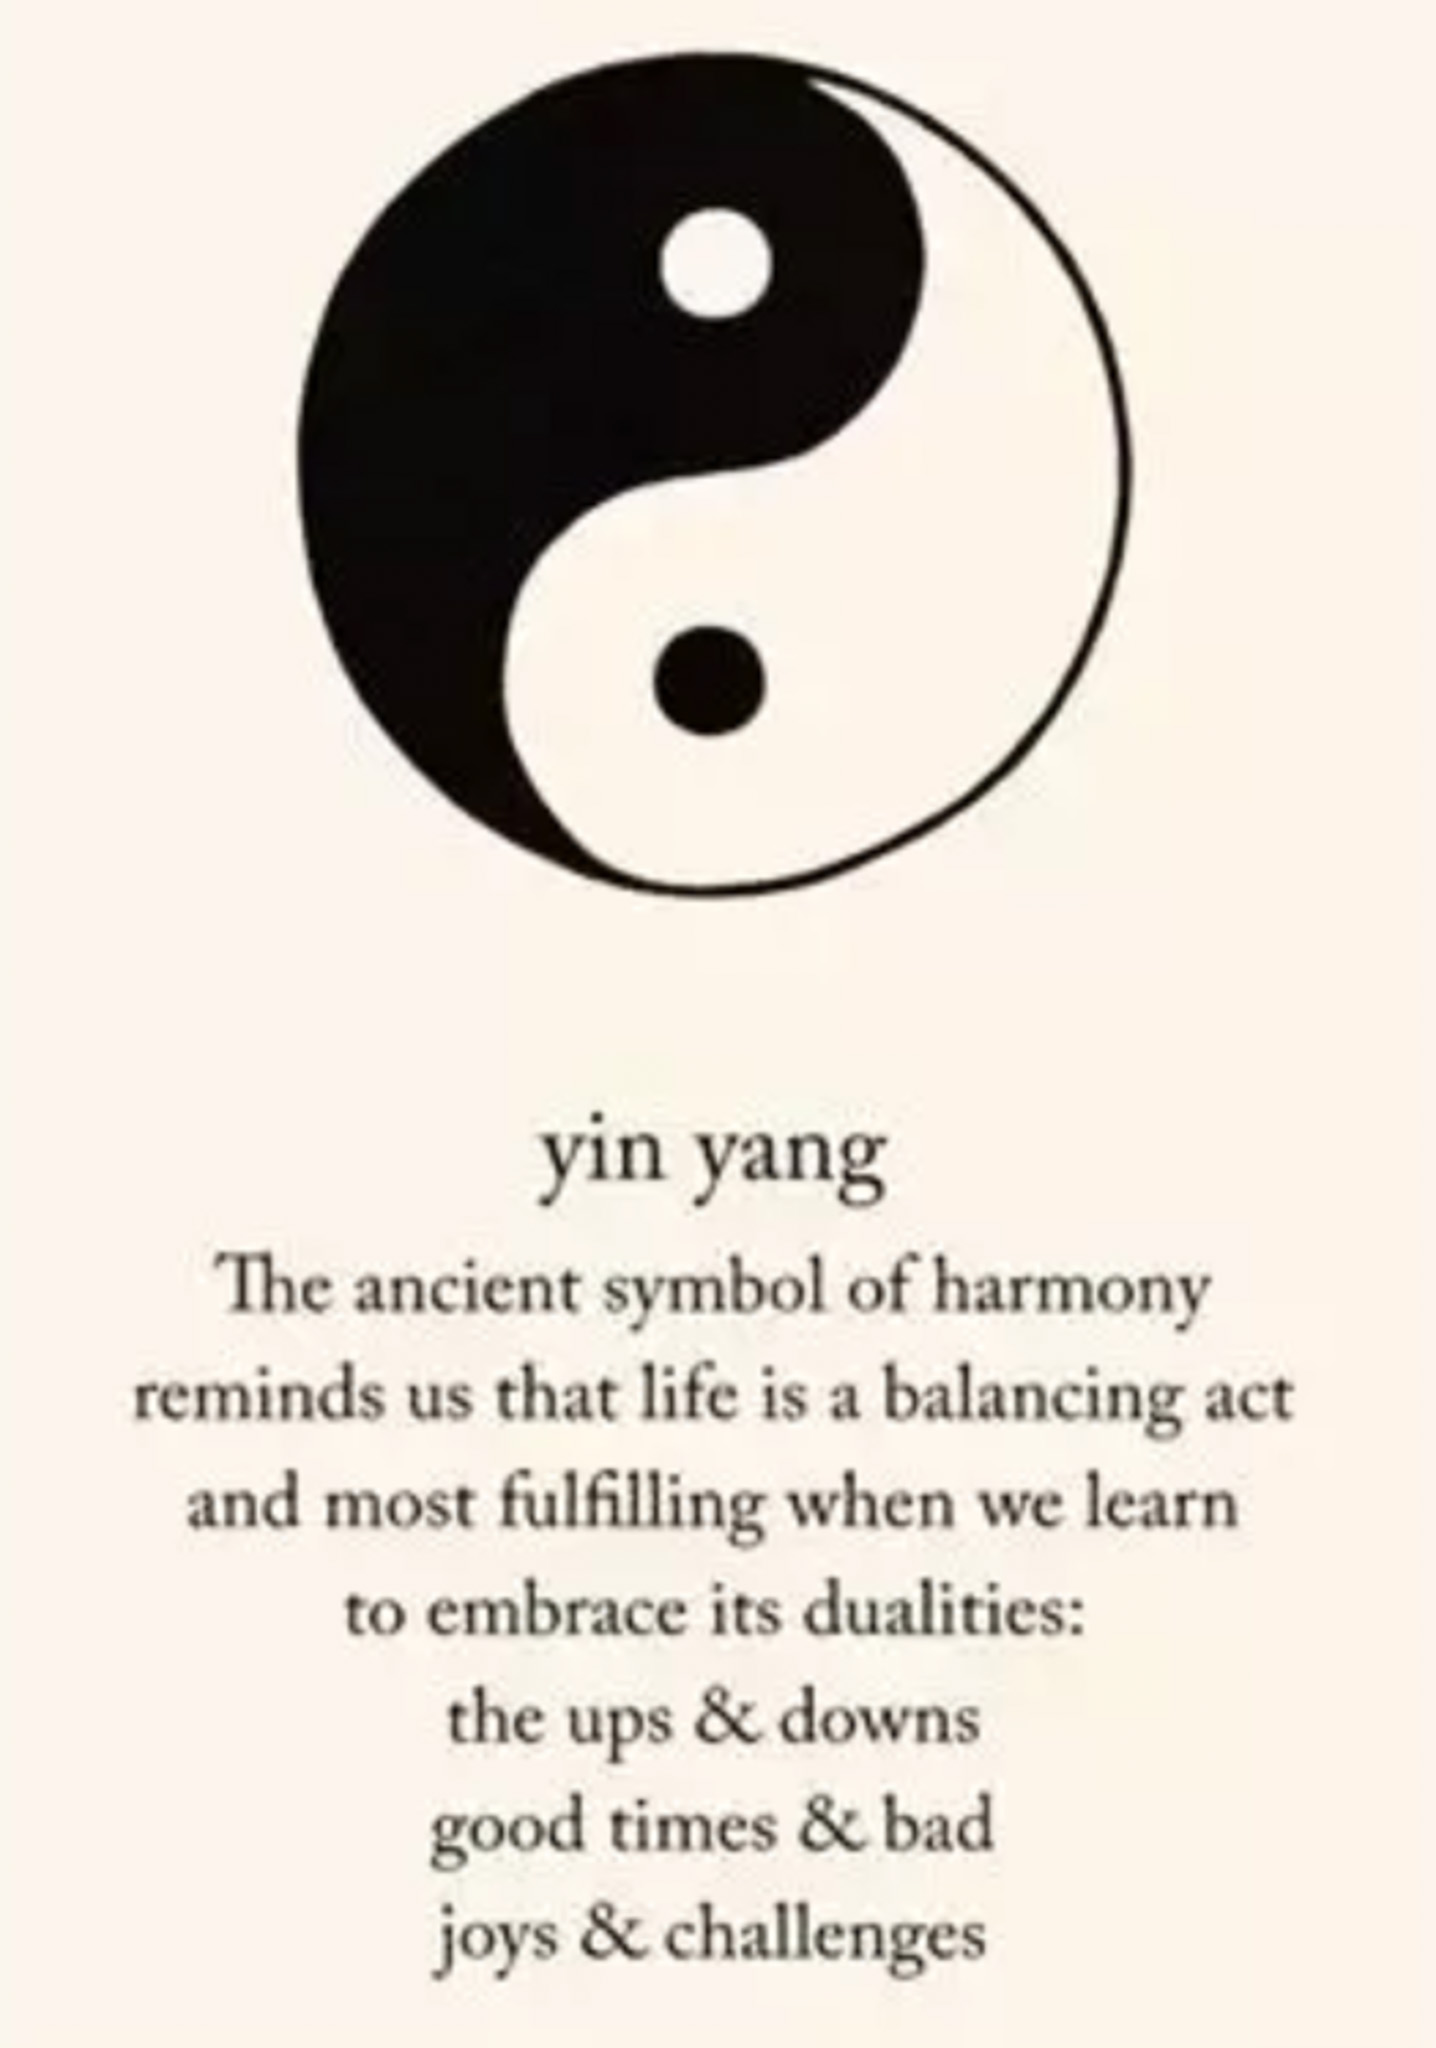
My husband and I are very different. Major opposites attract vibes. He’s nerdy, I’m wordy. He’s left brained, I’m right. I’m always right. (I kid!) I created this to honor the differences we have–that I’m yin and he’s yang and our differences should be honored because it is through them that we constitute something greater than we would on our own. Better together, if you will.
Everything in Nature
…is based off of this dualistic principle: all forms of energy have an equally powerful opposing energy. The Yin Yang’s components are complimentary equal: neither can exist without the other, and as such, one cannot be superior.
Yin Yang teaches us that the key to existence is balance in everything.

Materials:
- flexible piping tube
- coupling fitting
- Wire
- wire cutters
- Black Yarn of varying thicknesses
- White Yarn of various thicknesses
- Black roving
- White roving
- pipe cleaner
- scissors
For Hanging
- 2 D-ring hangers
- Screwdriver
- 2 nails
- measuring tape
How to Make a DIY Large Circular Yin Yang Weaving
Main Weaving
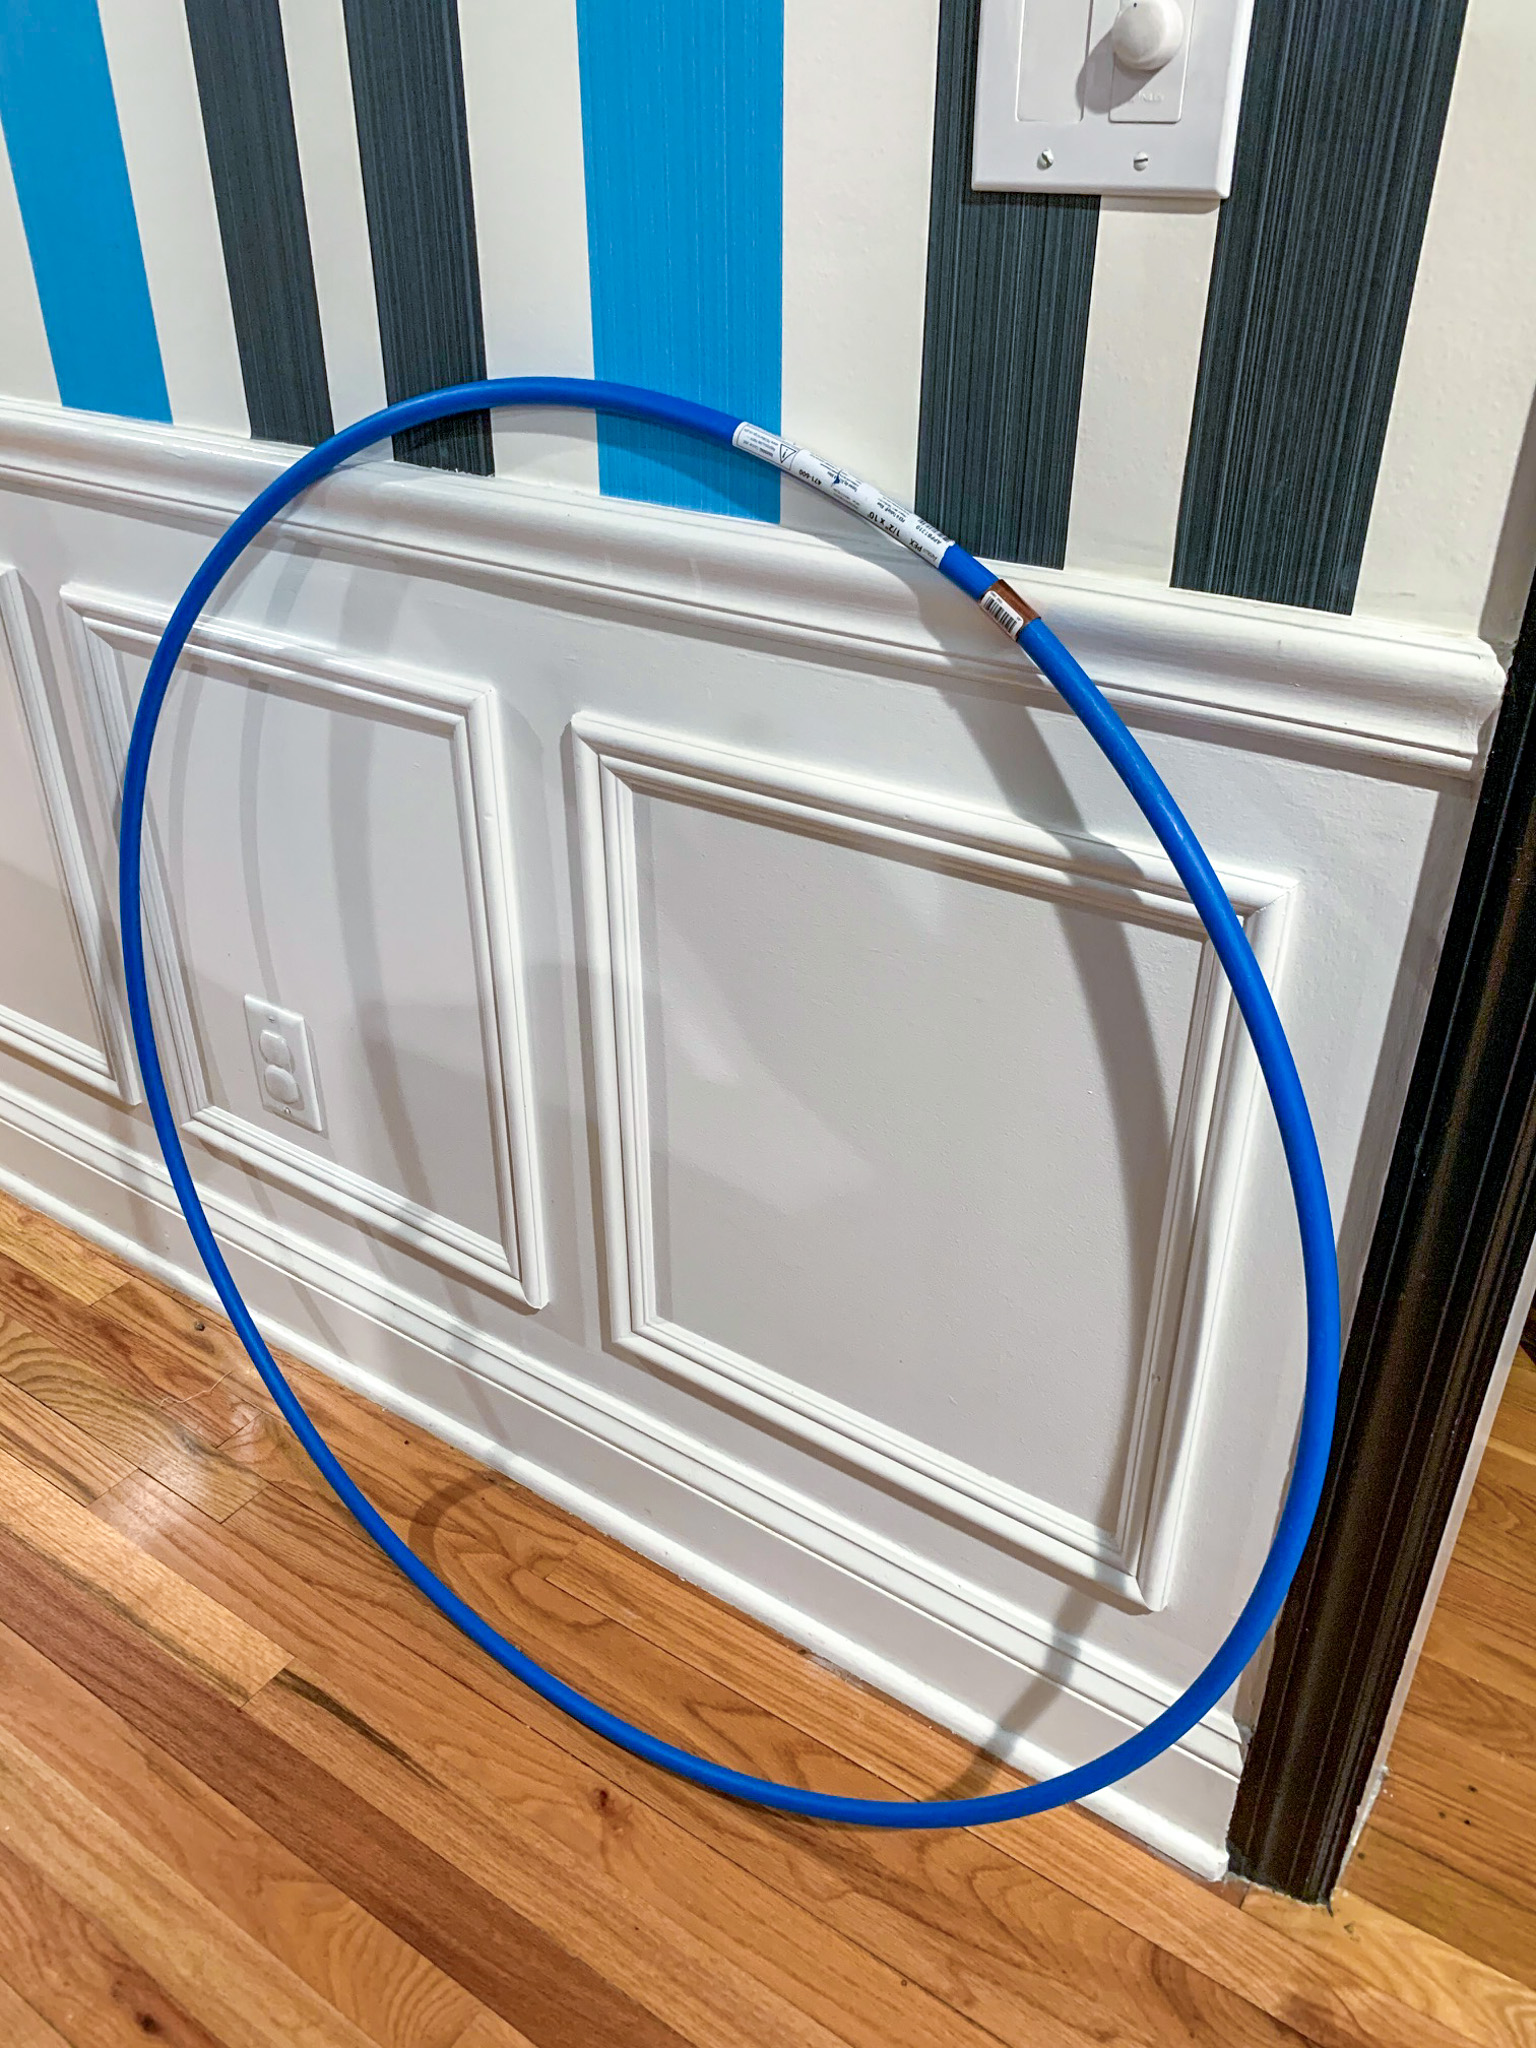
1. Flex the piping tube to make a circle shape. Depending on the desired size of the circular weaving you’re creating, you may want to cut it smaller.
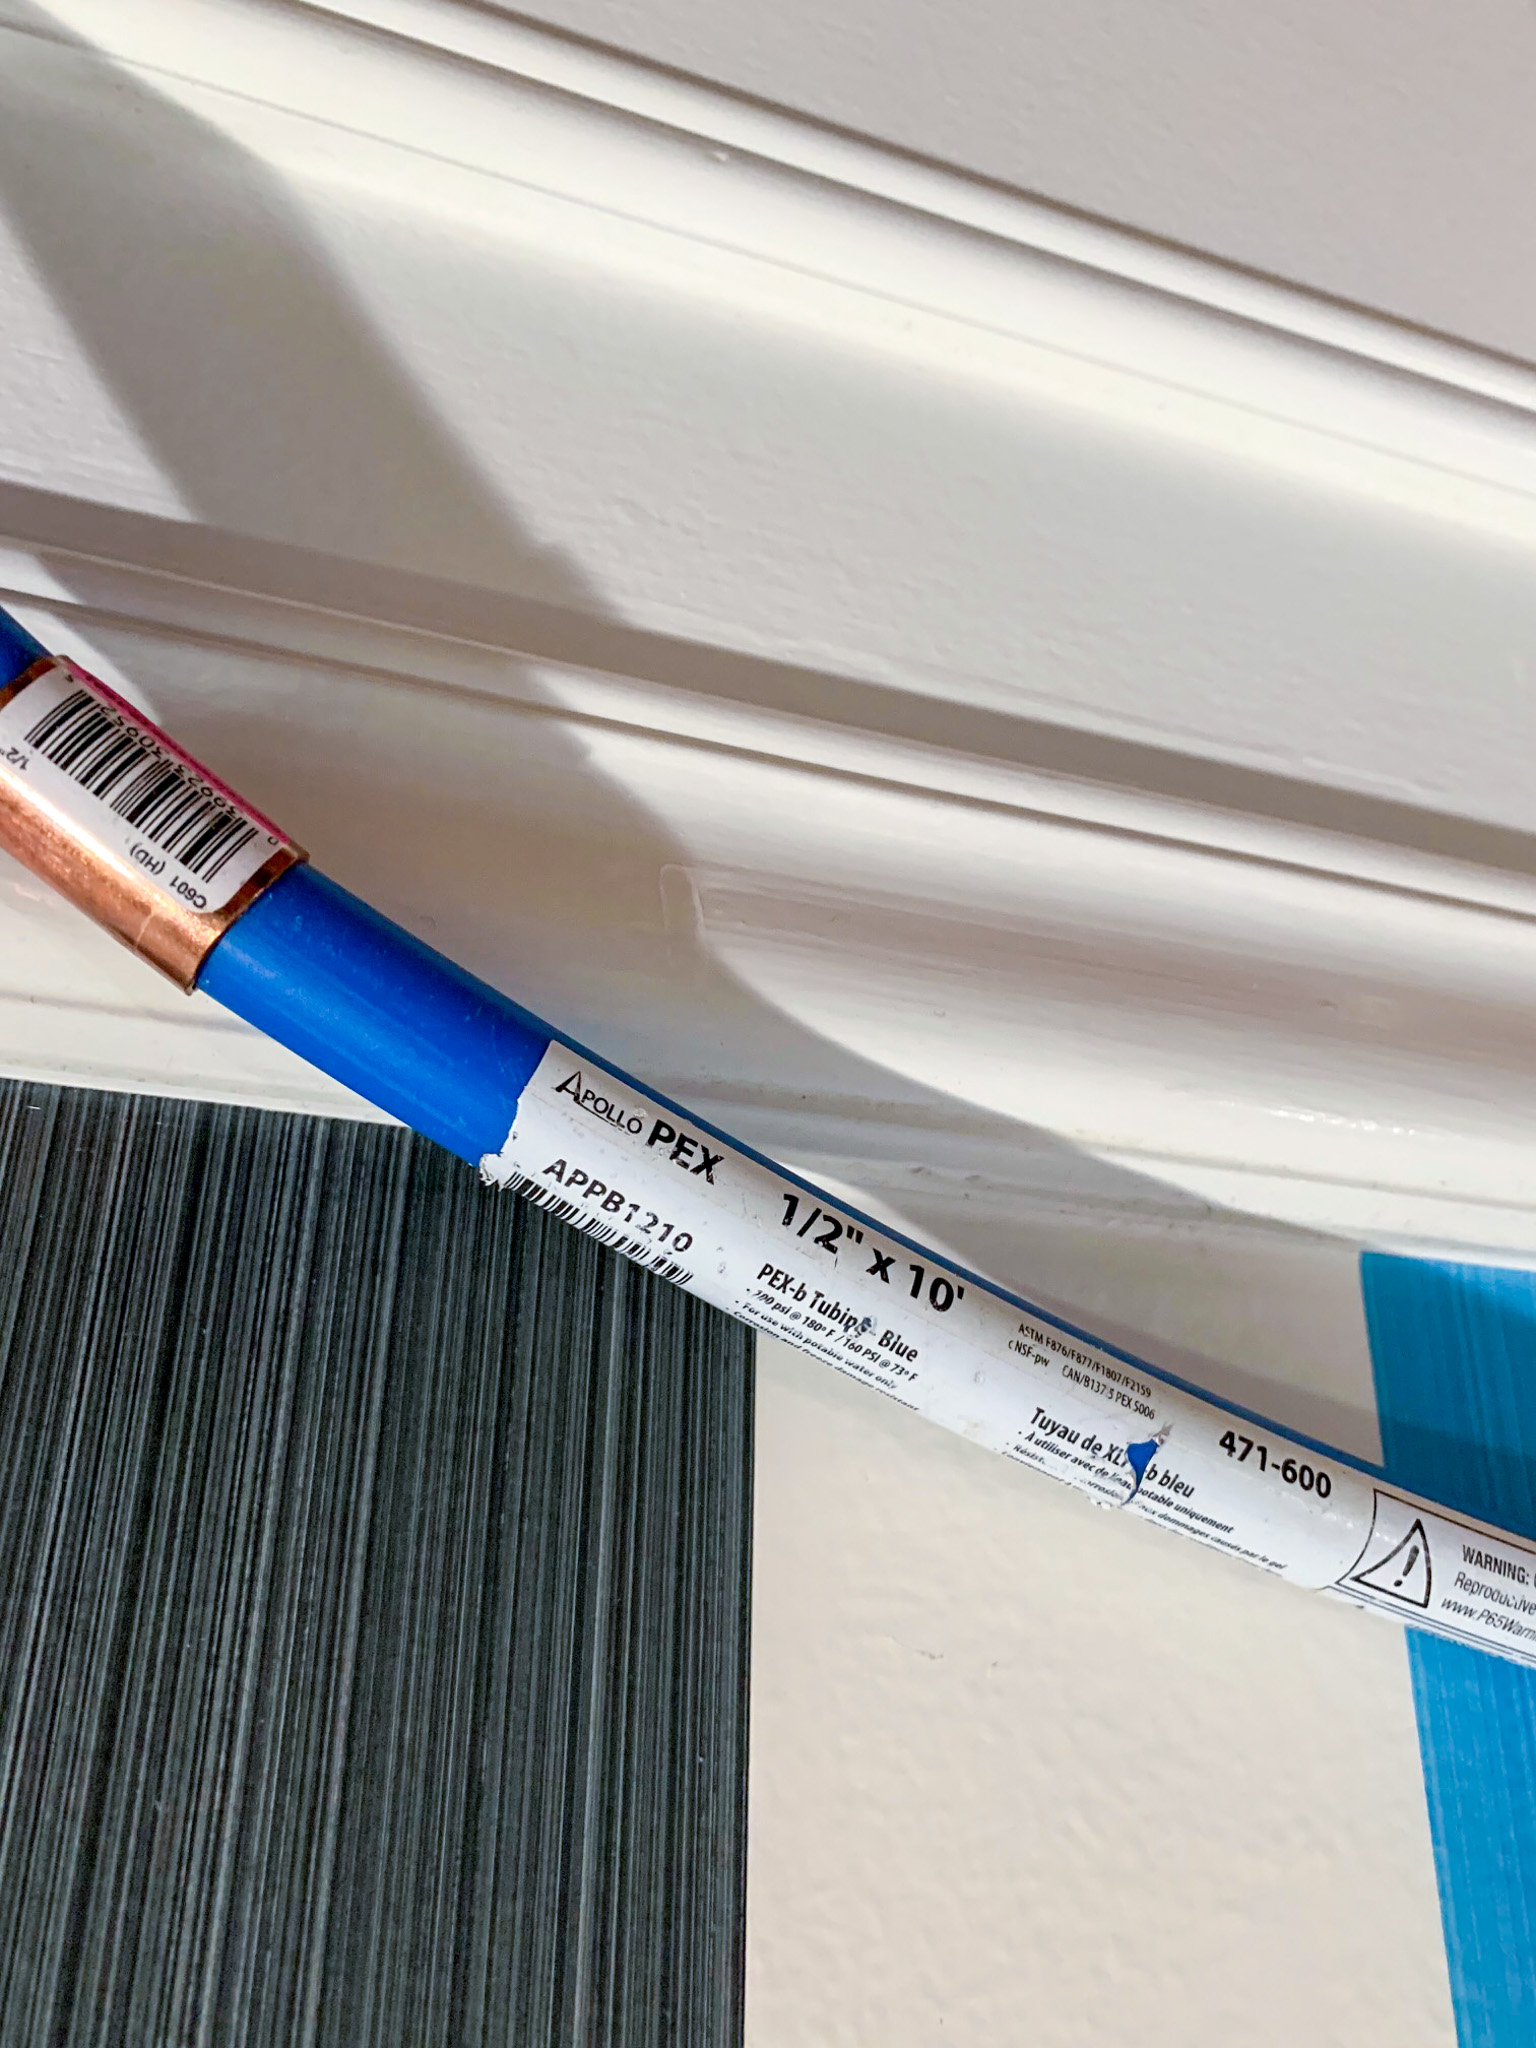
2. Use a coupling fitting to connect one side of the piping to the other. Alternatively, you could use multiple couplings with more pipe and create something of enormous proportions. But, that would take a lot of yarn, time, roving, and thus, money.
3. Follow theweavingloom.com‘s instructions for using an embroidery hoop as a loom.

4. After your hoop looks a bit like that smaller version above, bring that yarn back through and tie it tightly(!) across all of the crossing strands. You want this really tight so everything will stay in place. Cut that piece of yarn. These strands that cross the base are called the warp thread.
5. Begin weaving your smallest white yarn tightly all around the center knot. Over, under, over under. You want to get quite a few rounds in to secure that knot.
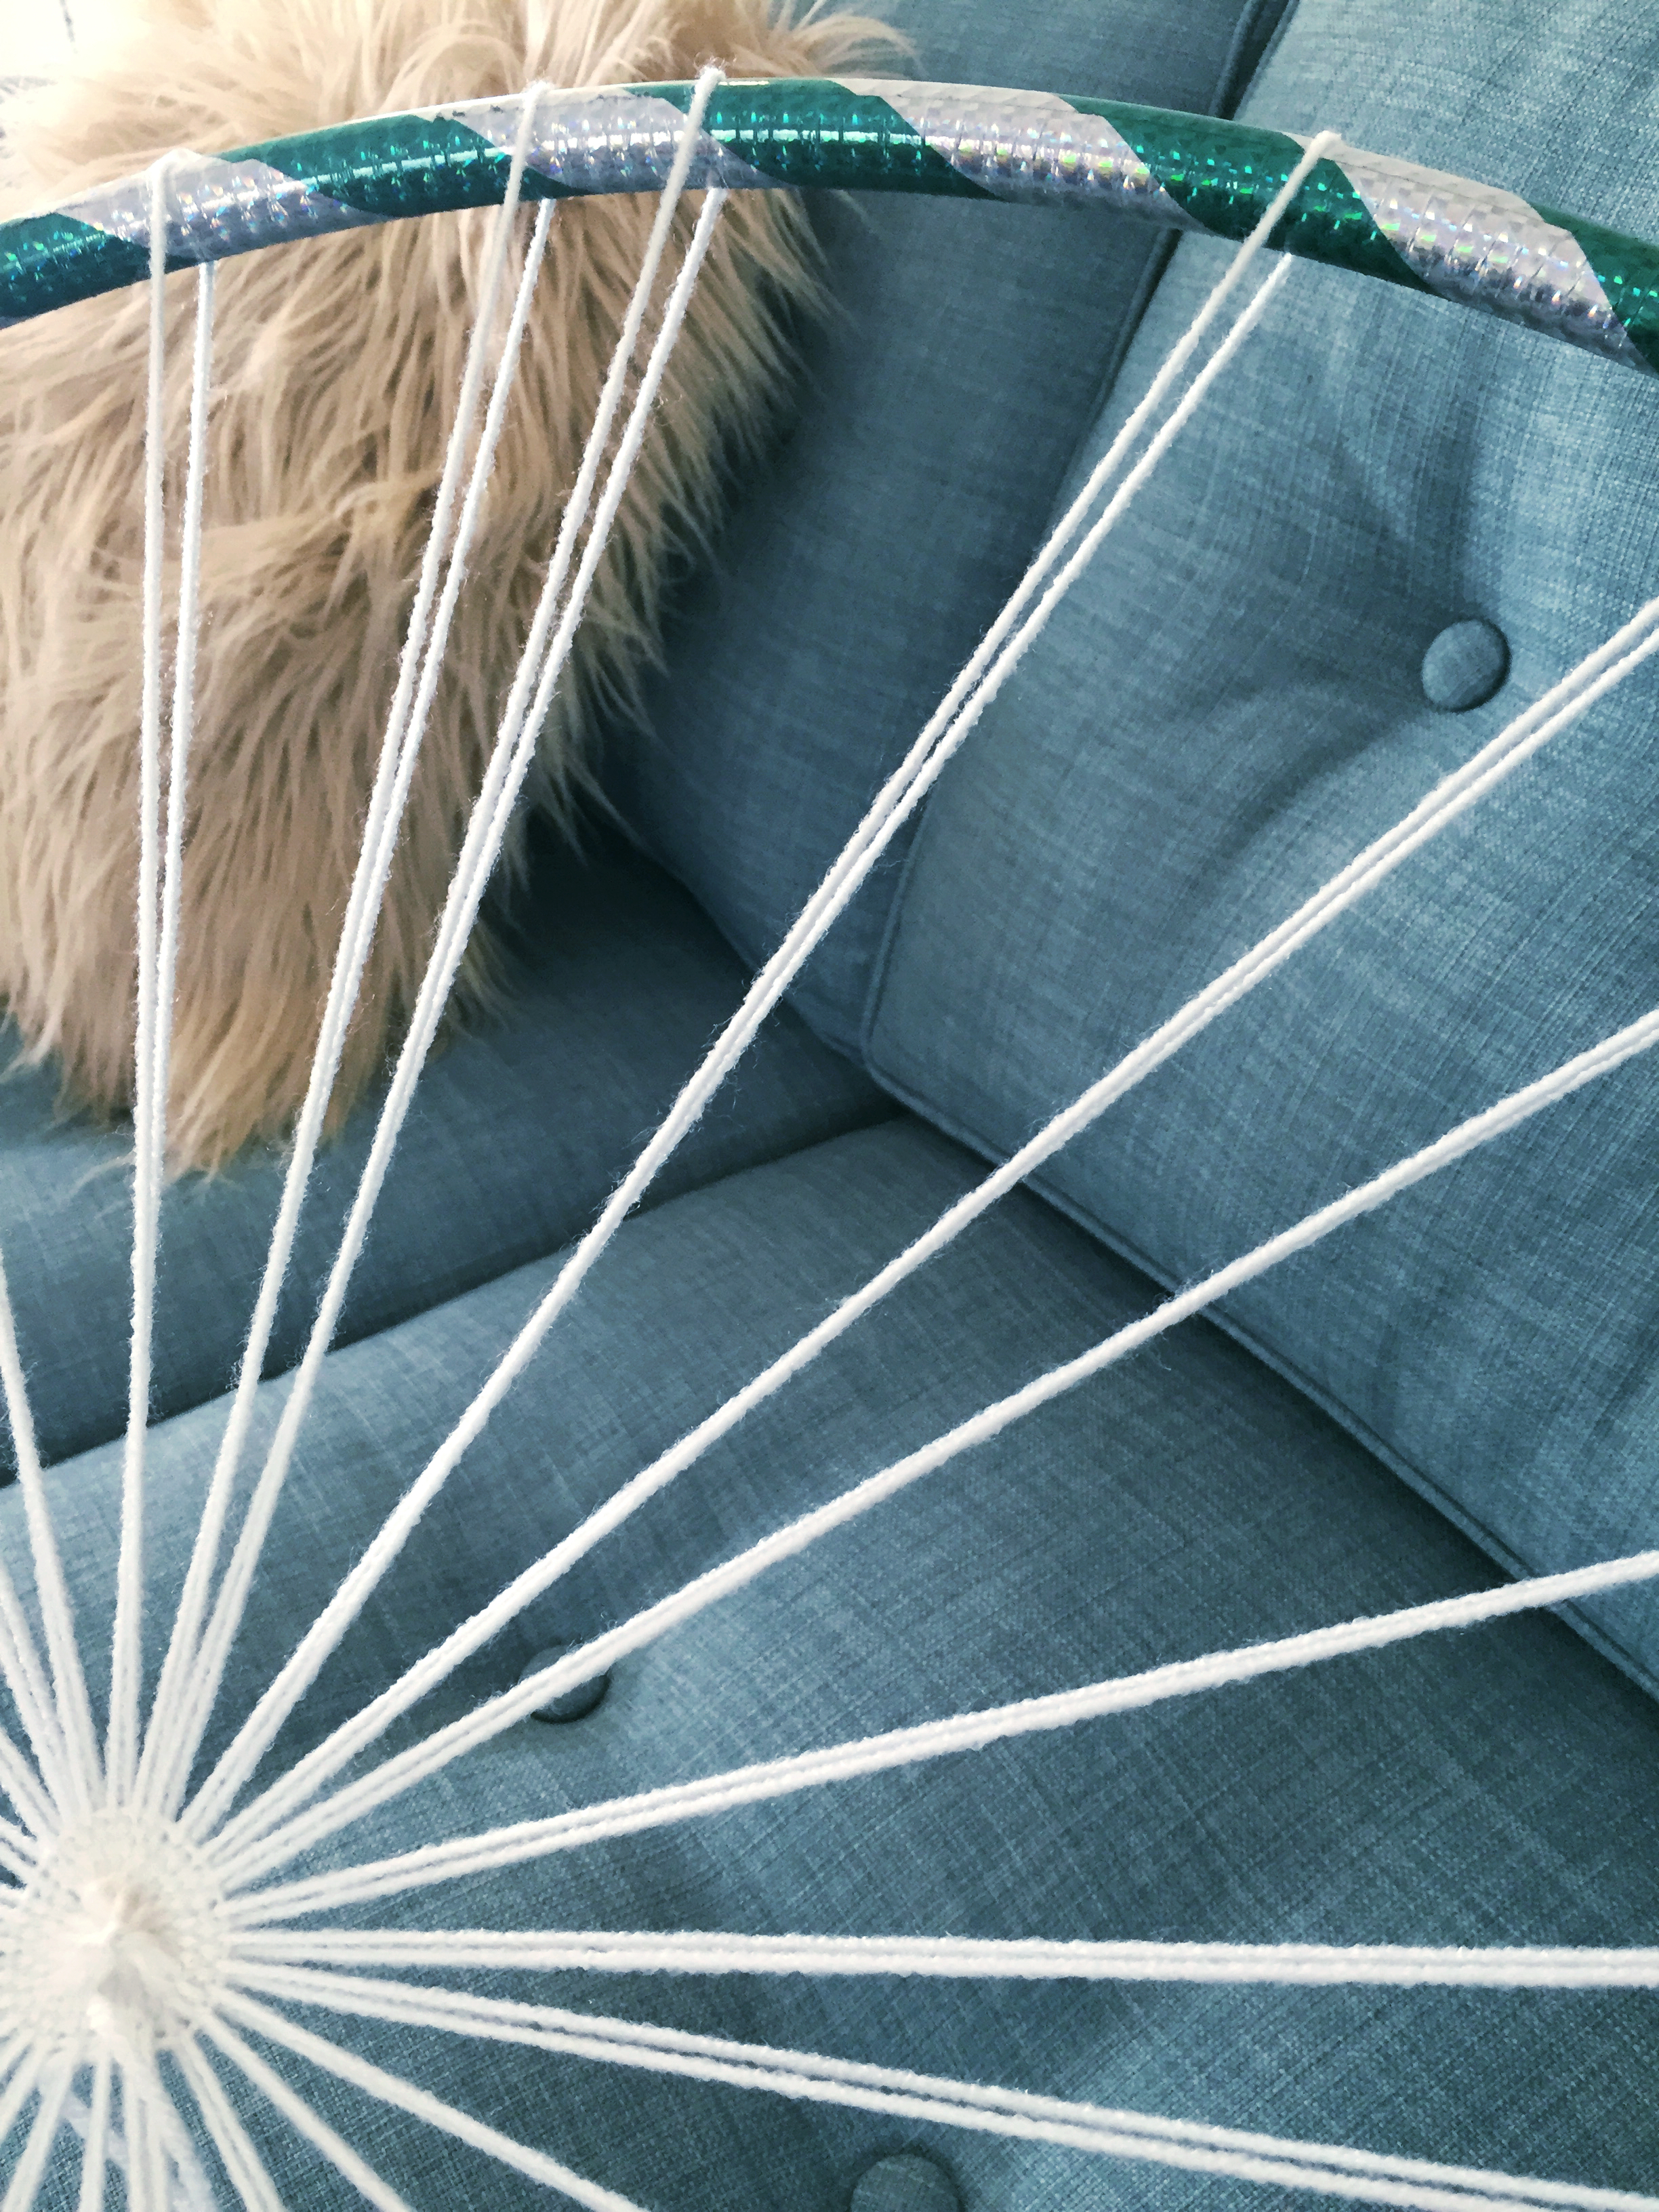
6. After that knot isn’t going anywhere, you’ll switch from weaving all the way around the hoop to only halfway, using different weaving techniques, thickness of yarn, and roving. Cut and knot off each section of different yarn as you go along. You’ll weave at the halfway mark for about a third of the loom.
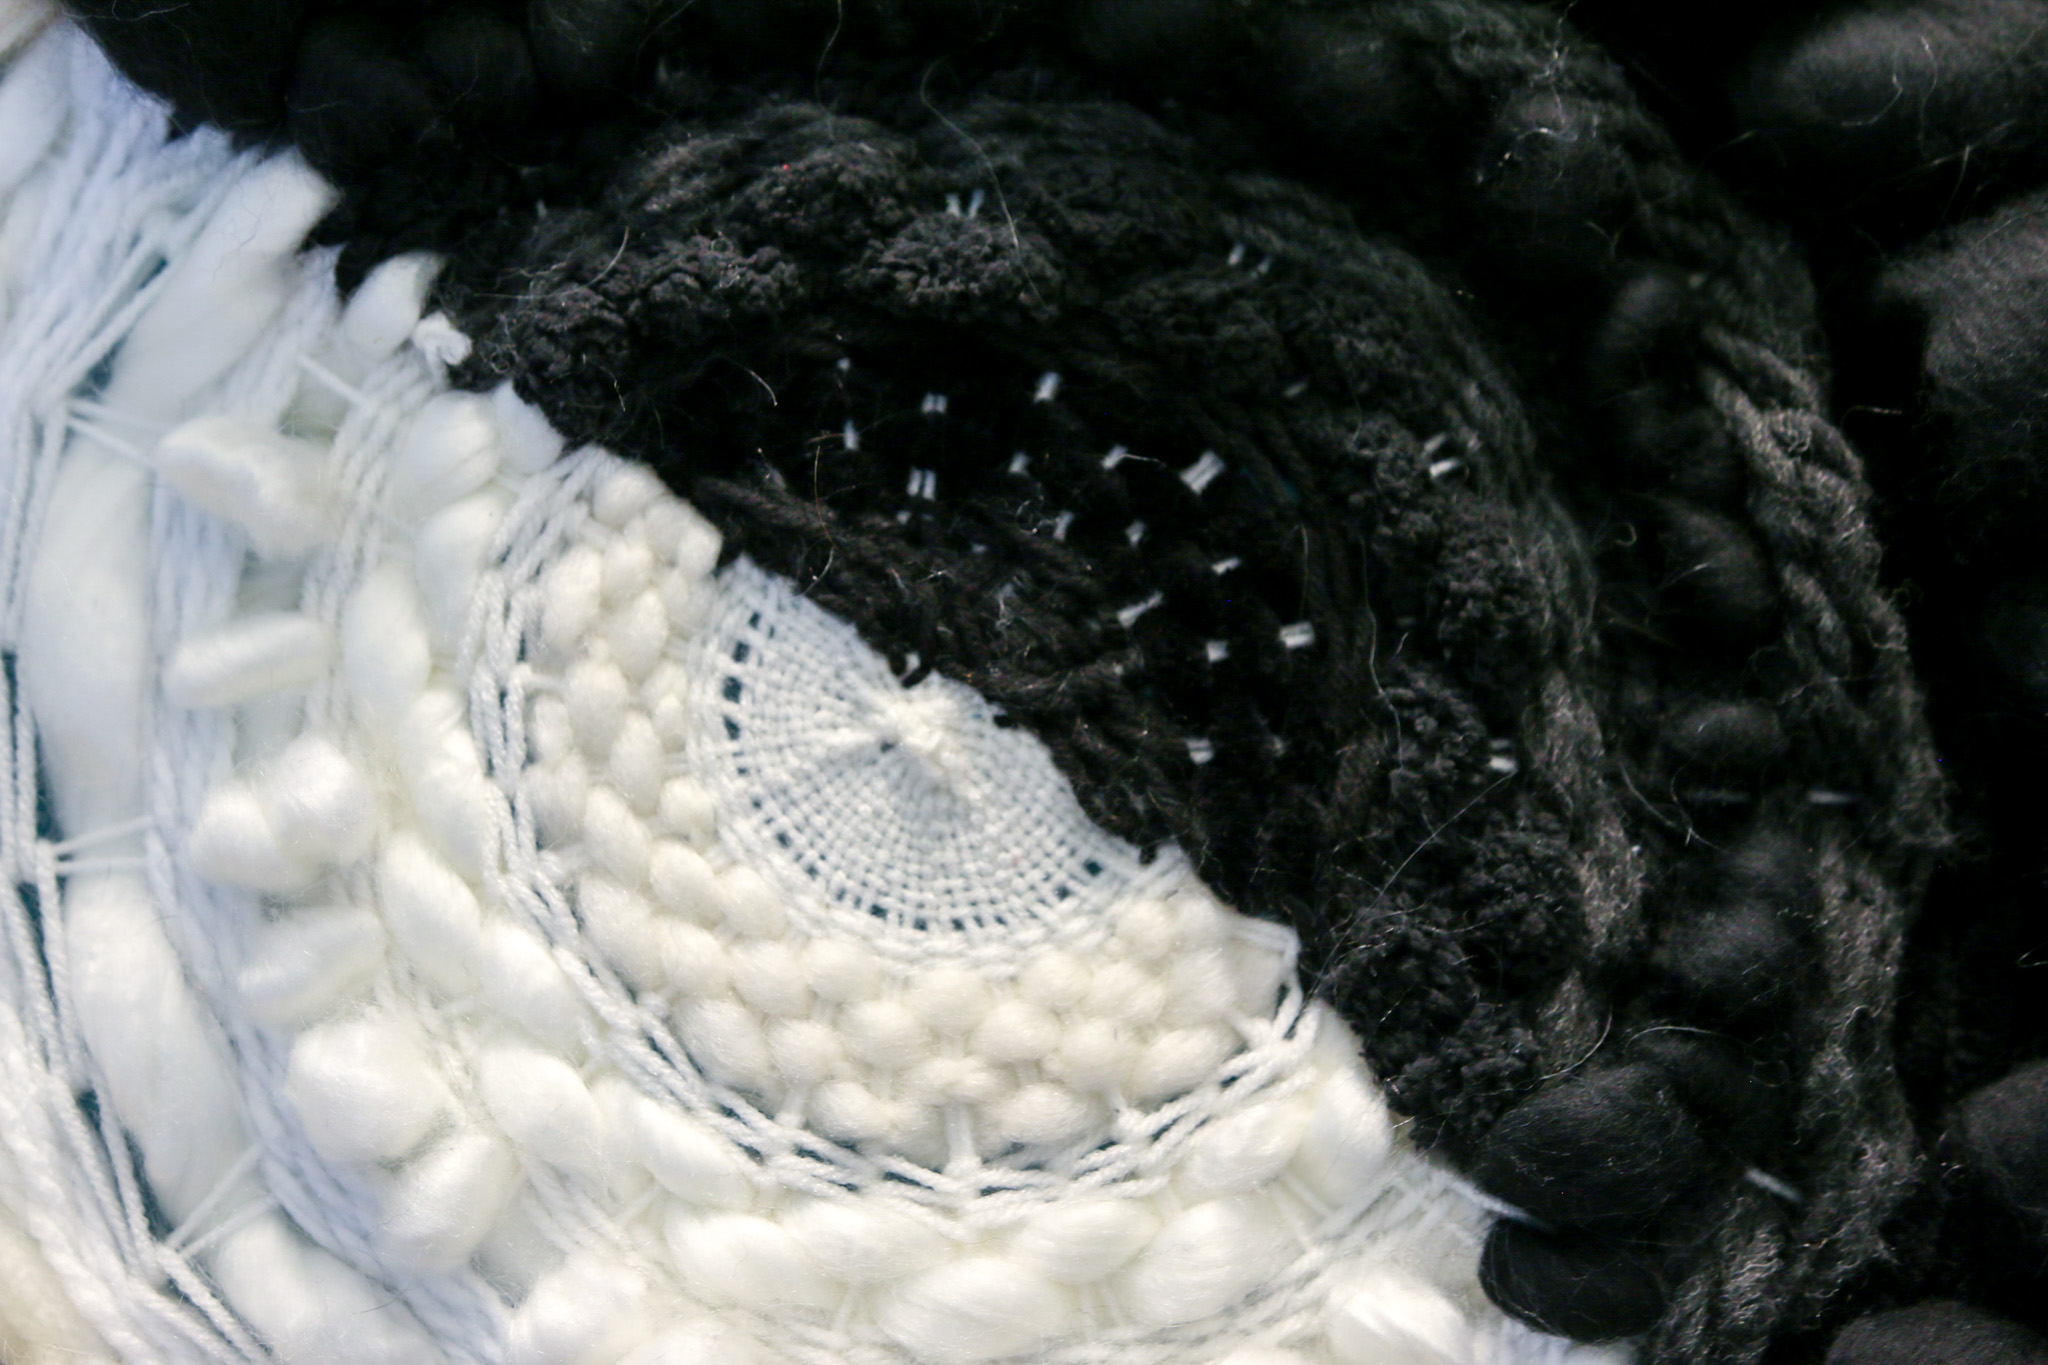
7. After that point, you’ll repeat on the black side. The sides should resemble each other. If you don’t have the same thickness of yarn for each color, you can braid or knot strands before weaving. The sides don’t need to be twins, just sisters.
8. After that 1/3 done on both sides, you’ll want to begin to make the top and bottom curves where the black meets the white. Weave more loosely now, the warp threads are further apart & you’ll want to do some fluffing. You can switch back and forth, go a several rows with a technique in one color, then the other. Each color will end on the same warp thread, crisscrossing.
9. If the edges don’t look clean enough, you can always use a stripe of roving along the edge of the colors or you can fluff things out at the end.
Small Circles
1. Shape the wire into a circle of an appropriate size for the shape you’ve created, with about eight inches extra on each end. Wrap excess around the circle you’ve created to keep its shape.
2. Repeat. You’ll now have two wire circles.
3. Wrap yarn around the edges of each of these, one white circle, one black.
4. You’ll set up each hoop with warp threads the same was as you did the larger one, but these two you will weave all the way around in each single color.
5. Tie each circle tightly, top and bottom, onto the larger piece’s warp threads.
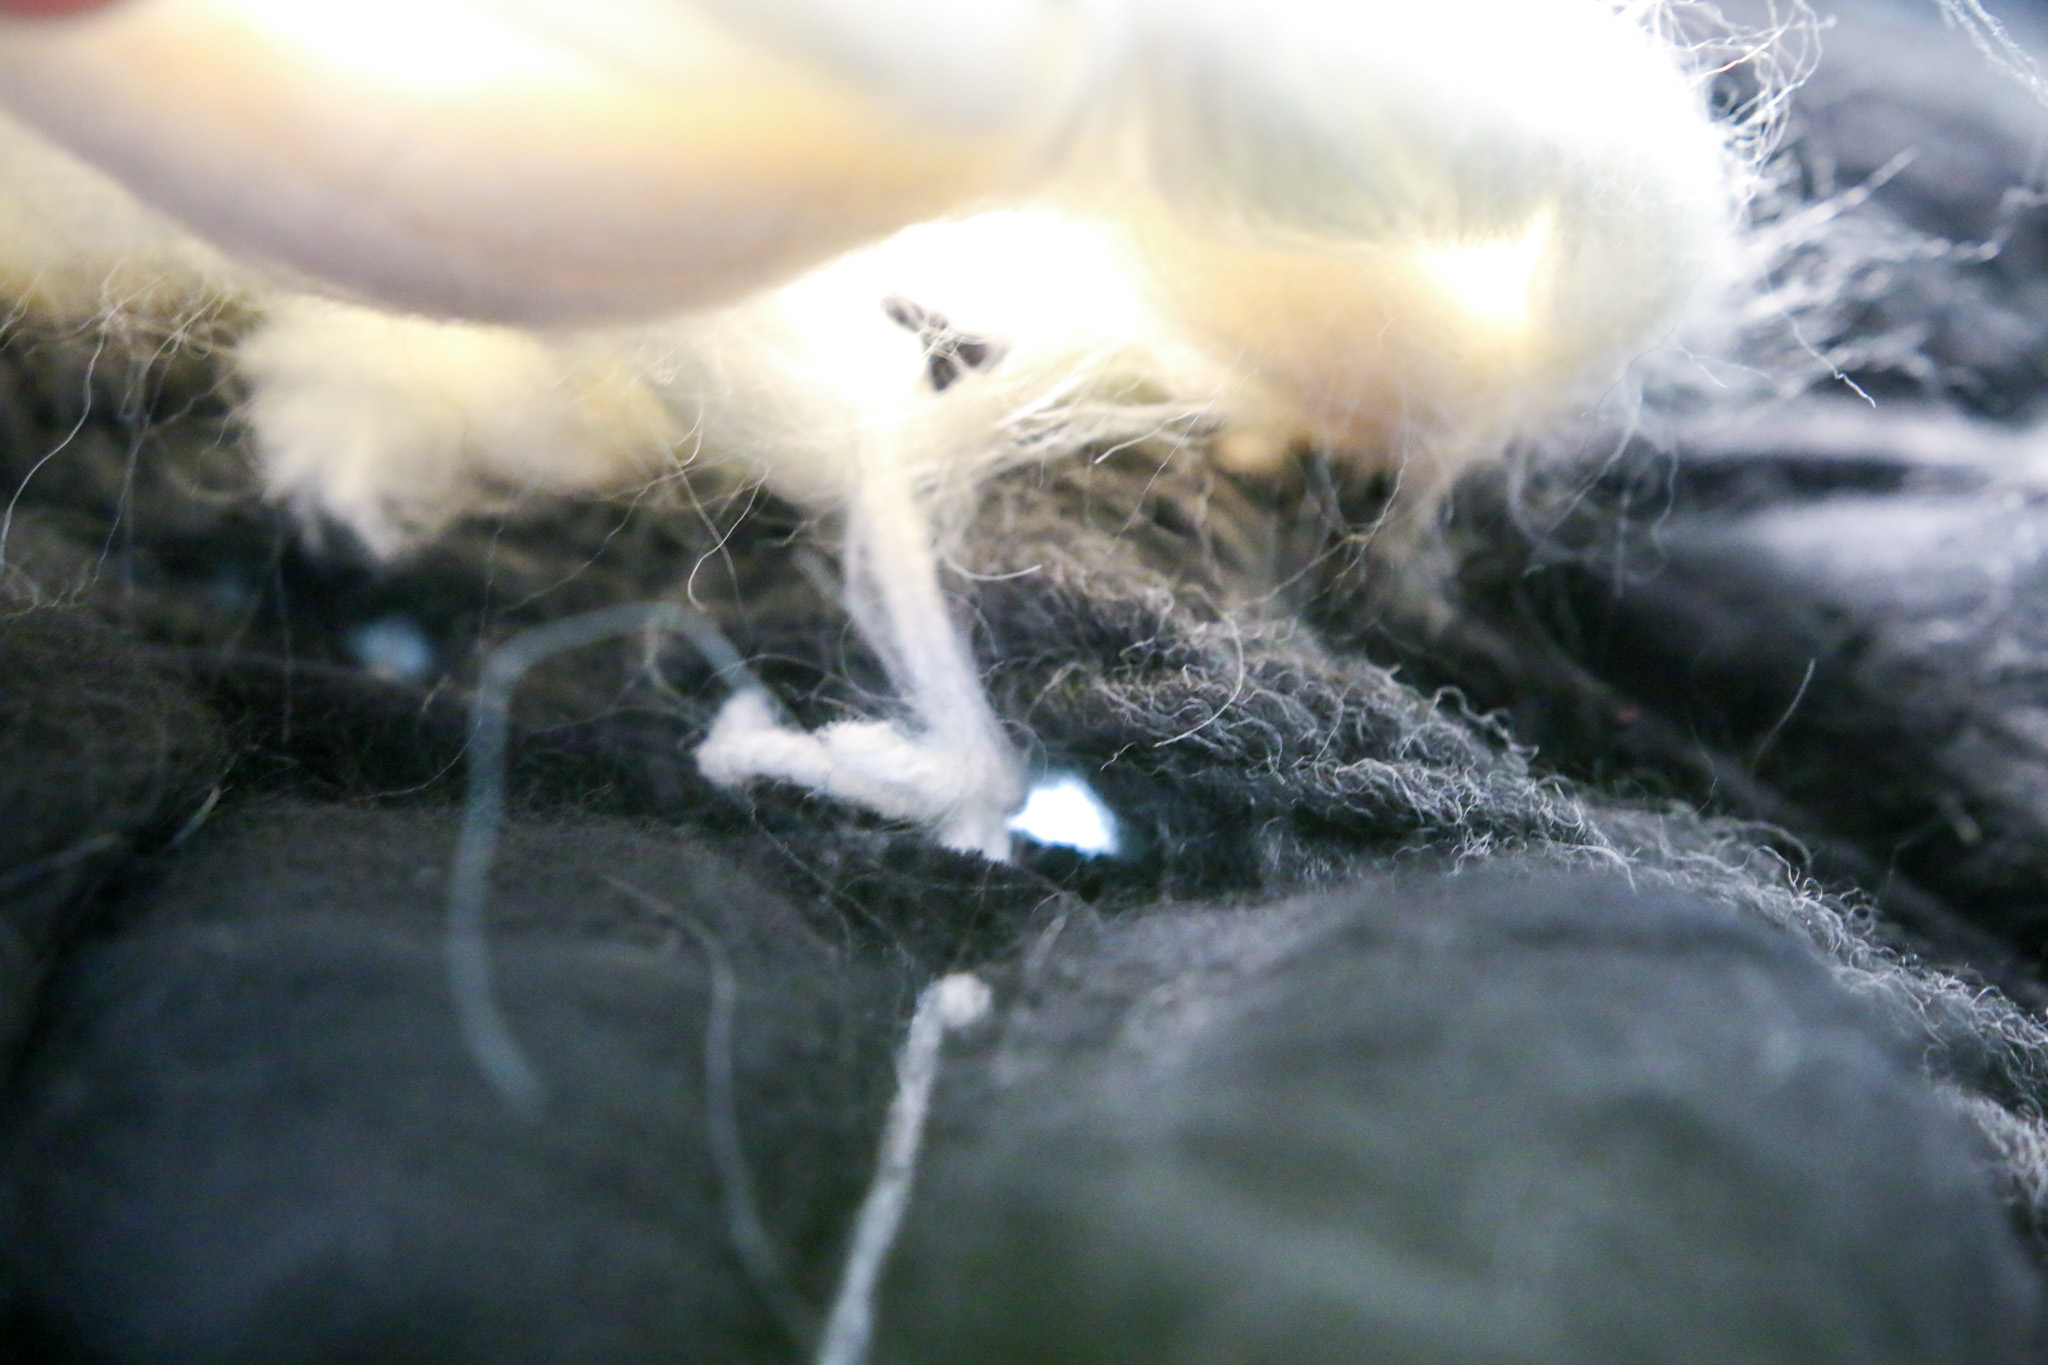
How to Hang a DIY Large Circular Yin Yang Weaving
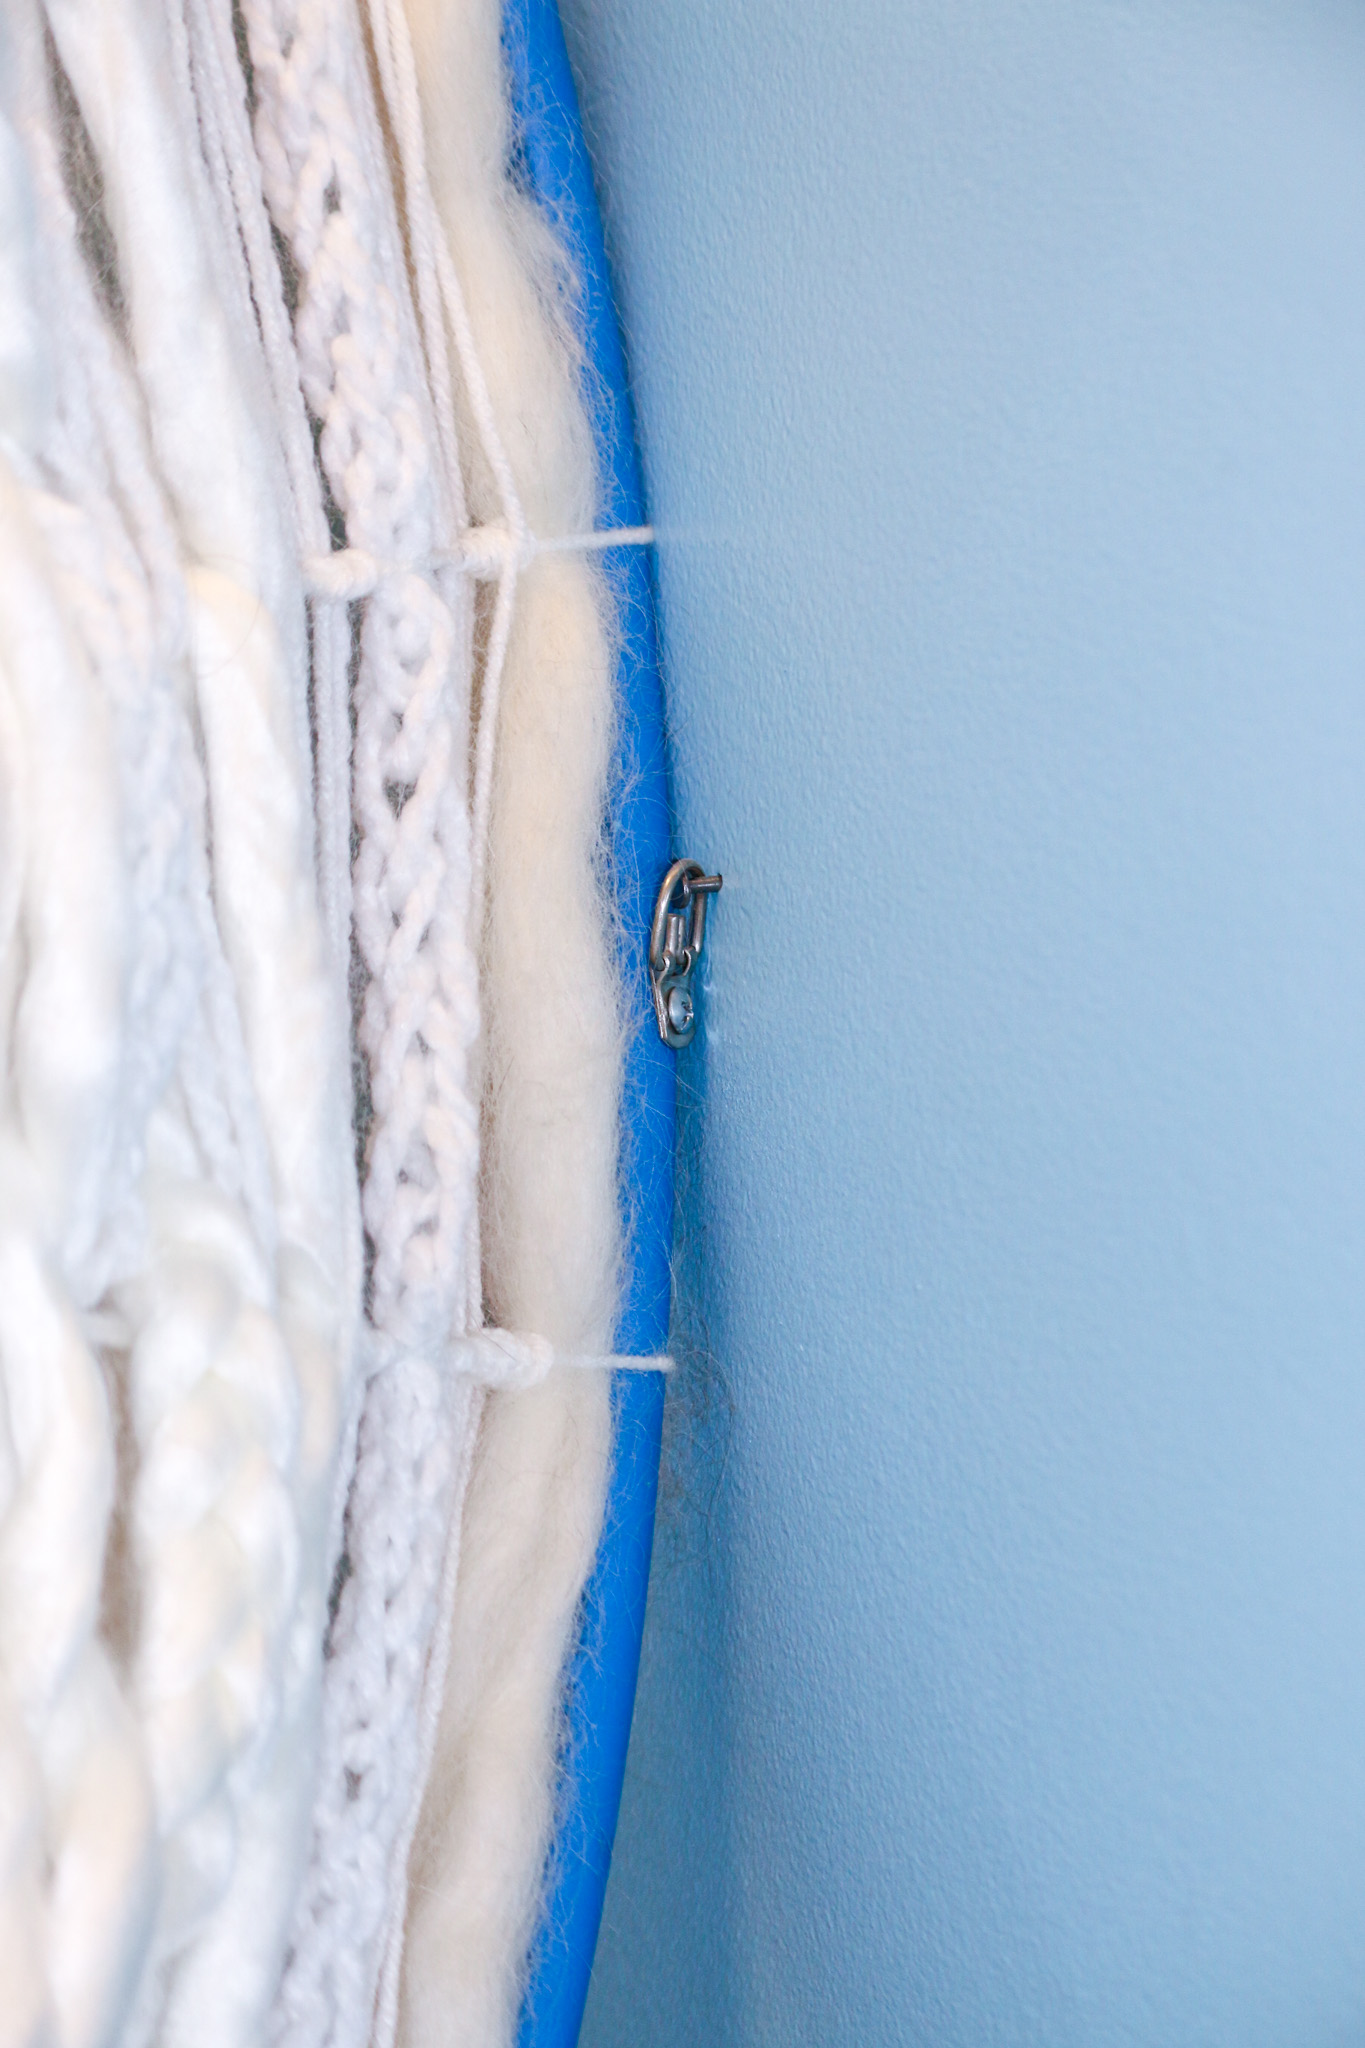
D-rings! Install one on each side. Measure the wall carefully so you can put nails in just the right place.
Honoring Harmony
Enjoy your homage to balance and harmony. If you made something from this tutorial, I’d love to see your results!
Well stated, Kelsie!! Love the art, and completely identify with the messages of opposites attract (and the duality within each of us)!
[…] love to count things, place them in boxes, and load them into silos. When everything being connected seems overwhelming, chaos becomes abundance when we graph out all the […]
[…] that was introduced to me through a children’s book. Yet, it’s not simple to define like China’s Yin-Yang. Like Africa’s Ubuntu, this Japanese concept, wabi-sabi, can’t be directly translated into a […]
[…] to burnout can feel enriching with the right time management, systems, environment, community, and balanced cycles of […]